
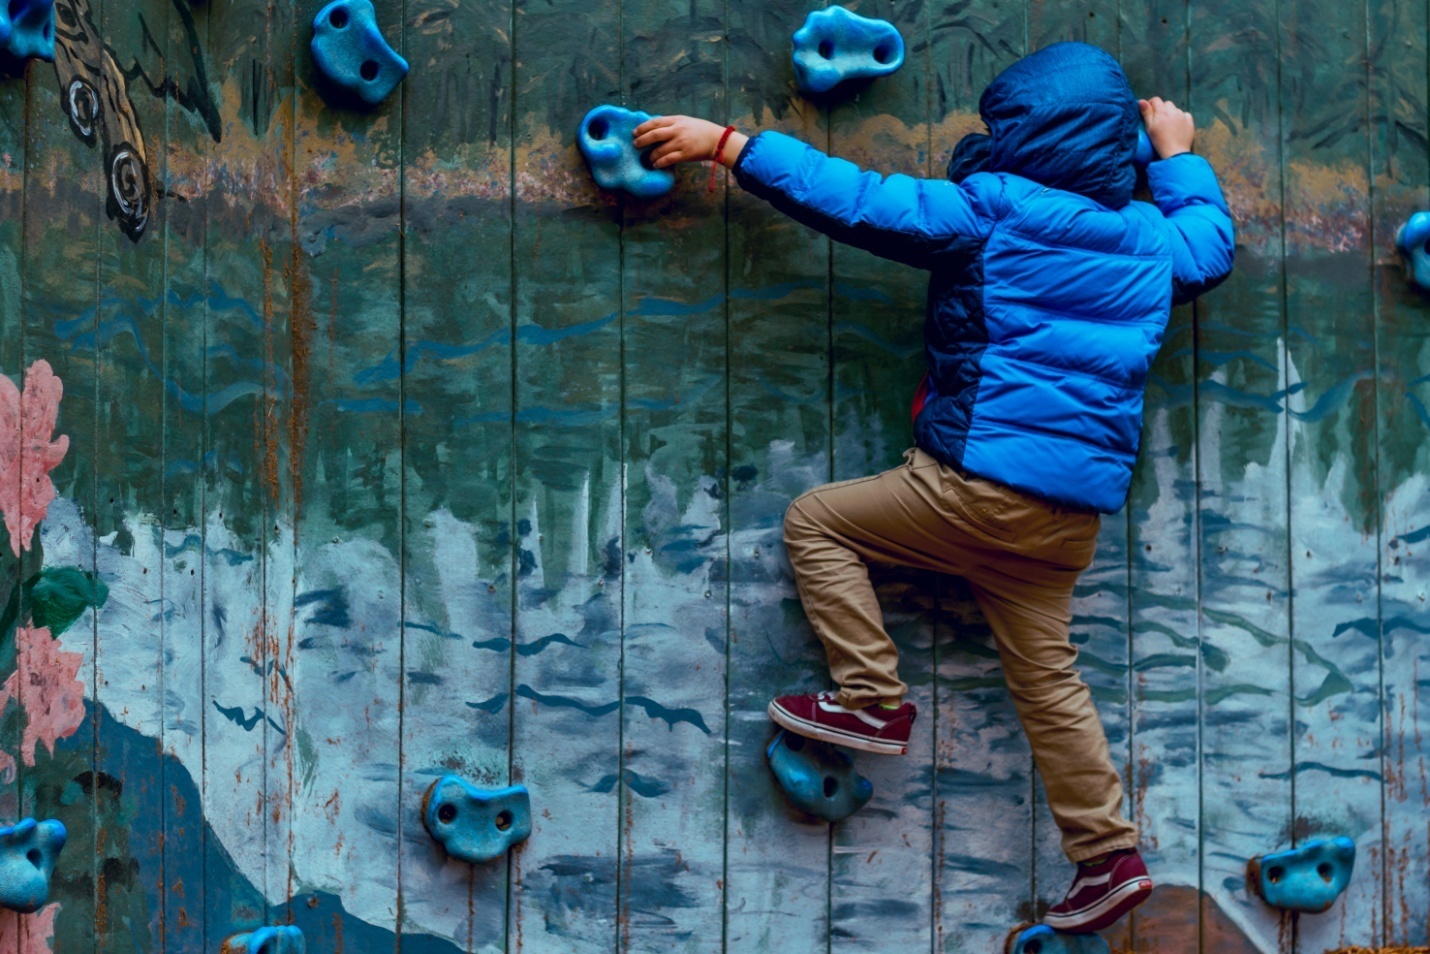
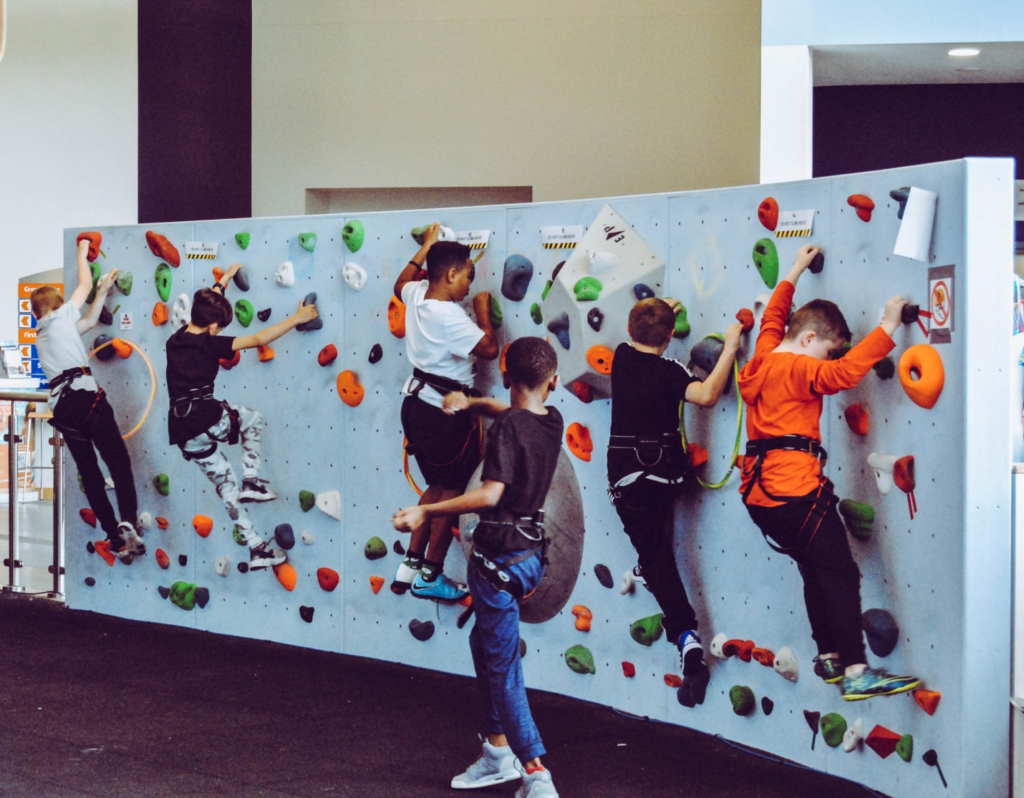
Covid-19 has wreaked havoc over the world. Everyone seems to be stuck in one place, where they have to function alone. The most damage, however, has been done to our little ones who have nowhere to go and nothing to enjoy. They can’t go out to meet their friends nor can they ask their friends to come over and have fun. As a result, they are becoming irritable as time goes by. Therefore, it is important to create in-house opportunities for the kids, where they can release their stress and play to their heart’s content. In this article, we will learn how to build a do-it-yourself rock wall for your kids.
Disclaimer
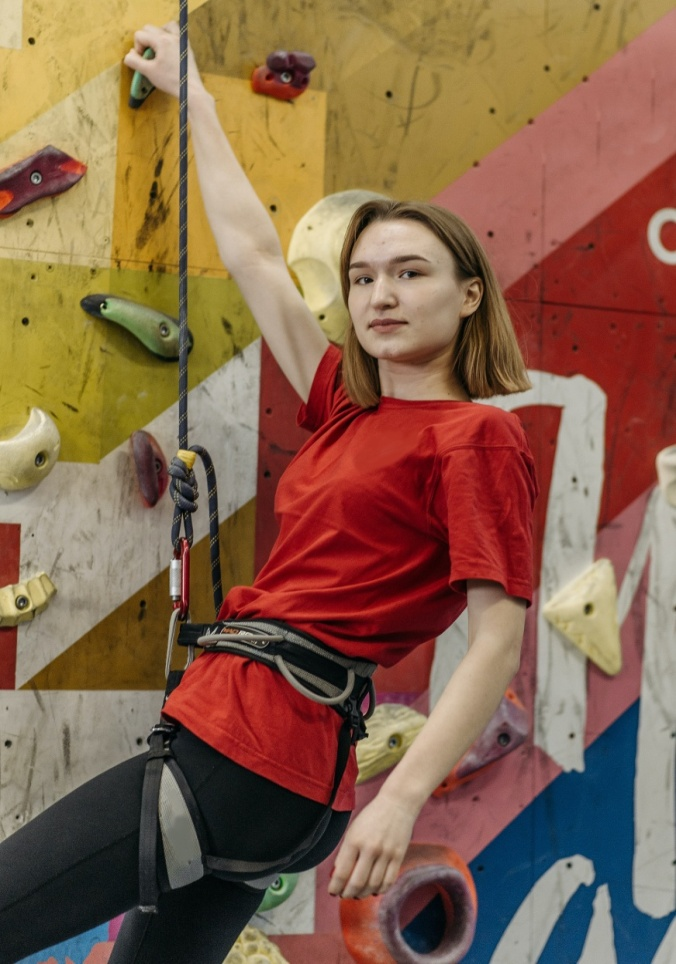
One thing that you need to make sure of before diving into this project is that these do-it-yourself rock walls are only for kids to enjoy. They can spend hours learning how to climb, improve their handgrip, and make use of their spare time indulging in a project they will definitely love. However, adults should stay back and monitor the situation instead of climbing on the wall themselves. Otherwise, the rock wall might come undone, leading to injuries.
Factors to Consider When Building a Do-it-Yourself Rock Wall
There are certain factors you need to be mindful of before diving into this Do-it-yourself rock wall project.
1. The Height of the Wall
Before you decide to build a rock wall, you need to determine the exact height of the wall. Getting the measurements right is essential; otherwise, it might wreck the entire project towards the end.
2. Holds to Buy
Another factor that might be a problem in the do-it-yourself rock wall project is the type of holds you are investing your money in. Make sure to buy the ones that can bear the weight of the wall.
3. Design of the Play Set
Decide what type of rock wall you want for your kid before you actually buy the tools required for it. Should you design it vertically? Or do you think a minor curve or a slant will do the trick? You can surf the internet to find out the exact shape you are looking for.
4. The Exact Cost for a Do-it-Yourself Rock Wall Project
Before getting into any DIY project, always determine your budget. How much money are you willing to spend on the project at hand? Should this project cost more than you were willing to pay, what will your alternatives be? How can you cut back on the supplies to make ends meet? Think about all these factors, and then go ahead.
Now that you have decided on all the important aspects of the do-it-yourself rock wall project, let’s dive into the actual process.
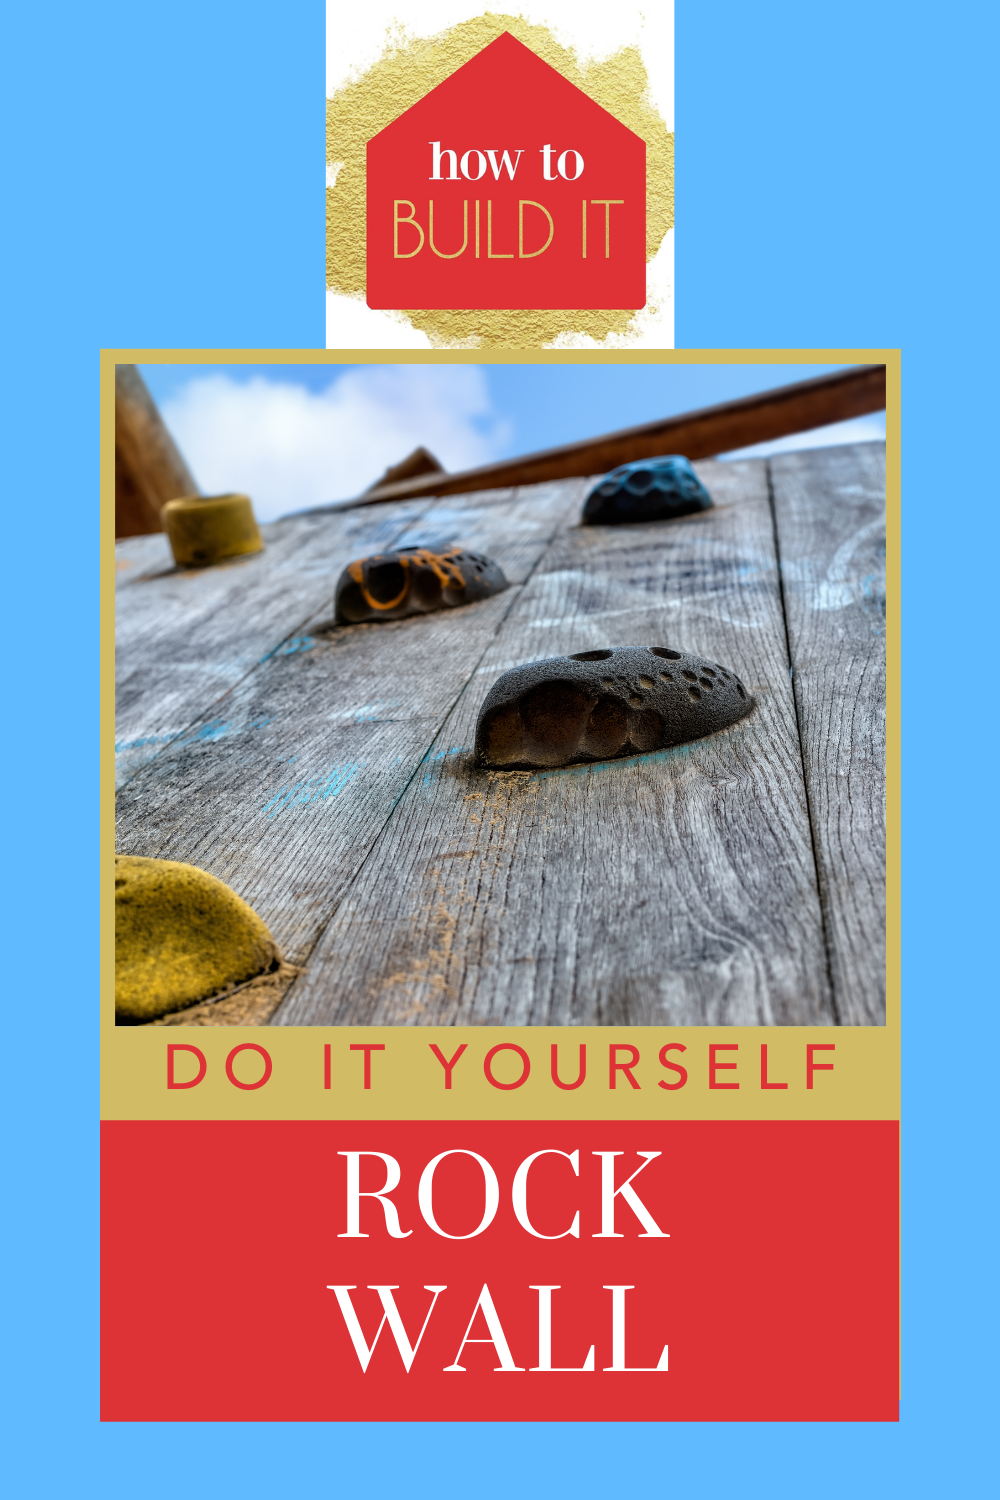
How to Build a Do-it-Yourself Rock Wall
Supplies Needed
The following are the supplies you need for your do-it-yourself rock wall project:
- Rock wall holds
- 2”x 4” Pressure Treated Lumber
- Deck screws
- Sawhorses
- Circular saw
Procedure
Step No. 1 – Find a Sturdy Support for Your Do-it-Yourself Rock Wall
The first thing you need to do is find the proper structure for your do-it-yourself rock wall. Select a spot you want to build your rock wall on and make sure it is sturdy enough to hold the weight of the wall and the person climbing on it.
If you do not have enough space or any surface sturdy enough to accommodate the wall, you need to build a structure to support your do-it-yourself rock wall.
Step No. 2 – Determine the Design of the Do-it-yourself Rock Wall
As mentioned above, determining the design of the wall is of utmost importance, especially if you are building a wall for your kids. In this project, you should make a wall with a slight curve. It means that you need to build your do-it-yourself rock wall on an angle so that it becomes easier for your kids to climb on. Straight, vertical walls are prone to slipping.
The trick to measuring the angle lies in the good old Pythagorean Theorem. Let’s suppose your landing is 5 feet above the ground; measure the distance from the base to the side, and then use the theorem to get the exact angle. Once you get all the measurements, cut the 2 x 4 board and place it aside for later use. (Step No. 5 for more information)
Step No 4 – Determining the Width of the Wall
The next step in the do-it-yourself rock wall project is determining the width of the wall. Make sure the wall is wide enough to accommodate three to four persons. The wider the wall is, the better chances your kid has of learning how to climb the wall.
Let us suppose you have chosen to build your do-it-yourself rock wall 42 inches apart. Place the diagonal hypotenuse board at the exact same width and then cut it. The number of 2 x 4 boards you will need in this project depends on the distance between the boards. If you keep the boards apart, it will simply look like a ladder. Therefore, place the boards side by side to give a natural look to your do-it-yourself rock wall.
Step No. 5 – Attaching the Pieces of Board to the Angled Board
The next step in building a do-it-yourself rock wall is attaching the pieces of the board you cut in the previous step to the angled board you cut in the 2nd step. Attach these two boards using screws.
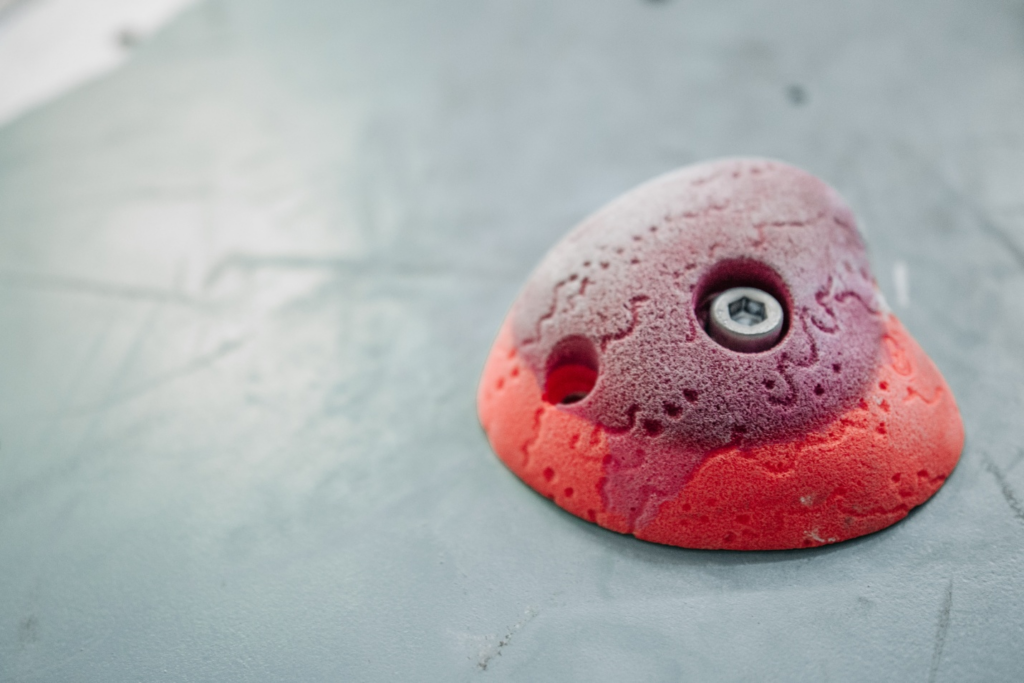
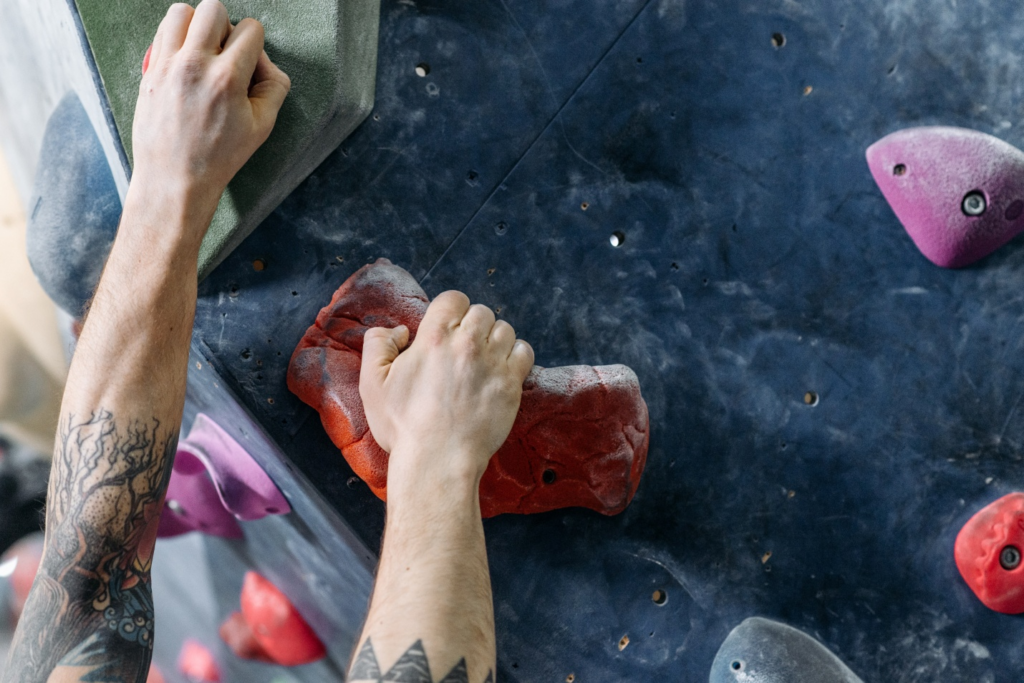
Step No. 6 – Attaching the Rock Hand Holes
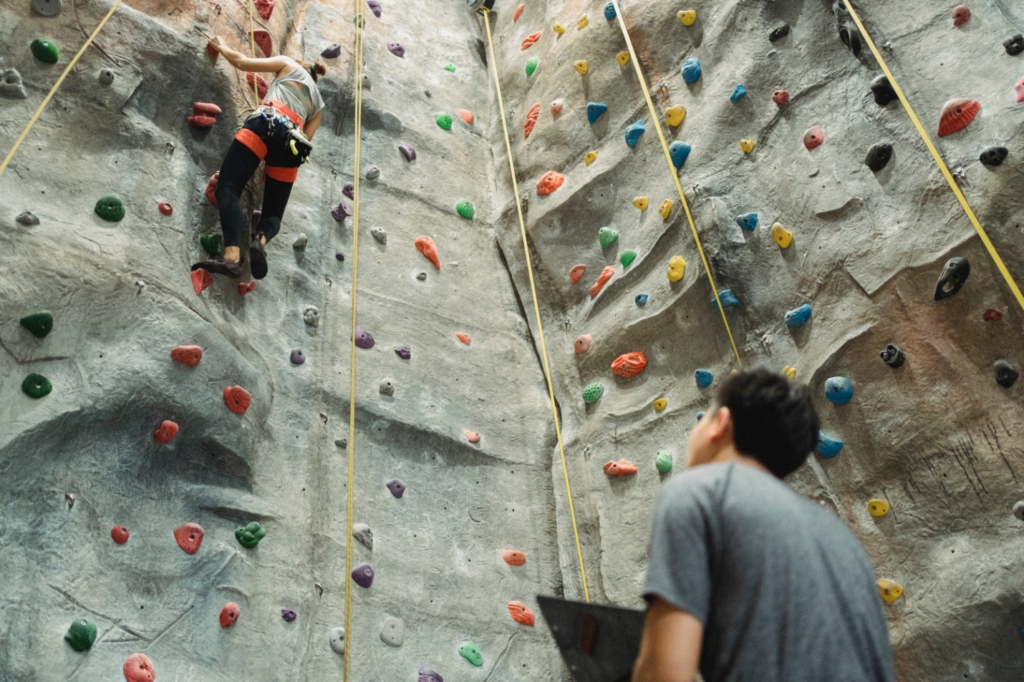
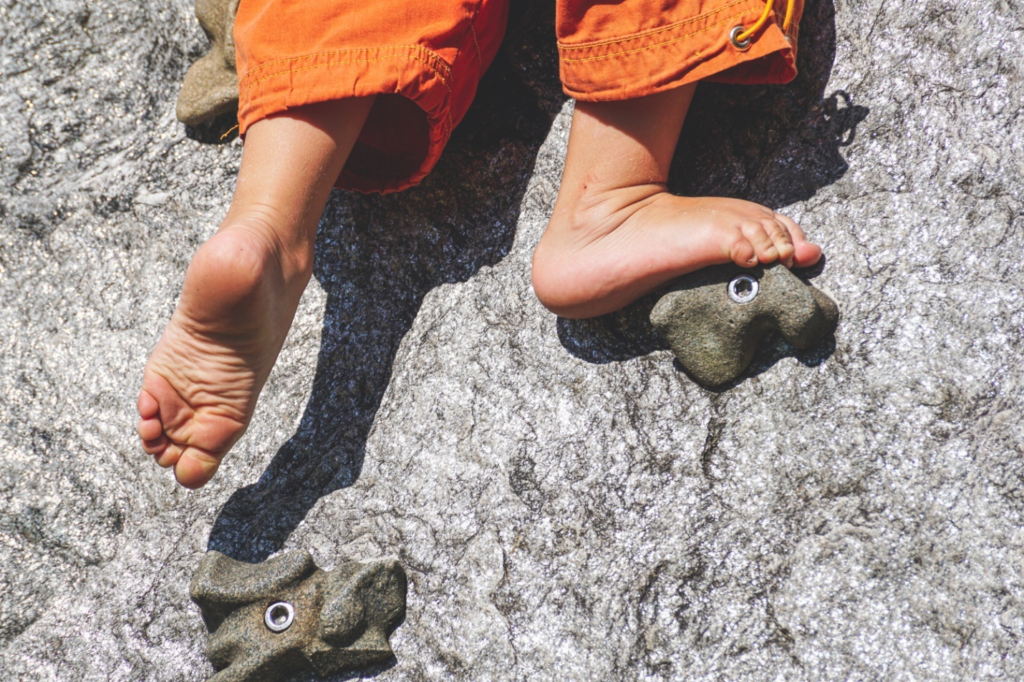
Once you have attached the boards, place them in a secure place where you can easily draw a grid. Now place the rock wall climbing holds 12 inches apart inside the grid for a good grip. Placing the rock handholds side by side might not be the best choice. It will simply enable your kid to climb faster without actually going through the process. Similarly, placing the rock handholds further apart might make it difficult for them to reach out. As a result, they might fall off the rock wall.
Therefore, it is important to be mindful of the placement of rock hand holes. For a 42 inches wall, placing the rock climbing holds every 12 inches works the best.
As soon as you mark the grid, drill the chosen spots and attach the rock climbing hand hole.
The do-it-yourself rock wall is ready for your kids to climb on!
Safety Comes First!
Now that we have discussed the process of building a do-it-yourself rock wall, there are some safety concerns you need to be mindful of.
When kids get engrossed in their playtime, they forget everything else and direct their energy entirely towards the game. While they are busy enjoying their game, you have to take care of them and ensure their safety.
For instance, rock climbing can be a bit difficult to deal with when they are new to this particular activity. If your kid is having a hard time climbing on their own, help them out and stay by their side at all times. Moreover, ensure that the do-it-yourself rock wall is safe. This rock climbing handhold from Amazon is sturdy and has a rope to tie at the top center of the rock wall. This is to ensure that your kids won’t fall off the wall or stumble across the surface. A safety bar is a must-have if your kid is new to rock climbing!
Things to Remember
When building a do-it-yourself rock wall, most people place the ladder, the slides, and the rock wall on one side of the design space. Make sure you add a treated 2 x 4 all across the top to ensure that your kids stay at the top of the surface.
Install safety rails as well. Safety rails are essential as they allow your kids to grab onto something in the event that they slip and fall.
While placing the railings, make sure there are smaller openings. Place the rock wall, ladder, and slides on different sides so there is less burden and more space to roam around freely.
Another thing you need to be mindful of is the height of the bar. The higher the bar, the easier it is to keep the kids at the top. This is the way to ensure that whenever they want to get down, they will have to duck under the bar. This will also ensure a more secure environment with fewer chances of unfortunate incidents.
Moreover, before planning or creating the playset, make sure you have checked the local area guidelines. You will have a clear idea of where you should build your do-it-yourself rock wall and how much material you will need to finish your project. If there is anything even slightly suspicious that might wreck the entire project or harm your kids in any way, abort mission and take new safety measures to ensure that your kids are as safe as they can be.
Final Word
The pandemic has affected us all in ways that we never could have imagined. However, instead of crying over spilled milk, we can make do with little things in our power. For example, keeping yourself busy with DIY projects. You can enhance the beauty of your home and make use of all the unused space in your garage or backyard.
Furthermore, you can create a playset for your kids if they are all fussy and irritable staying stuck in this one place. They are bound to feel a little agitated considering they are studying at home, eating at home, and not to mention, even playing at home. A do-it-yourself rock wall is a great idea to keep your kids interested and keep them busy for a few hours at least.
Looking for more DIY ideas for your kids? Check out this article on DIY backyard tents for kids.