
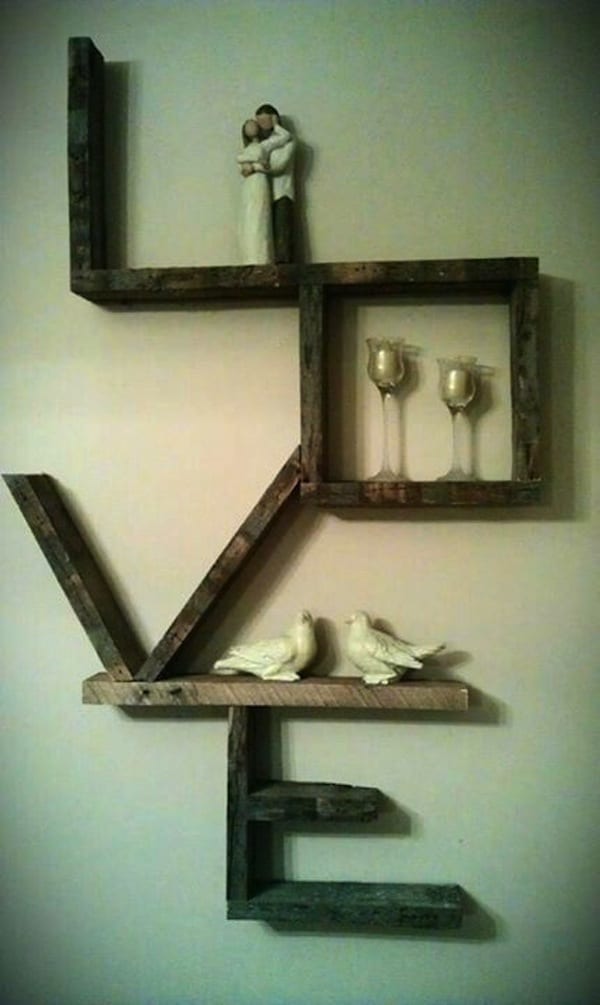
Feel the love with this amazing floating shelf project from DIY and Crafts Ideas. Use one of your hoarded pallets as the backbone for this project!

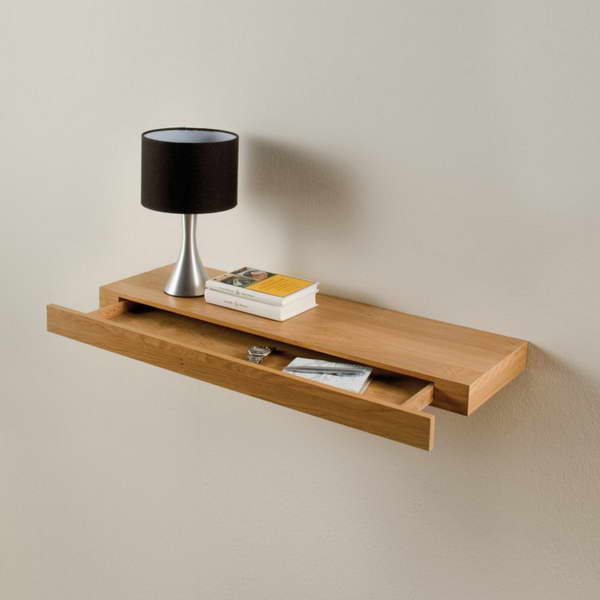
Minimalism is key with this incredible floating shelf turned storage device. Run 4 The Woods shows us how they easily tackled this DIY project, check out their site for the tutorial!

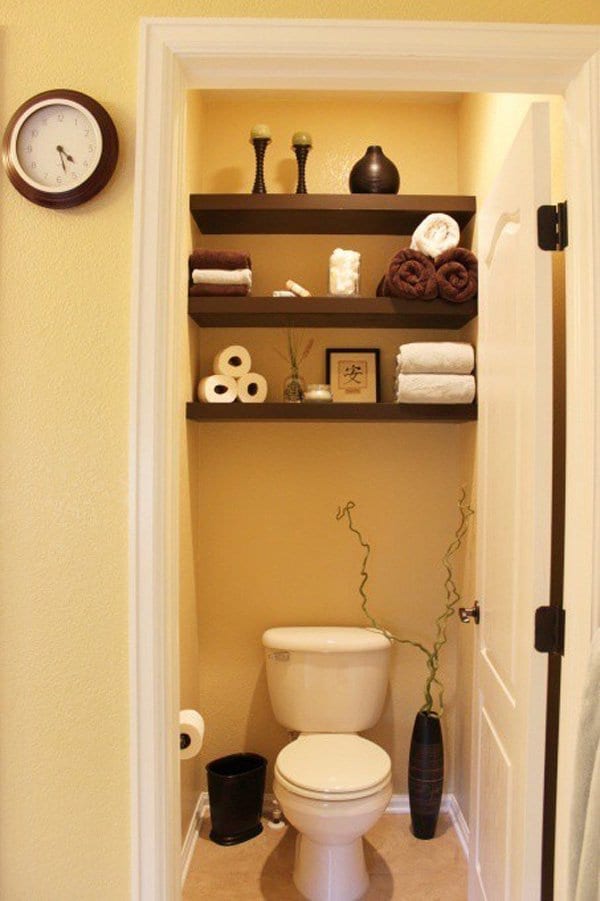
These floating shelves create an endless amount of storage space when installed in a small bathroom! The wall behind your toilet is a really hard place to decorate, and these floating shelves make it a breeze! Tutorial from Good Morning Loretta. TIP: I think it’s a great idea to mix up the way you store your towels on these shelves! Some of them are folded normally, while the three on the second shelf are rolled. This helps to mix up the texture in your bathroom, and it looks great!

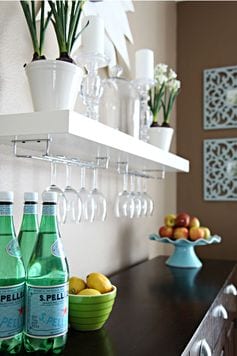
Is your bar really complete without a hanging wine rack? I thought not! Hello, quick and easy wine glass storage. All you need to do is add a wine rack to the bottom of an existing floating shelf. Use this link for the tutorial of the pictured rack. However, this tutorial is in a foreign language, and unless your Spanish is A1, I recommend using this tutorial instead!

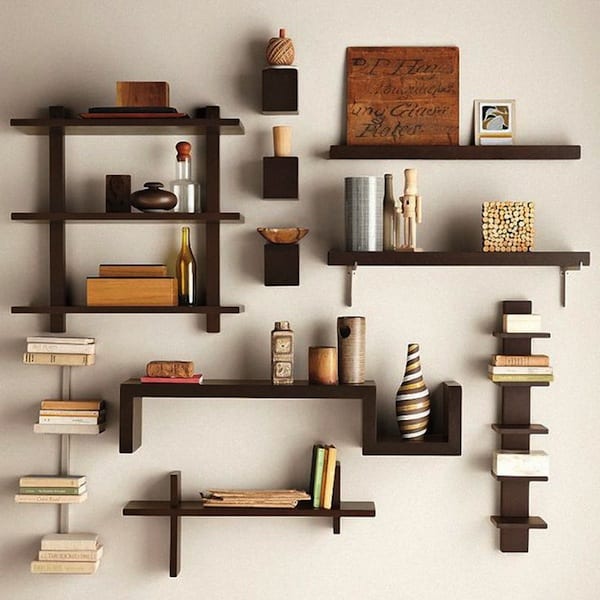
Installing your floating shelves at different angles is an easy way to add touches of professional-looking interior design to your home. Don’t be afraid to experiment with the textures of the accessories on the shelves!
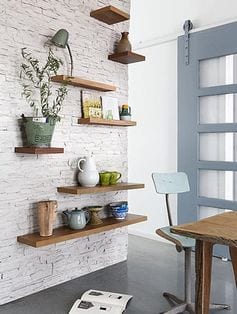

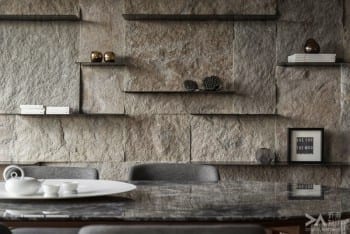
These stone shelves are sure to make a powerful statement in any home. They look like they’re a part of the rock! Unfortunately, I was unable to find the tutorial for these, so if anyone knows the source of the image, please comment it below!

Pack a one-two punch with a different mixture of floating shelves! These books look like they’ve flown straight out of Professor Dumbledore’s office! A Little Tipsy shows us how to make these shelves with virtually no magic at all! Just what I needed, a muggle-friendly DIY!

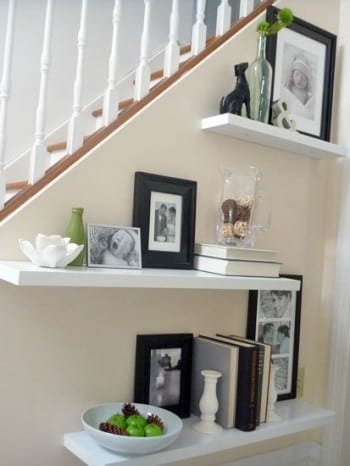
Fully utilize that awkward space on the wall underneath your staircase! Add a few floating shelves for easy storage or a beautiful place to put your favorite family photos. I’m loving the subtle green colored accents that are found throughout the shelving!

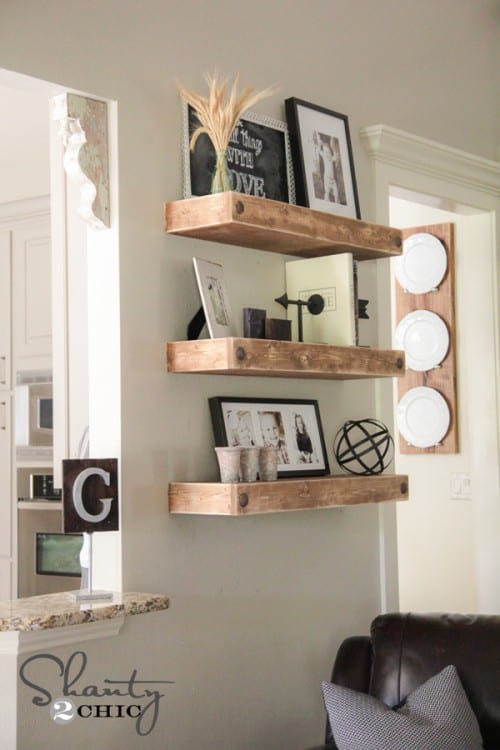
Shanty 2 Chic deserves all of the credit for this beautiful DIY shelving unit. The entire project cost less than $30 and only took a few hours to complete! I’m practically drooling over the rustic stain!

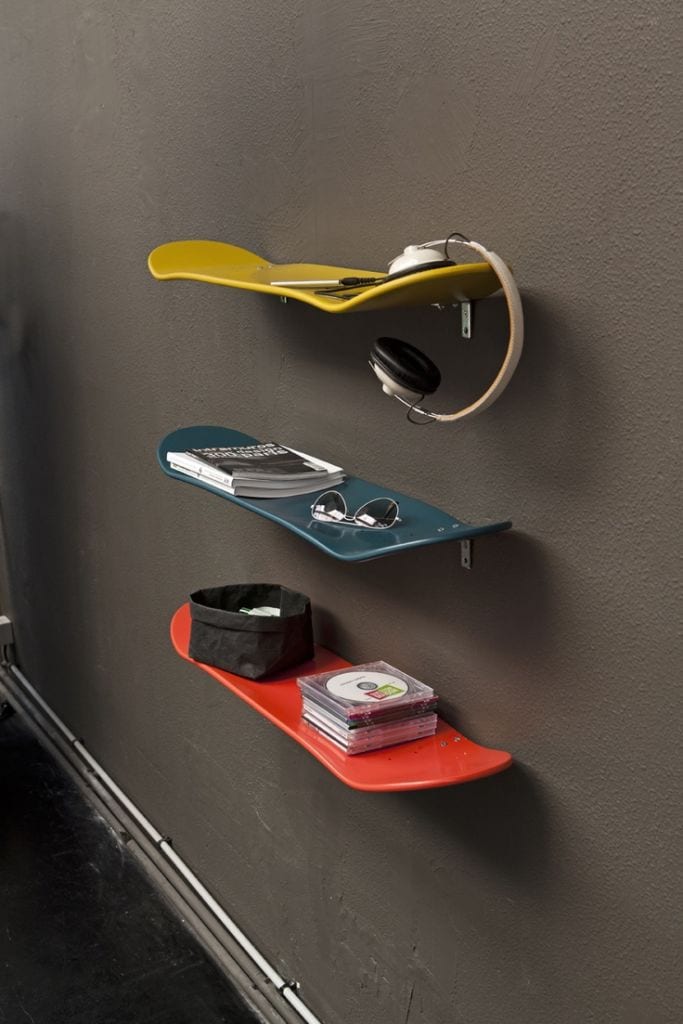
This DIY project is as simple as mounting a few old and unused skateboards onto a bedroom wall for some creative storage space. These are the perfect addition to any boy (or girl’s!) bedroom, and these can be mounted onto the wall in no time at all! You can find the full DIY, should you need it, at For Creative Juice. Enjoy!
