
Staining wood seems a bit more daunting than painting because it’s permanent. Once the stain is soaked into the wood grain, there is no turning back. But have no fear! With this guide, you’ll know just how to tackle any wood staining project that comes to mind.
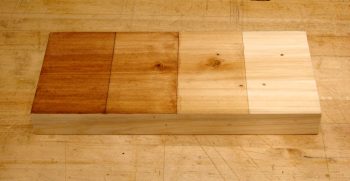
When you purchase wood stain from the hardware store, test it out on a piece of scrap wood to make sure it’s the color you had in mind. Remember to allow for multiple coats of the stain so you get a good idea of the depth you can achieve with your chosen color.
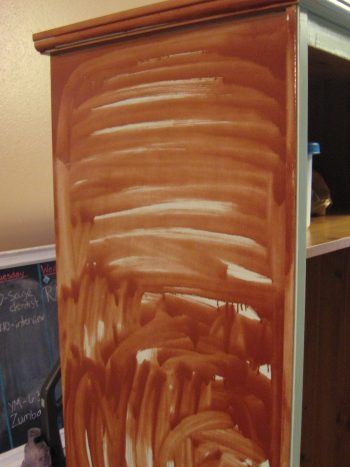
Always apply very thin coats of stain at a time and allow them to completely dry before applying another! Thick coats will result in blotchy, uneven coloring.
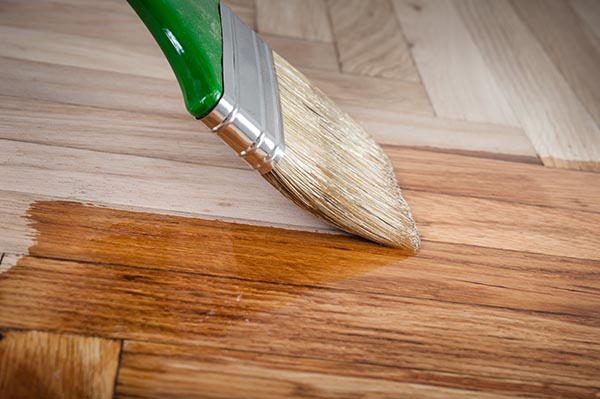
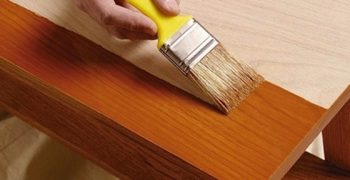
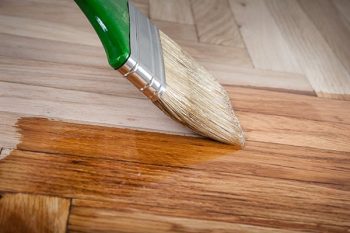
A brush and a rag will both result in a different looking finish.
Avoid staining laminate. It’s a real beast to tackle and doesn’t turn out very well for armature stainers.
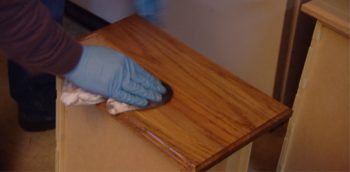
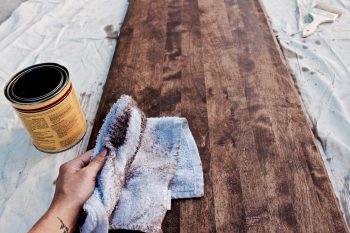
Wipe off excess stain with a clean rag after applying a thin coat. Wipe in the same direction as the wood grain.
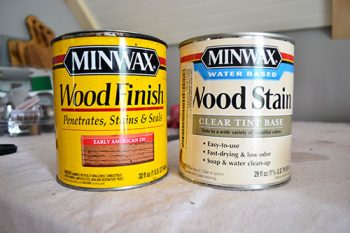
Water-based stains are practically odorless and they’re much easier to clean up once you’re done. Oil based stains require paint thinner to clean your brushes afterward.
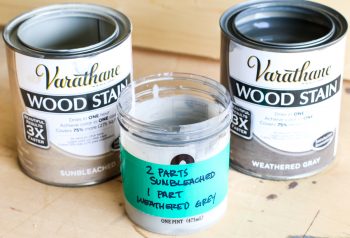
If you want to mix your stain (they must both be made of the same base ie water or oil) you can! This is a great way to create custom colors.
If you’ve used an oil based stain but decide you’d like to switch to a water-based stain, you can do so after letting the oil based stain cure for 24 hours.
After staining, always finish off your project with a sealer like polyurethane to protect the coloring from water damage.
Resources

