You clean, and clean, and clean but somehow your kitchen counters still look dirty. Did you think to look a little closer at your caulking? Kitchen counter caulking and bathroom caulking deteriorate over time and can really add the the dingy and dirty look of these spaces we strive to keep clean. If it’s been a while, now might be a good time to replace the caulking. You’ll be glad you did when you see the amazing difference it makes in your sinks, tubs, showers, and countertops.
Tools You’ll Need For Caulk Removal/Re-Caulking:
Tools made for removing caulking
Toothbrush for cleaning
Remove Old Caulking
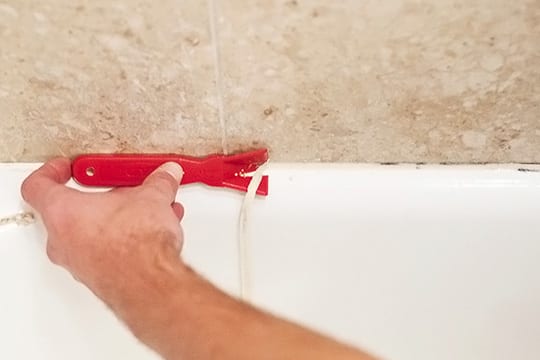
The caulk removal tool makes it pretty easy to remove old caulking, especially in jointed areas. Throw away old caulking and avoid any old caulking falling into drains. This is a sure fire way to clog them.
Use your toothbrush to scrub away remaining bits of caulking. A wire brush may work on some surfaces but will also scratch porcelain and other soft materials.
Use a bleach cleaner to clean the surface and kill any mold or mildew. Then clean the surface with rubbing alcohol to remove any left-over cleaner.
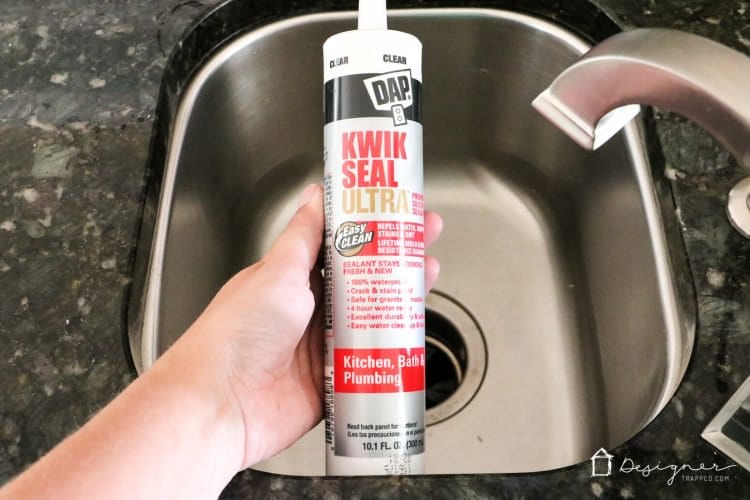
Replace With New Caulking
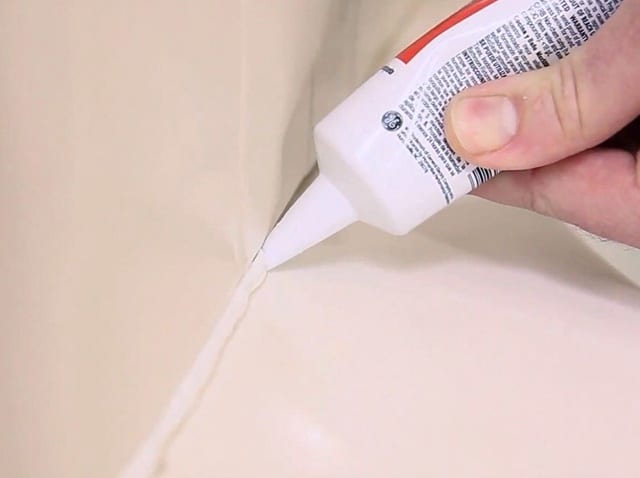
Once you’ve wiped the clean joint with rubbing alcohol, allow it to completely dry. Cut the tip off your tube of caulking at an angle, about the size of the ball on a sewing pin. If you cut the hole too large, you’ll disperse too much caulking.
As you lay a thin bead of caulking into the joint, stop every so often to run your wet finger along the bead of caulking to gently press it into the joint. Wipe excess caulking onto a paper towel to throw away.
Allow the caulking to fully dry before getting it wet. That means no showers, no dish washing, no teeth brushing for the recommended time on the bottle of caulking.