
Unfortunately, there are no “easy” ways to remove wallpaper, but that doesn’t mean it has to be full of torture! I’m here with some tips to help you remove wallpaper as painlessly as possible. Because everyone knows, you just want it gone so you can move on with your life, right? Well, here goes nothing!
The Family Handyman suggests taking a full weekend to really do the job right, and you should. Attack the hardest part on the first day, and then the second day you can focus on making sure the walls are smooth and clean and ready for paint. Day one involves tearing off the first layer of the paper dry–without water–so you can really access the backing, which is when you’ll want to apply water to help loosen it.
Once you’ve removed the first layer of the wallpaper, you need to soak the backing to soften it and help loosen its hold on the wall. Now you can choose how you want to accomplish this {messy} task.

You can soak the backing using a sponge or a mop, and allow the backing to absorb water for about 15 minutes before you try to remove it with a scraper.
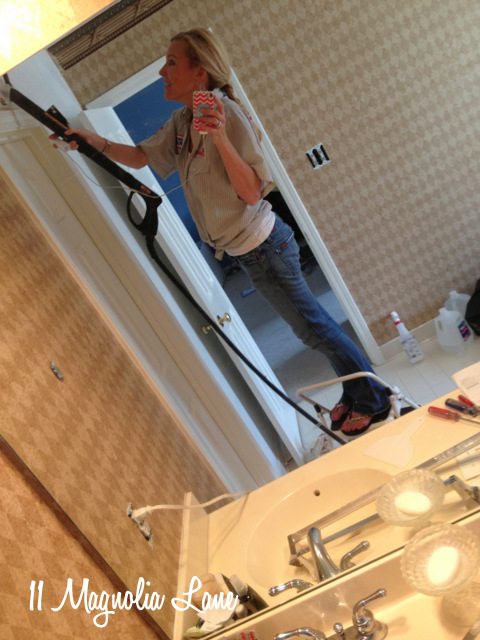
The other option, if you want to spend the money, is to either buy or rent a steam machine. A steamer lets you control the mess better, but takes a little more time to get around the entire wall.


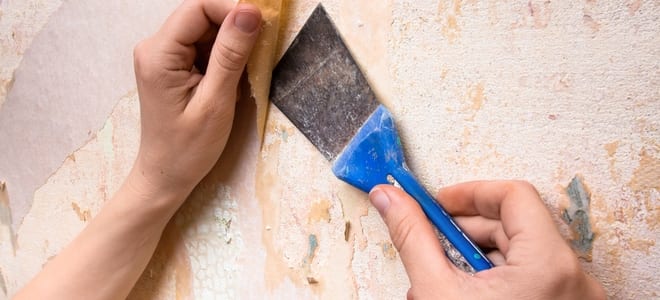
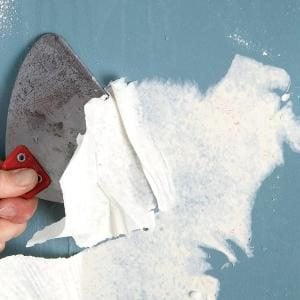
Whether you steam or use a mop or a sponge, scraping is necessary once the backing is loosened. Tips: use a plastic scraper rather than metal, as it is not as hard on your walls, and work in slow, sweeping motions.


For tough, sticky areas, use a gel stripper. It can be painted or sprayed on tough-to-clean areas. Allow it to soak before scraping away the backing.


Once you’ve removed the last of the backing, spend the next day making any necessary repairs to the wall with dry wall compound. Don’t forget to sand it smooth before painting. Enjoy your wallpaper-free walls!

