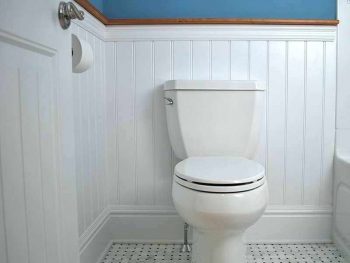

It’s easy to install beadboard! For years I’ve loved what the simple addition of beadboard does for the entirety of your home. Seriously, in just a quick DIY your home is immediately classier! If you want to install beadboard in your own home, use my easy DIY method. Here’s how to install beadboard in your home!
Here’s what you’ll need:
-MDF
-molding
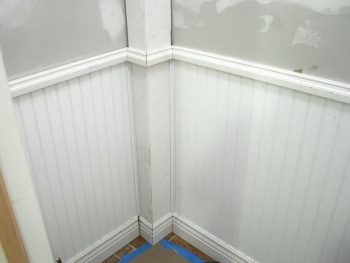

Step One: Use a laser level to determine how long and tall your wainscoting (beadboard) will need to be. A laser level will help you make sure that your horizontal line is perfectly even. Use a regular measuring tape for anything measurement related, and mark off the measurement with chalked twine. Remove any outlet covers if necessary!
Step Two: Now you will want to cut your MDF to the appropriate sizing. I usually make my strips 5 inches (ish) wide. Use the strips to line the base of the room. Wherever your pieces of MDF meet, be sure to cover with scarf joints so the seams are literally seamless. Corner pieces should join at 45 degrees.
Step Three: Attach pieces to the wall with brad nails.
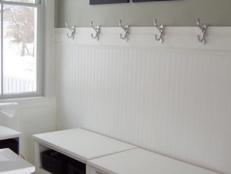

Step Four: Now, you’ll want to halve your 5×8 strips of wainscoting. Cover thoroughly with construction adhesive. Attach to the wall so the wainscoting lines run vertically. Beadboard should be attached right on the strips of MDF around the base of your room.
Step Five: Nail the wainscoting down with 2 inch brad nails. This will help ensure that the bond between the wainscoting and the wall holds up for decades!
Step Six: Trim any beadboarding to fit awkward gaps and corners on your work space.
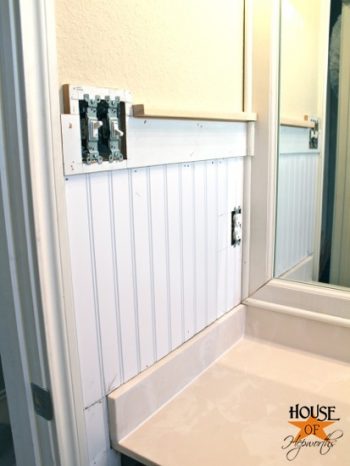

Step Seven: Next, you will want to tack the wainscoting to the MDF baseboard. Use brad seams, and ensure that scarf joints are used if needed!
Step Eight: Add a chair rail by coating the railing in construction adhesive and attach with 2 inch brad nails.
Step Nine: Enjoy your brand new beadboarding!
