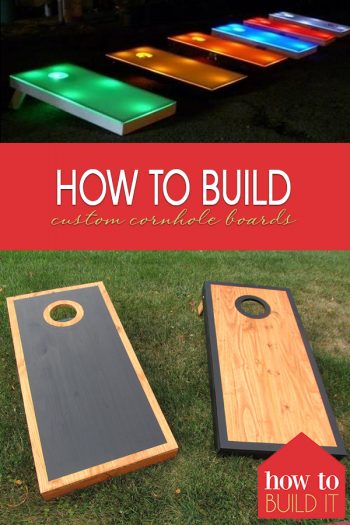
A great way to enjoy summer is with a game or two of Cornhole. Keep reading to see how to build custom Cornhole boards!
Cornhole has been a sign of summer in my household for as long as I can remember. Even when I was a child, my Dad would take my siblings and me outside to “toss the bag” during summer family parties. It was one of our favorite games!
Needless to say, we went through quite a few different boards over the years, and naturally, my Dad built every one of them. Fortunately, he even passed along his tricks to me.
Let me show you how easy it is to build Cornhole boards. Let’s start with a materials list.
You’ll Need:
-(2) 24″ x 48″ pieces of pressure-treated plywood for the surface
-(4) 2×4 x 48″ for the frame
-(4) 2×4 x 21″ for the frame
Step One: Cut your plywood into 2’x4′ sections. Attach the 2x4s together so it forms a small box with the 21-inch pieces and the 48-inch pieces.
Step Two: Lay the plywood on top of your small box and attach with regular screws. This is the top or the “face” of the game board.
Step Three: Next, you’ll cut down a 2×4 to create the legs of your cornhole board. The height of your legs is completely up to you. Unless of course, you are making a regulation cornhole board. In that case, your measurements will have to be a little more precise. If you have enough room on your cornhole board, see if you can have your cornhole legs “fold up” into the framework of the board.
Step Four: Once cut, attach the legs with a washer and a wing nut.
Step Five: After the legs of your cornhole board have been attached, it’s time to cut the hole! Use a compass and a pencil to mark a 6-inch diameter on the face of your board. After your circle has been drawn, you’ll want to drill a small hole along the diameter of your freshly drawn circle. The hole shouldn’t be large, just large enough to fit your jigsaw in to finish carving out the hole.
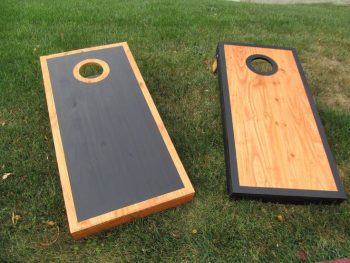
Step Six: Now that your cornhole board is done, it’s time to put on a few finishing touches! My Dad always told me to sand down the new board (because no one likes getting a splinter trying to move the board…) so it’s completely smooth. You can elect to fill in the screw holes with putty, but this is entirely up to you. I always do, and I think the end result is so much better.
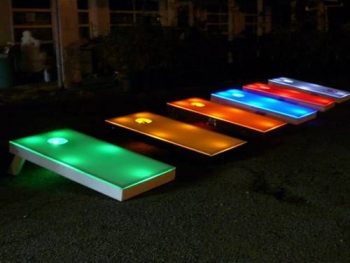
Step Seven: Time to customize your creation! Make sure that you cover your board with a coat of primer before applying the actual paint. I always use painters tape to “sketch” out my designs prior to painting.
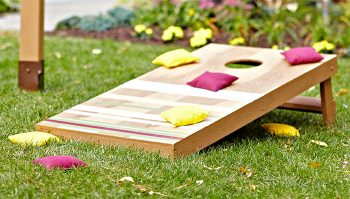
Step Eight: Time to enjoy your Cornhole boards! Break out your latest creation at your next barbecue, and try a few of these recipes from Cut Side Down!