Here is your beginner’s guide to patching small holes in drywall flawlessly. Believe me, if I can do it, you can too! Patching drywall is a great way to do an easy home renovation.


Patching Drywall
Let’s look at perhaps the most common reason why you would need drywall repair: doorknob damage. Someone opened a door too hard and sent the doorknob through the wall behind the door. It’s frustrating, but no worries! This is a small hole repair and is the easiest patch to do.
Patching Drywall-How To
Step one is to clean up around the damaged area. Use a utility knife to trim up around the hole and make it neater. You can then use a peel-and-stick patch of drywall mesh to cover the hole. The mesh gives the drywall compound something to grip and hold on to.


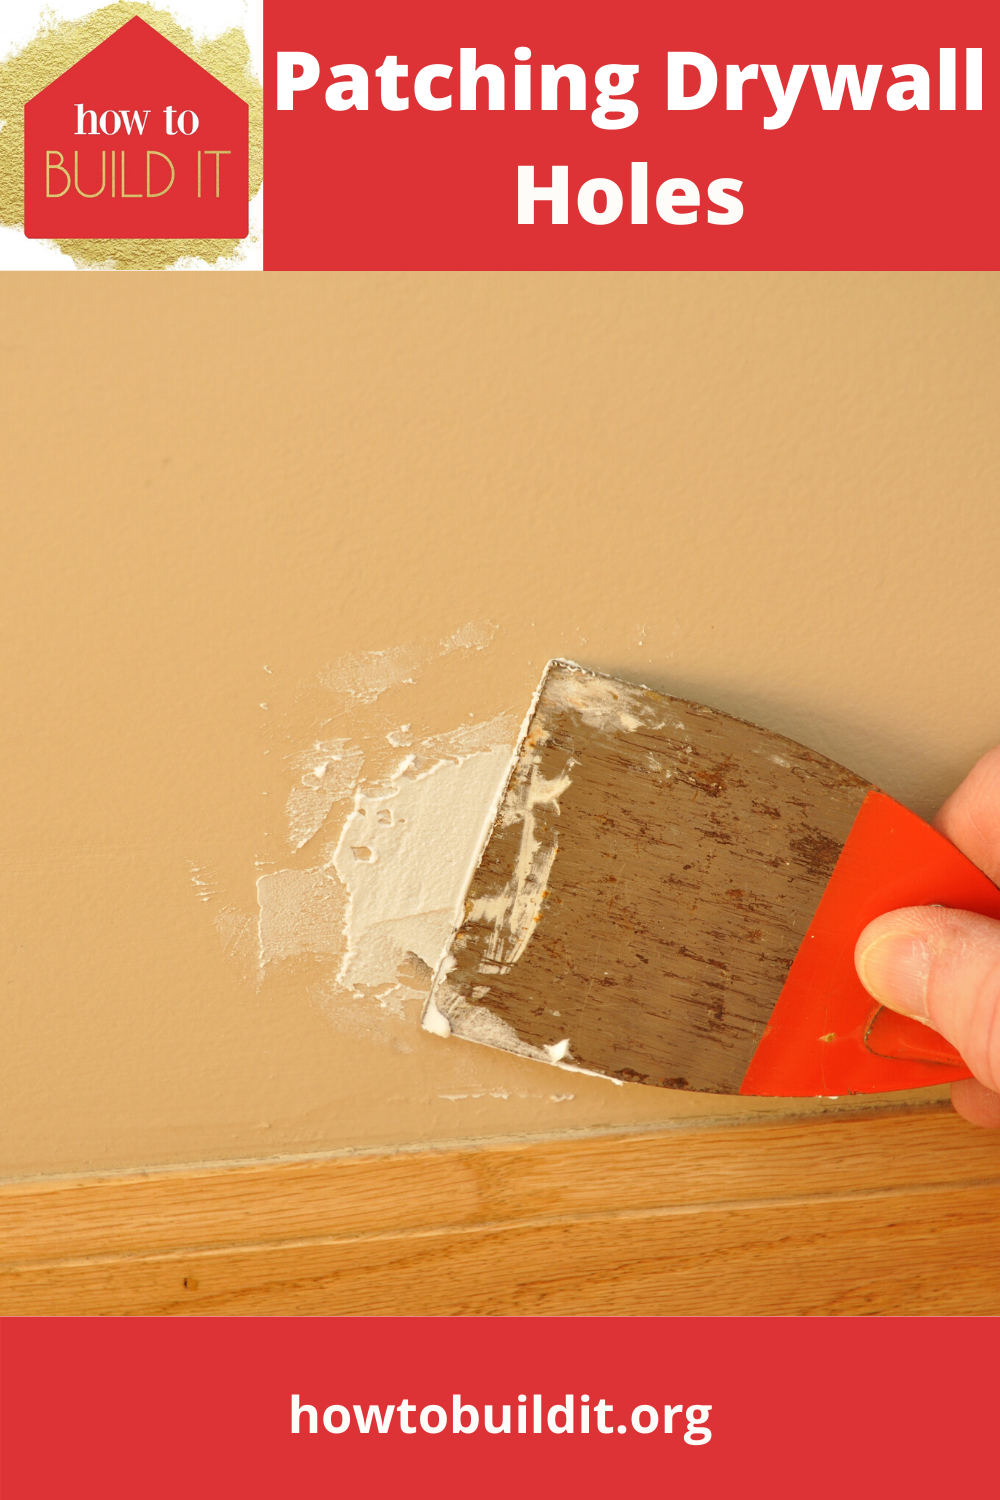
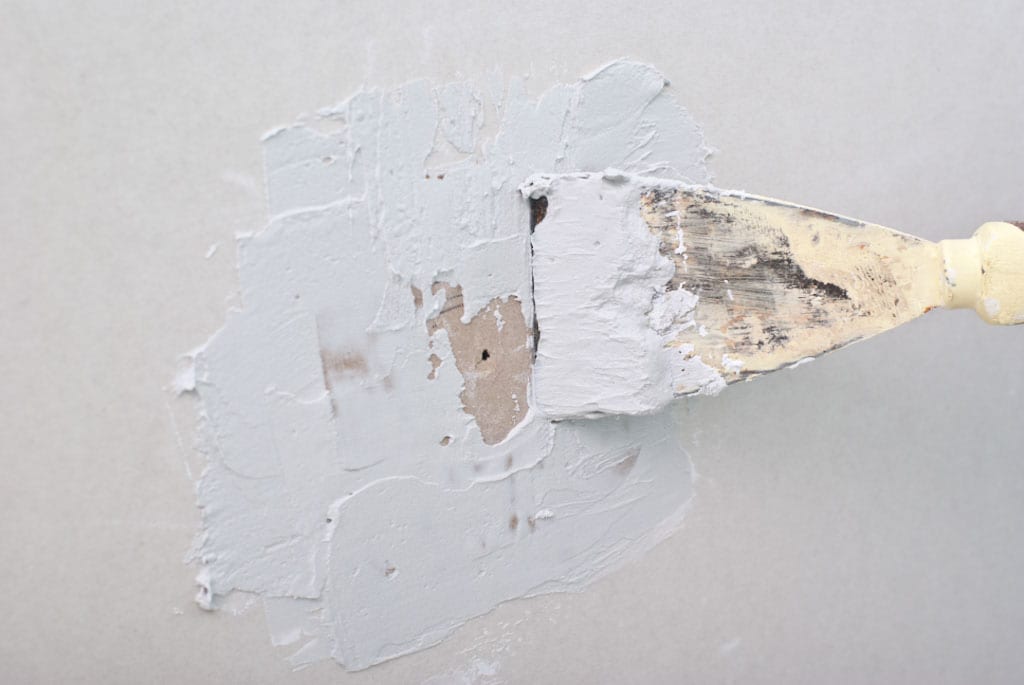
Use a 4-inch or 6-inch drywall knife to apply drywall compound to completely cover the mesh repair tape. Note that you only need a thin coat, with a total of 3 to 4 coats in all. Drywall compound comes in lightweight or all-purpose. You can use either, though lightweight compound dries faster and sands easier than all-purpose.
Always work from the center of your patch outward, keeping the drywall knife at a 45 degree angle to the wall. Cover the patched area and beyond it approximately 4-6 inches, blending into the rest of the wall. Use a light touch, and don’t stress out about it. You should take only a few passes in each direction and be done with it, otherwise you can overwork the compound.
Pull off the excess drywall compound with your drywall knife, and leave it to dry for several hours or overnight. The next day, apply a final, thin coat of compound to the patch.
Once this area dries, use fine sandpaper to sand the patched area, so that it blends with the rest of the wall, but be careful not to uncover the mesh. Use your hand to feel the wall and make sure there are no noticeable bumps or lumps in your patch. Sand them down if you notice any. These will show once you repaint the area.
Before repainting, clean away all sanding dust with a damp cloth. Once you repaint, no one will ever know!
And when you need to fill a nail hole, that’s easy, too.


Thank you very much for sharing these tips. it’s rally important to let that drywall patch completely dry before you try to sand it down. Otherwise, you wind up ruining the patch work, and may have to start over again!
Pictures thru all the steps would help. I am terrible at this…and follow these steps, but it always looks like crap