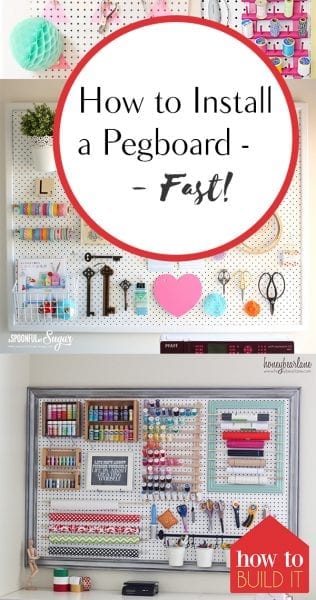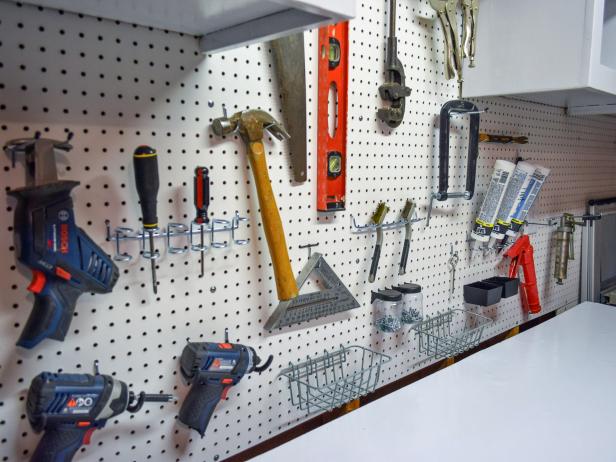

Pegboard helps you keep your work space or your crafting space more tidy and organized. Knowing where your tools and supplies are and being able to access them easily is also an incredible time-saver. Here’s some great information to help you install a pegboard in any room–fast!


You can easily install a pegboard in any room, even right over a finished wall, by building a frame of pine 1x2s on the wall where you want the pegboard. {Building a frame allows the necessary space behind the pegboard for the hooks and holders to be inserted in the holes}. The frame needs to be the exact dimensions of the pegboard you want to mount to the wall. Pegboard is usually available in 2’x4′, 4’x4′ and 4’x8′ pieces. You can use it as is, or cut it to fit your own dimensions.


Use screws to mount your pine 1x2s to the wall in the same dimensions as the pegboard. If you’re mounting it to drywall, you will need to include plastic anchors if you can’t screw into a stud. Then use a screw gun and 3/4″ wood screws and washers to mount the pegboard to your frame. Be careful to align all the outer edges. Space the wood screws at regular intervals along the pegboard. Note: if you don’t have a screw gun, you can pre-drill holes and then screw in your 3/4″ wood screws using a screwdriver. Once your pegboard is mounted securely to the wall, you can have fun painting it in a color to match the wall, or in a bright color to make a fun statement.


