Learn how to restore vintage furniture with chalk paint and my simple DIY!
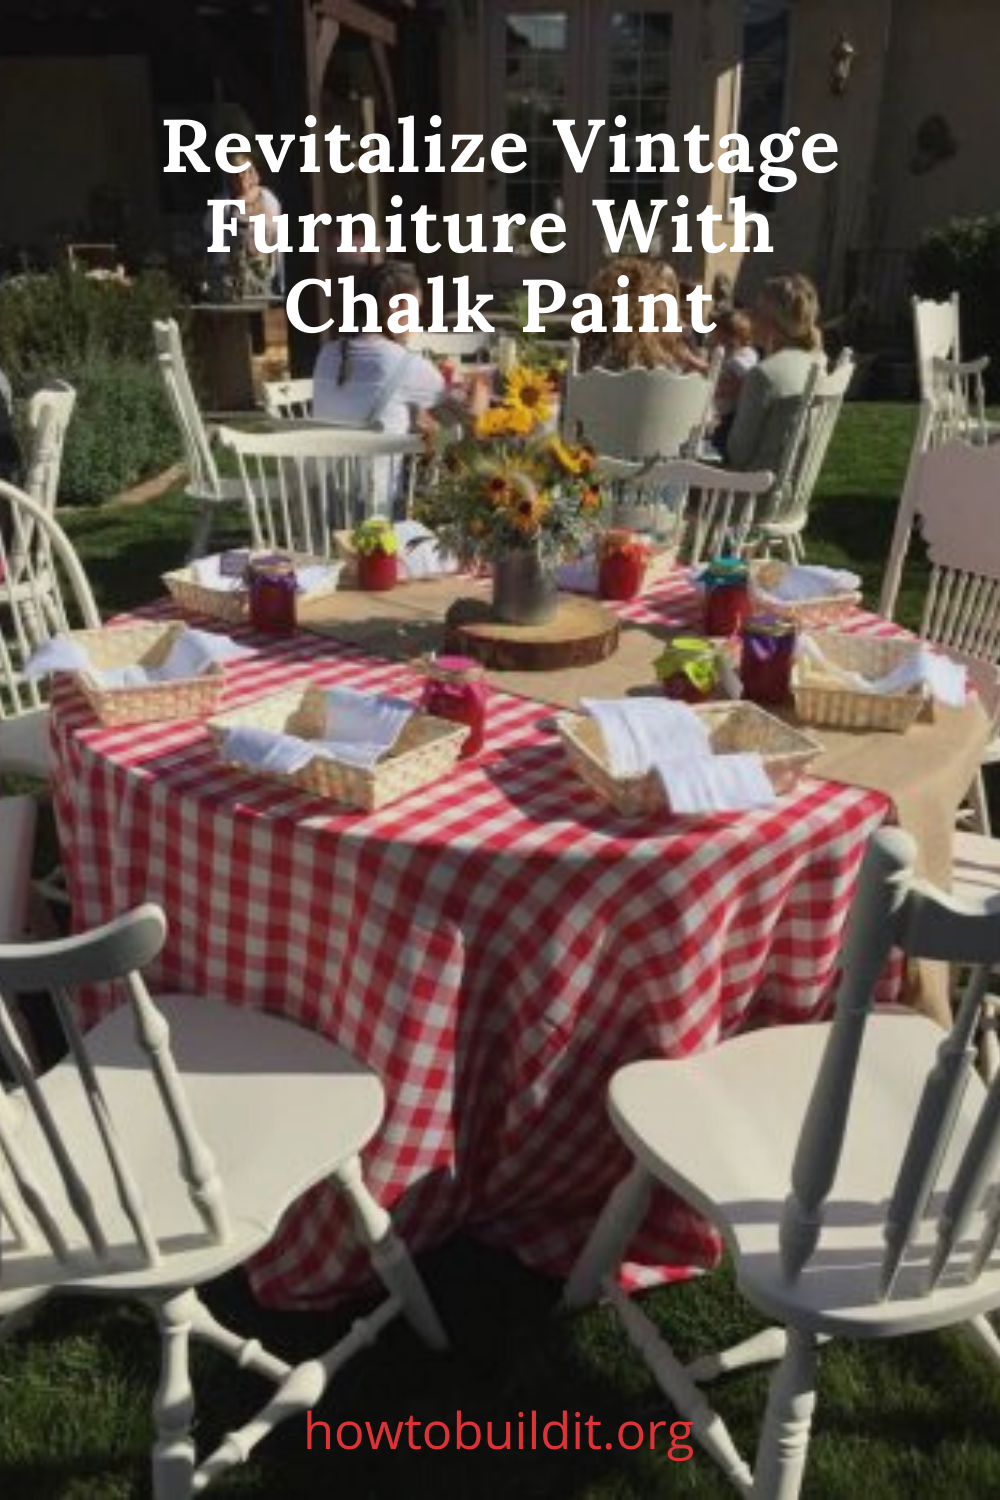

I’ve collected vintage furniture for as long as I can remember, and I’m frequently seen looting around estate or yard sales. You can find some gorgeous pieces, and although they may look outdated on the outside, a little chalk paint is all you need for a quick restoration.
A steady hand is just about all you need … but these items will help out, too:
-chalk paint (I like this kind)
DIY Chalk Paint Tutorial:
Step One: Always sand your furniture! Even if you think it is varnish-free, you should still sand. Don’t listen to anyone who tells you to avoid sanding!
Step Two: After you have sanded off varnish or any other kind of varnish, wipe your furniture clean with a tack cloth. Use something that is lint free for best results.
Step Three: Next, I will apply my chalk paint using my paint brush. Remember that a little bit of chalk paint goes a long way, and you can certainly use your own discretion when deciding on coat thickness! As always, go with the grain of the wood! Allow each coat to dry (most coats dry in under an hour) before moving on to the next.
Step Four: Typically, I find that two or three complete coats of paint are often enough to make your furniture look great!
Step Five: Wait at least 8 hours for paint to fully dry before moving on. You can elect to distress your furniture with some sandpaper, or you can leave it be! I typically leave my chalk paint finishes alone, because over time they distress themselves!
Step Six: Does your newly painted furniture look perfect? Yes? Use your wax brush to apply chalk paint wax to your furniture, moving in small, circular motions. Move in sections, and wipe away any paint bristles with your tack cloth. Once the wax dries, it will harden and protect your furniture from just about anything!
Chalk Paint Colors: There are so many color options these days. I also like to mix my own colors by combining certain paint colors together.
Distressed Chalk Paint: This is a great way to give and old or rustic look. Simply sand through the paint until you achieve the desired look.
Annie Sloan Chalk Paint: Annie’s paint might not be the cheapest, but you get what you pay for. Her paints have great color options, finish styles, and the coverage is awesome.
That’s it! Using chalk paint to restore vintage furniture is one of the easiest DIY projects I’ve ever done.
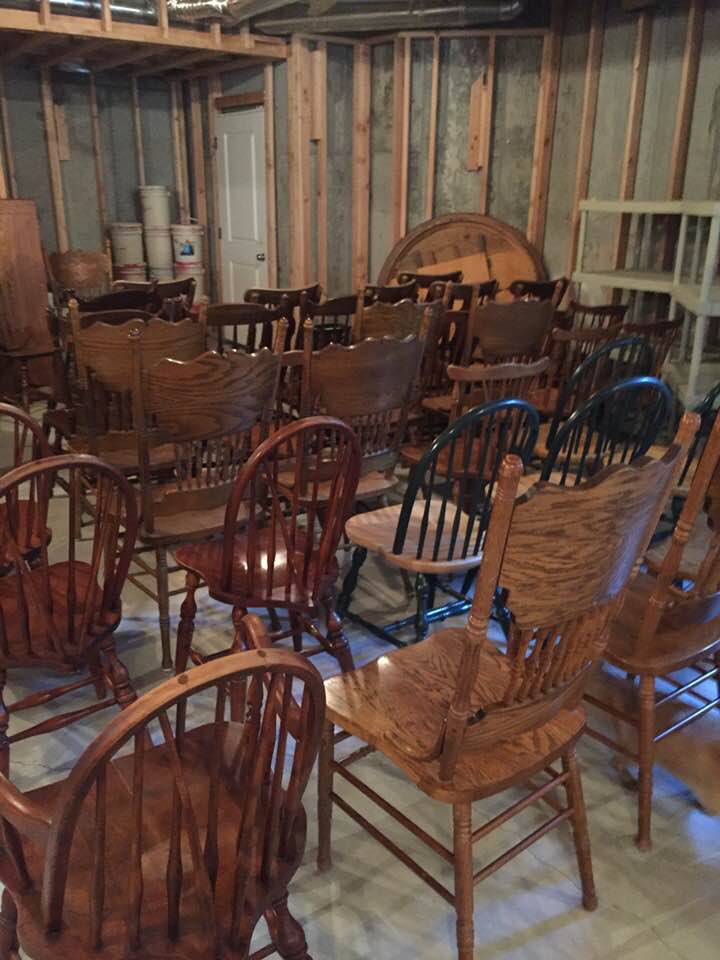
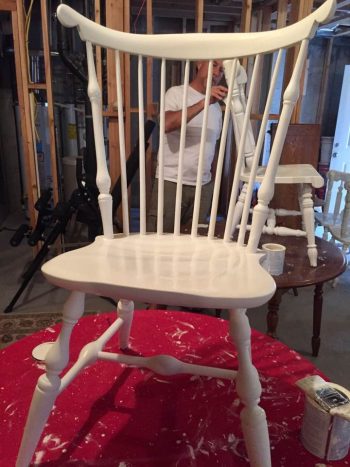
Check out my pictures below to see how I restored vintage chairs for a recent event I held in my backyard:
I started out with over 30 chairs! This was quite the project!

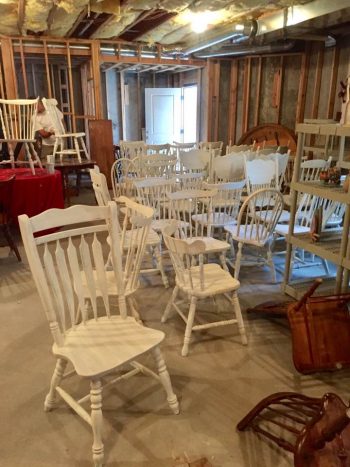

I love to work in my basement! No drop cloth is needed, I’ve just got to open the windows!
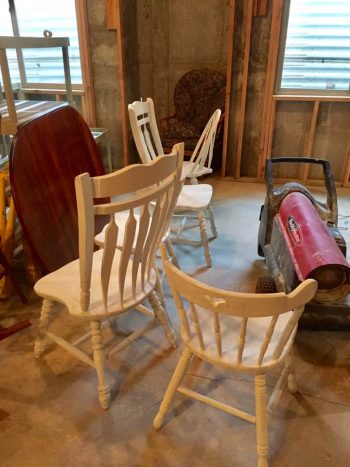

I had so many chairs that I definitely needed help with this painting job.

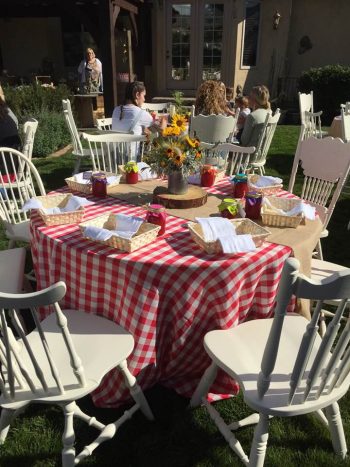
See how cute they turned out. The mix and match look was perfect for the farmer’s market bridal shower.

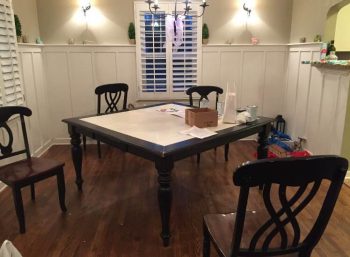
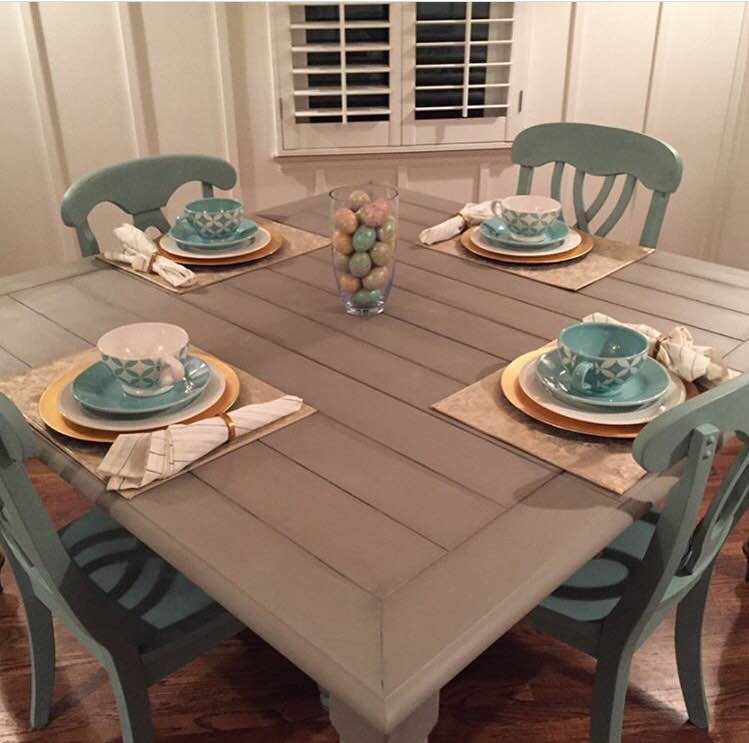
From a different project, I helped a friend make her old kitchen table match her new kitchen! This was the before:

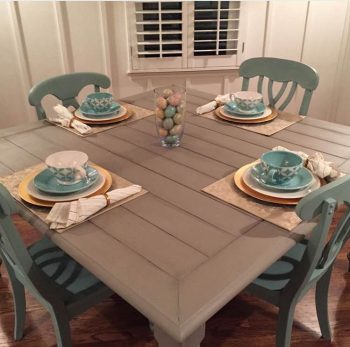
This was the after! It completely transformed her kitchen table, and I loved her colorful chairs!

Thanks for reading. Remember to post pics of your chalk paint project. Be creative and let the look reflect your style.

Great knowledgeable advice. Lovely photos.
Annie🦋
Thank you!