
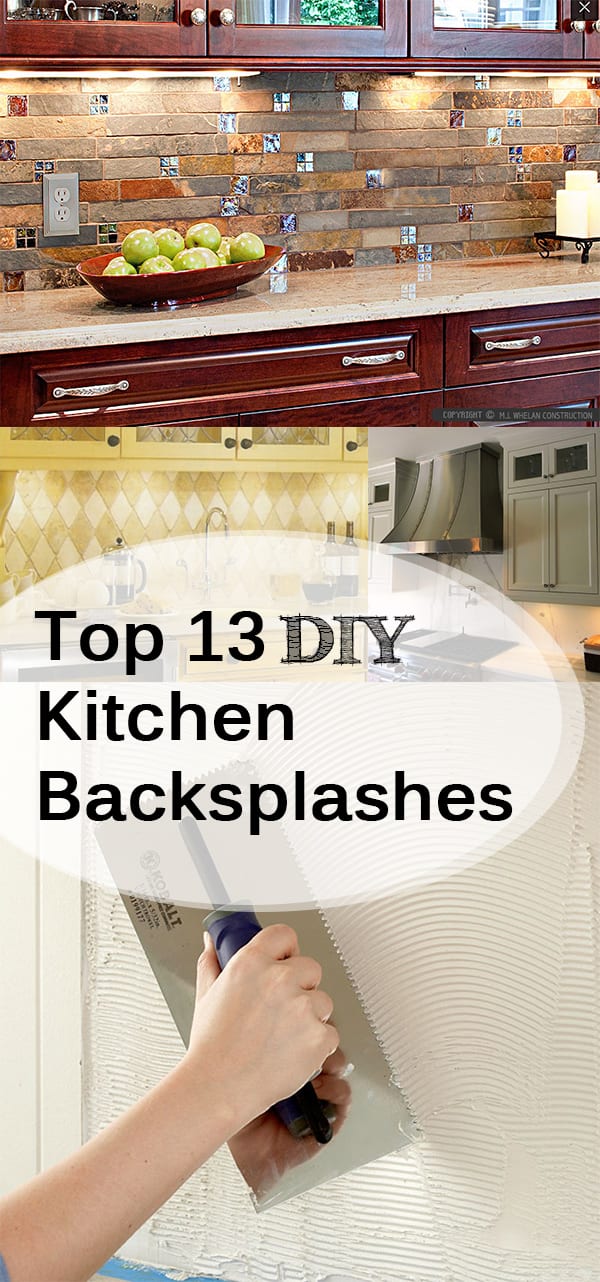
Installing a backsplash is an easy way to spruce up your kitchen without the hassle and cost of a complete remodel. And, of course, the best part is you can DO IT YOURSELF! Here’s how and a few great examples!
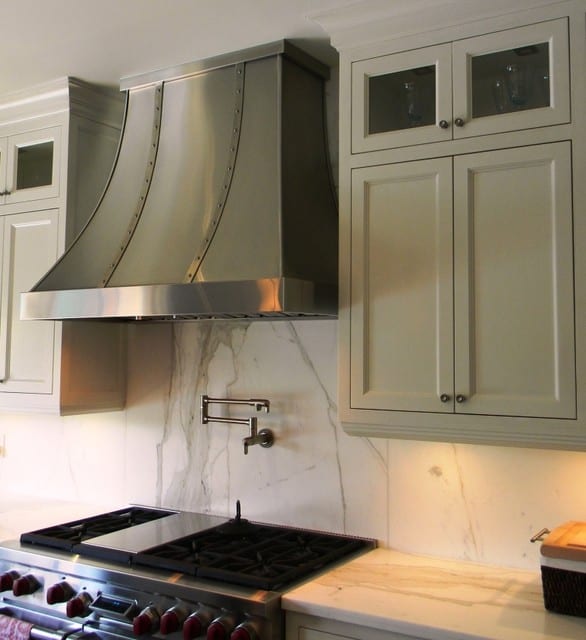
Vent Hood
Remove the current vent hood, making sure to turn it off and disconnect the electrical wiring before you do. You can do this by yourself, just make sure you’re very careful because it can be a little tricky.
Adjoining Cabinets
Remove the adjoining cabinets of the hood using a screwdriver. Make sure you have someone hold the cabinet as you unscrew so it doesn’t fall off. Keep the pieces together so you don’t have to put a puzzle back together when you’re done!

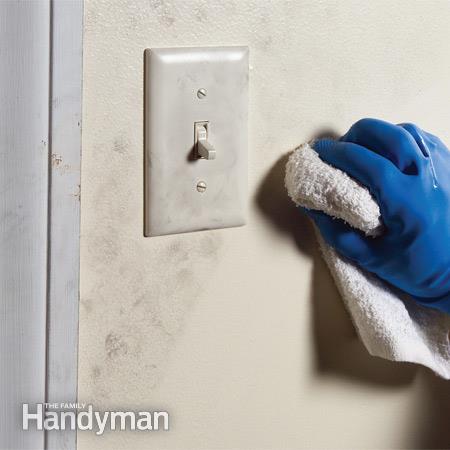
Clean and Prep Walls
Wash the walls you will be adding the backsplash to with a non-sudsing solution. Then sand the walls with 100-grit sandpaper. Be aware that if you’re home was built before 1978 it might have lead paint, and you should not sand it. Instead, use paint de-glosser.
Protect Countertops
Before you start getting paint everywhere, make sure everything is covered that needs to be. Protect your countertops by taping down kraft paper or something else that will stop the paint from sticking.

Sketch it Out
Figure out how much tile you’ll need by sketching your design on graph paper. Buy an extra 10 percent of tile for end spaces and mess-ups. You can buy tile that is stuck together with metal mesh, eliminating the need for spacers.

Test
Lay out a section of your tile (with spacers) in the design you want to see how much space it will cover. Re-measure your wall space to make sure your design will work. Draw layout lines on the wall to use as general guidelines.
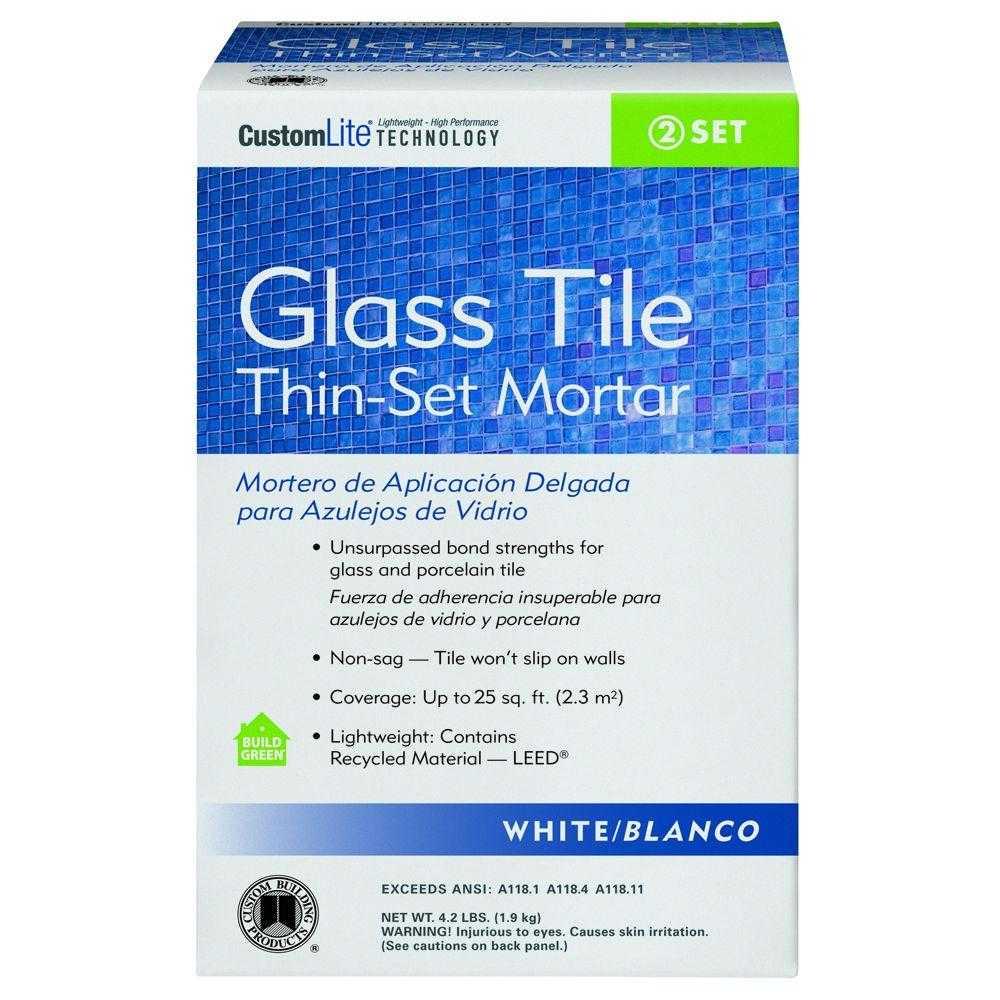
Choose Adhesive
You can use a simple tile adhesive to apply the tiles, or tile mastic, OR mortar (see step 7). Just choose one that will work well for you and meets your needs.
Mix (for mortar)
Mix 1-1 1/2 quarts of thin-set mortar. Don’t mix more than you can use in a half hour period. Add an acrylic-bonding agent and water in equal parts to the mortar powder to improve bond. Mix until the mortar is toothpaste consistency. Allow the mix to sit 10 minutes before you start using it.
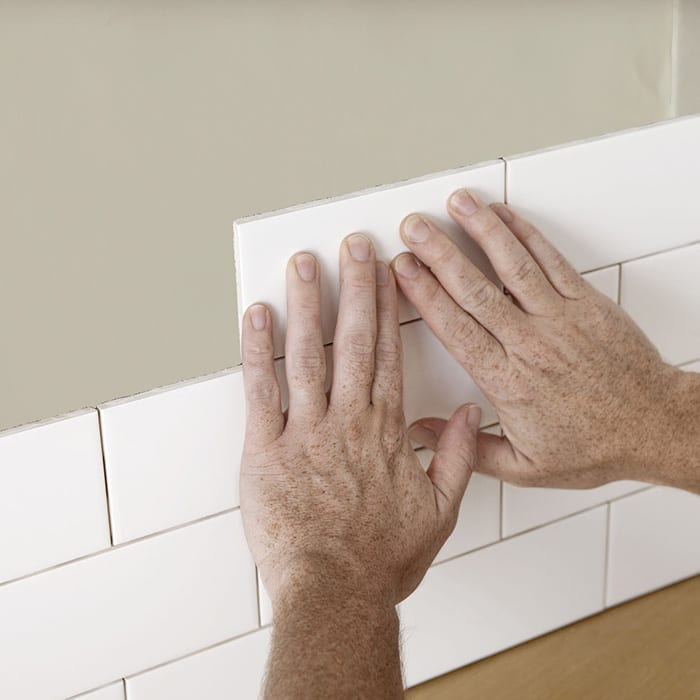
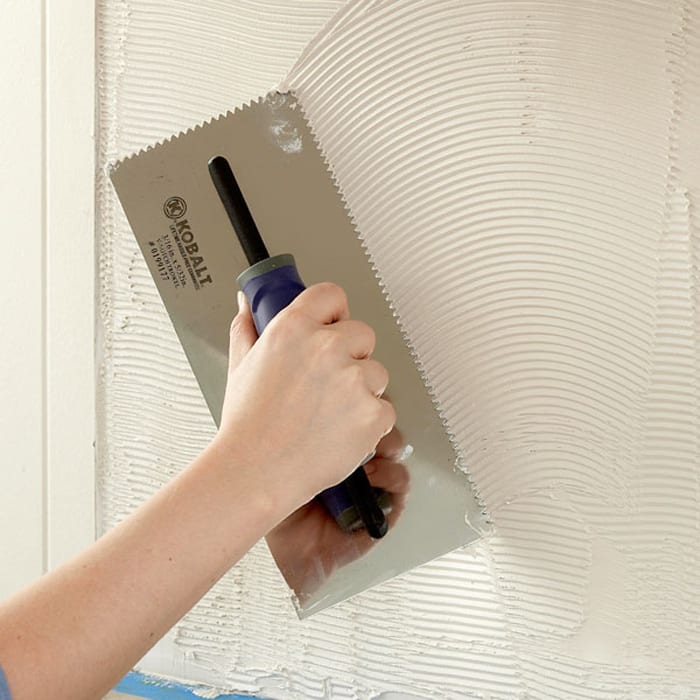
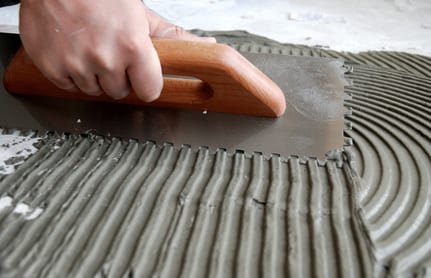
Apply
Use a notched trowel to apply the mortar to the wall. Ask your supplier what size notch will be best for installing your tile. Press the tiles directly on to the mortar, checking your pattern frequently and making sure it’s level.
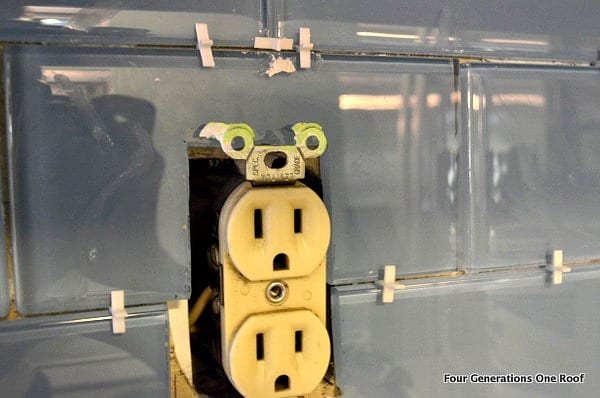
Outlets
Turn off the power to your outlets and remove the devices. Use a wet saw to trim the tile to go around the electrical outlets. Again, be careful on this step because it can get dangerous.
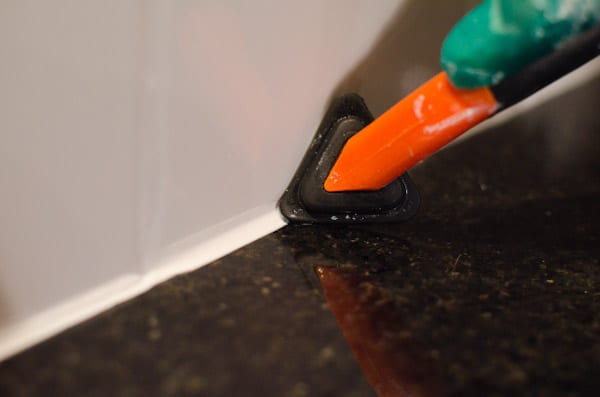
Grout
Grout the tile and wipe off the excess with a sponge that has been wrung-out to prevent adding water to the grout. Wipe off the entire surface with a damp cloth. Once the grout has set, caulk the space between the tiles and the countertop using siliconized latex caulk.
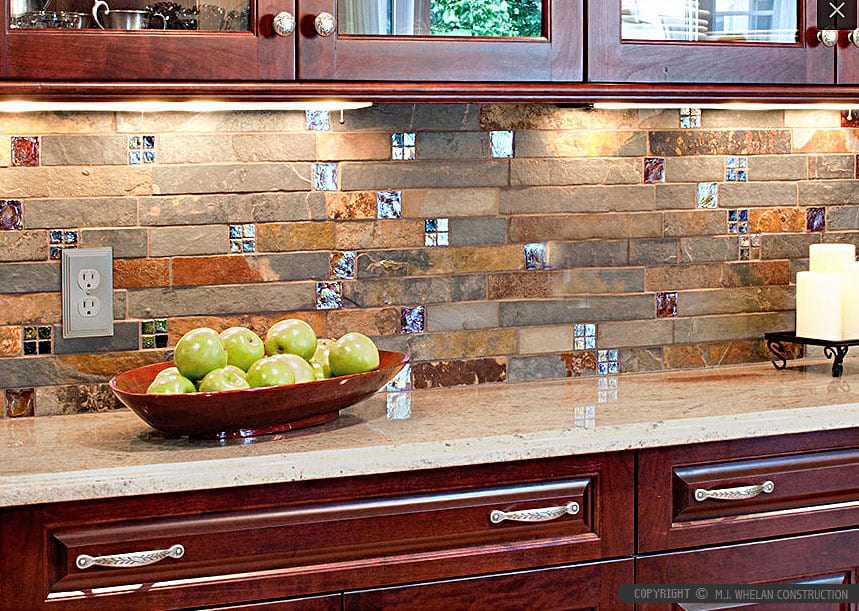
Slabs
Here’s one great backsplash idea that you can try! Use slabs of slate tile as your backsplash that differ in color but still complement one another. You can make it even better by adding pieces of glass tile between the slabs.
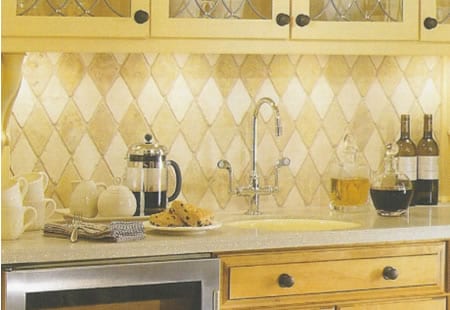
Diamond Shape
There are tons of backsplash ideas, but this is a classic pattern. Diamond shaped backsplash looks simple yet elegant and really makes your kitchen look chic and sophisticated. You can have diamonds of different colors or just keep it similar with one shade.
Title of article is very misleading. It should be labeld “steps required to install a backsplash”. Showing 2 different backsplash designs does not constitute 13 kitchen backsplashes.
Good installation instructions though.
Hey Theresa! Sorry for the confusion, if you use the arrows on the left hand corner of the article, you can scroll through and see some of my favorite ideas! 🙂 Let me know if you still have issues viewing it! Thanks for reading!