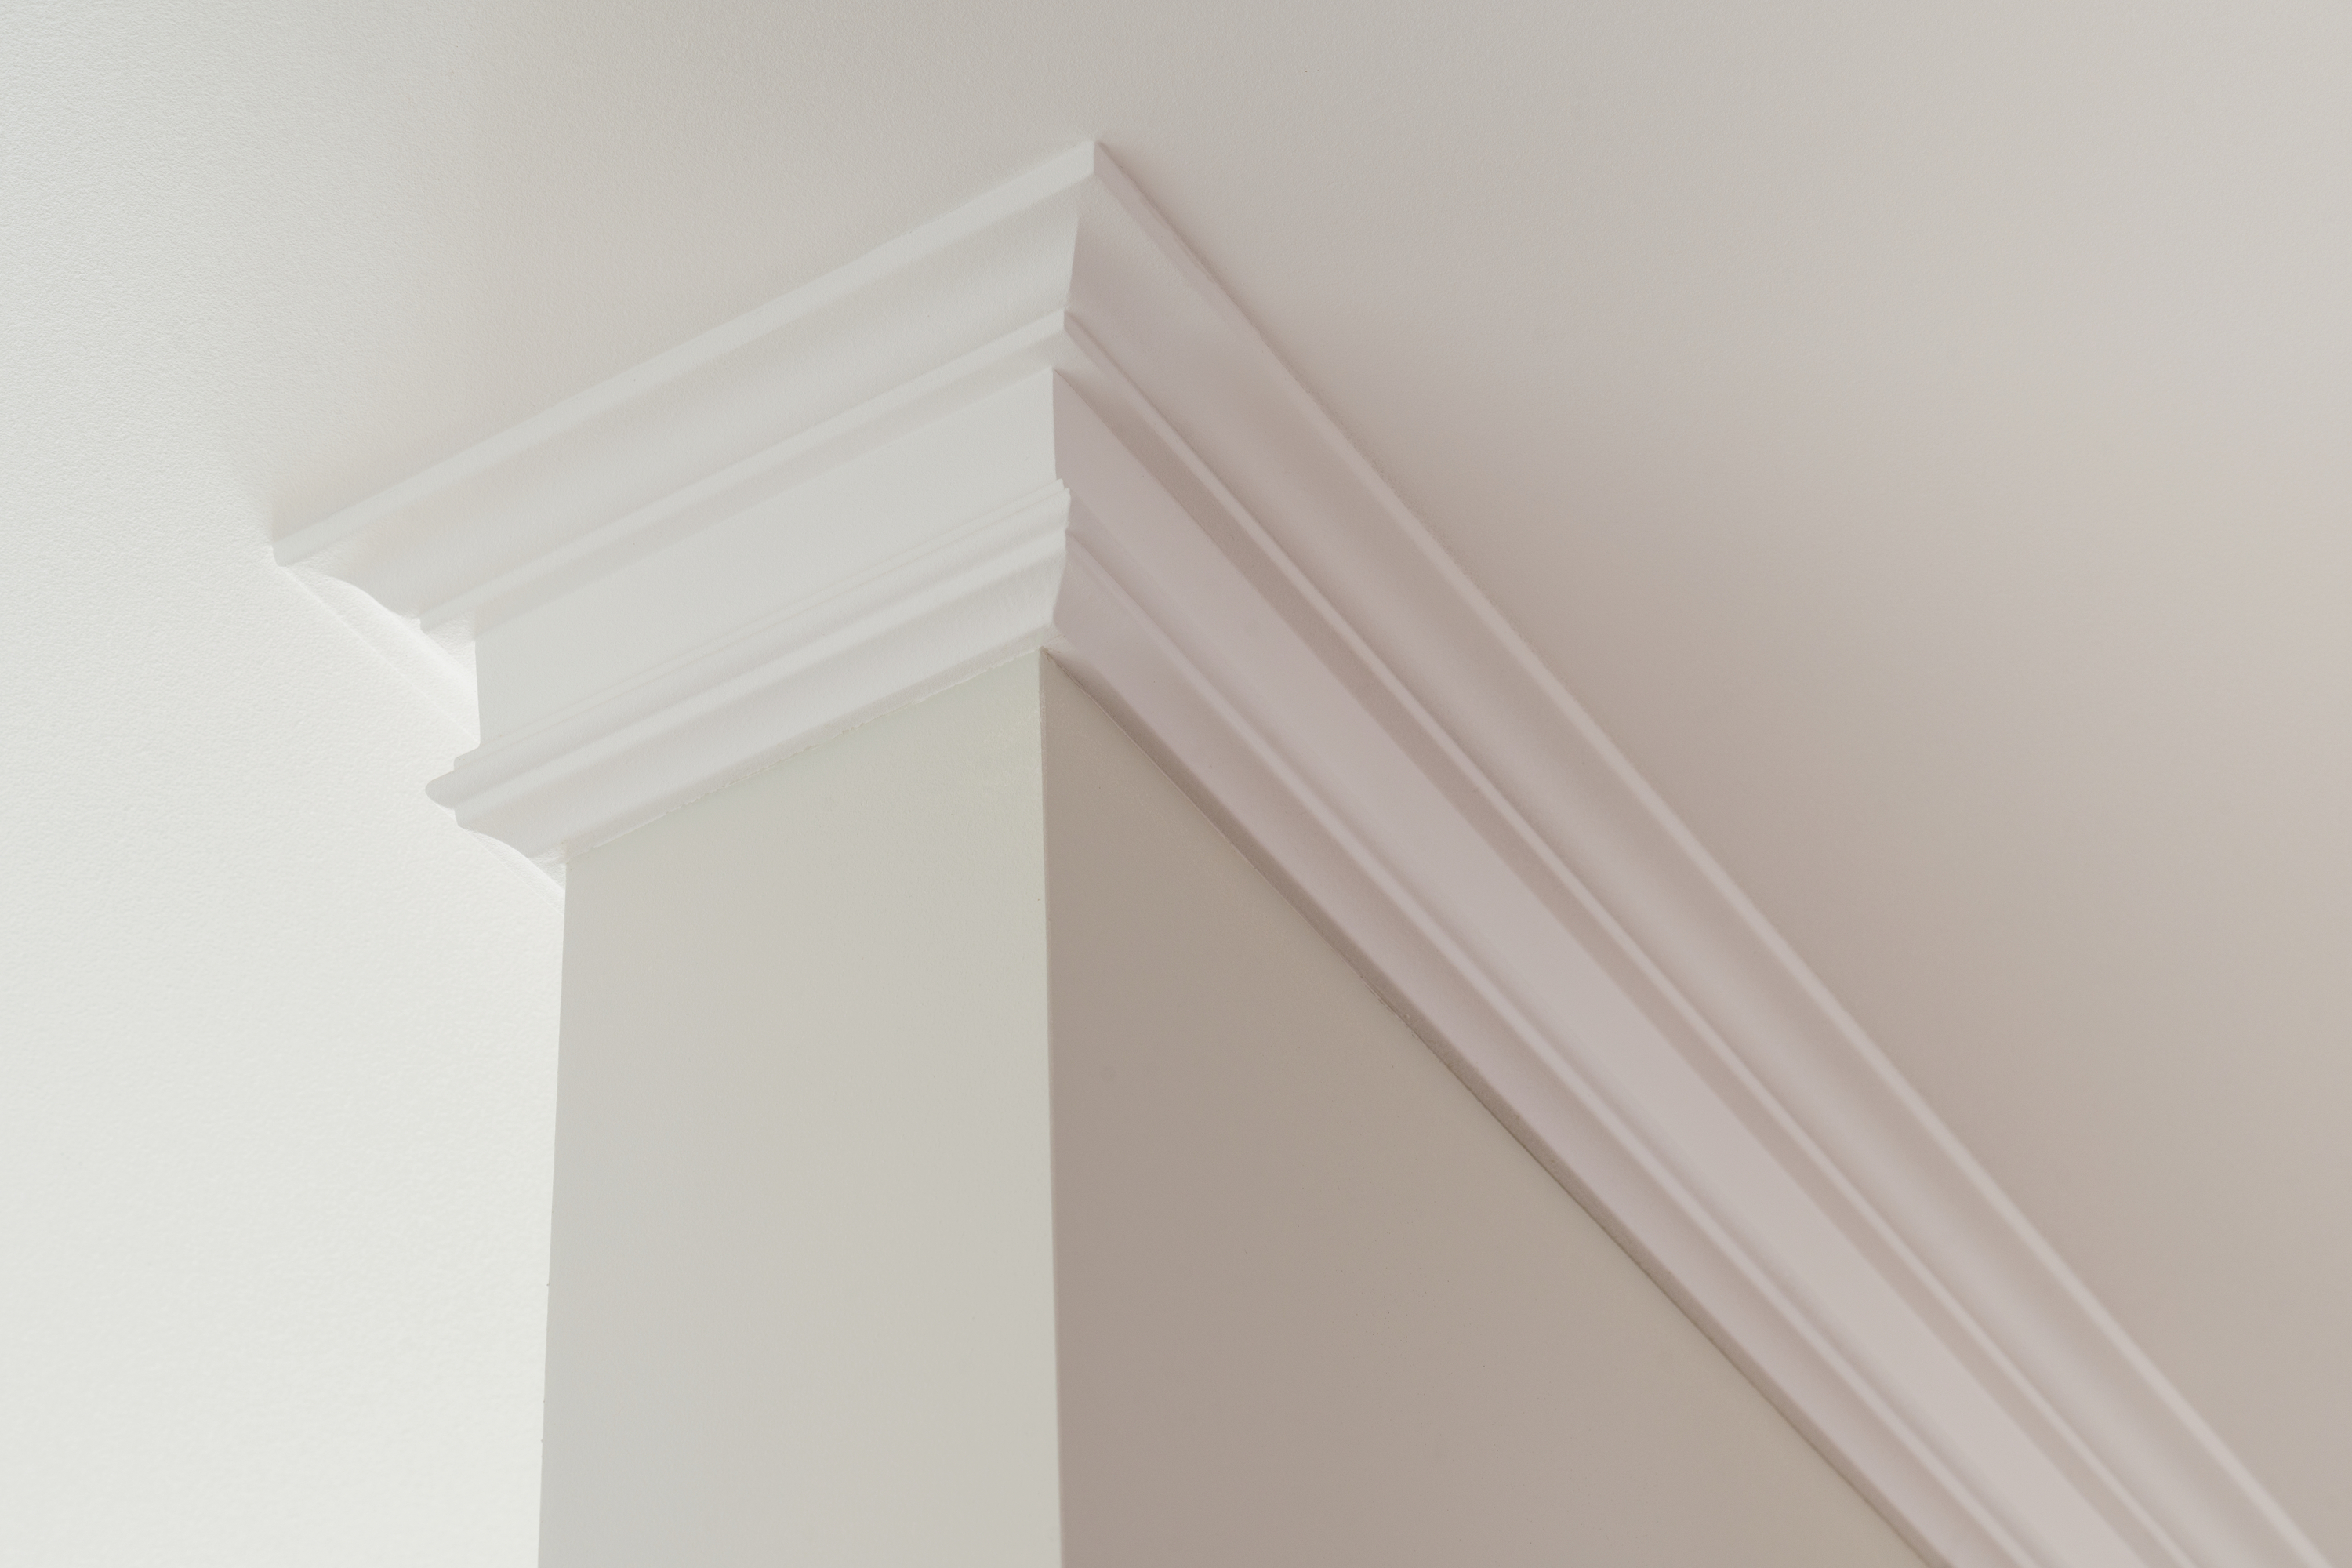
Are you thinking of updating the crown molding in your home? Though it may sound like a daunting task to some, crown molding is a relatively straightforward way to update your home easily. And not only is it a great way to make your home look more appealing visually but adding crown molding can also raise the value of your house. Seriously. This home improvement project is a win-win, no matter how you choose to look at it. However, while installing crown molding is easy enough for most DIY, I’ve learned that one of the trickiest parts of installing new crown molding is learning to cut it the right way! But never fear, I’ve since perfected the method and I’m here to share it with you! Follow this guide to learn how to cut crown molding.
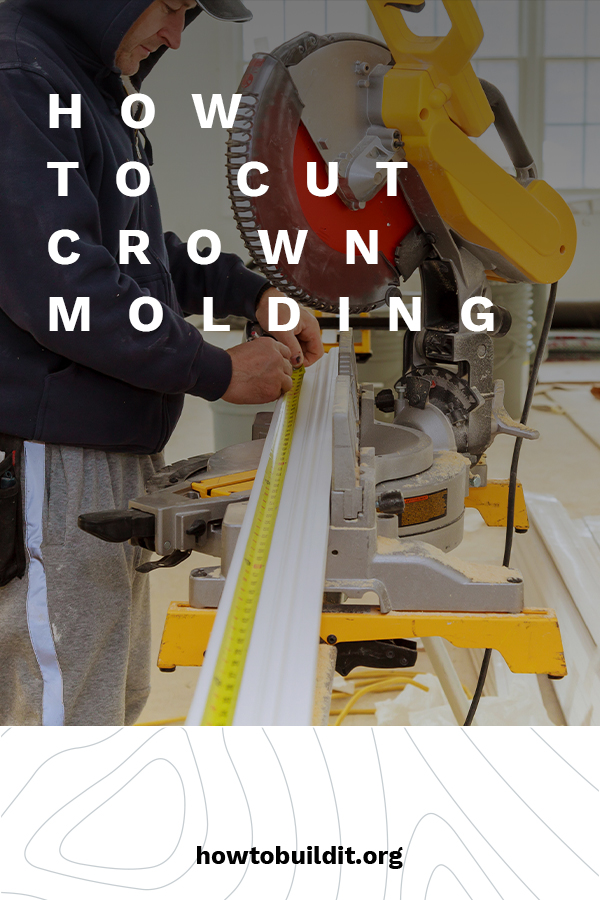
How To Cut Crown Molding
Here’s What You Need:
-Miter saw
-Coping saw
-100 grit sandpaper (as far as I’m concerned, sandpaper is necessary for a great finish on every project)
For Scarf Joints
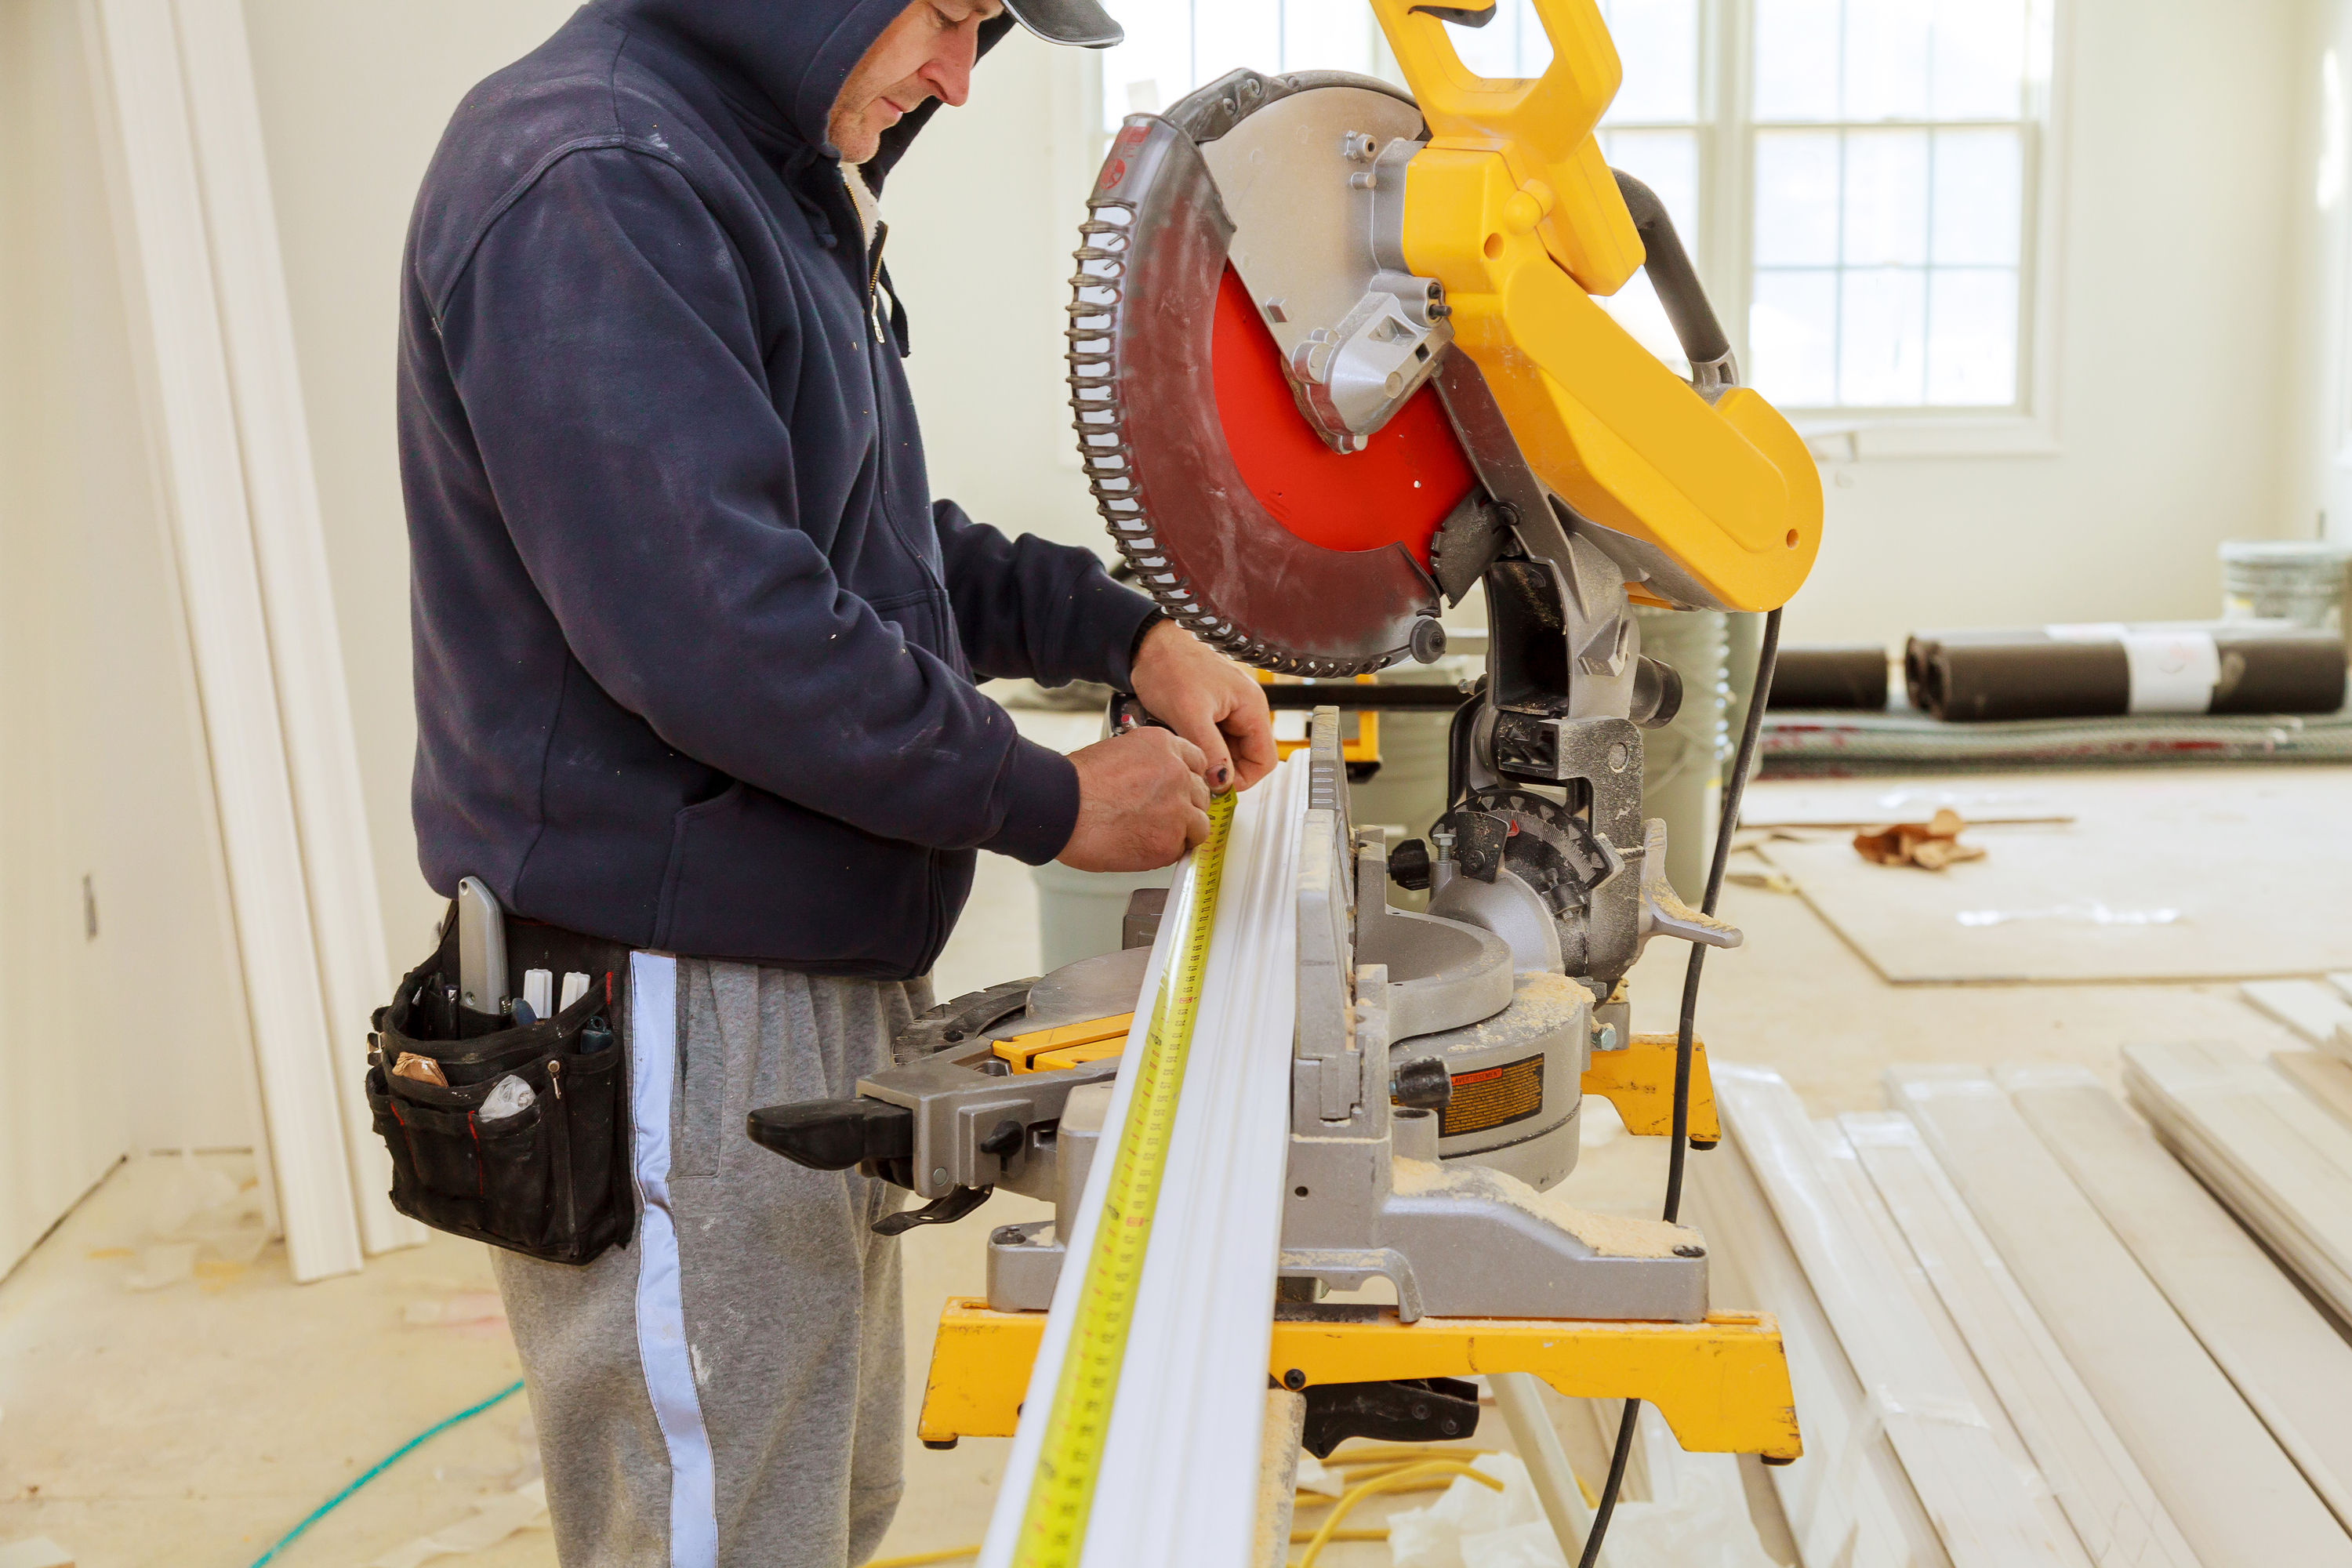
For scarf joints, place your crown molding right side down on a miter saw table. Make sure it is sitting at the same angle as it will be installed in your home. Cut two lengths of crown molding to a 45-degree angle to create the joint.
For Outside Corner Joints
Set your miter saw to 45-degrees to the left. After the saw has been set, go ahead and cut the first piece of crown molding. Flip the saw so it reads 45 degrees to the right, and cut the second. Just make sure that the crown molding is again sitting at the right angle on the table.
For Inside Corner Joints
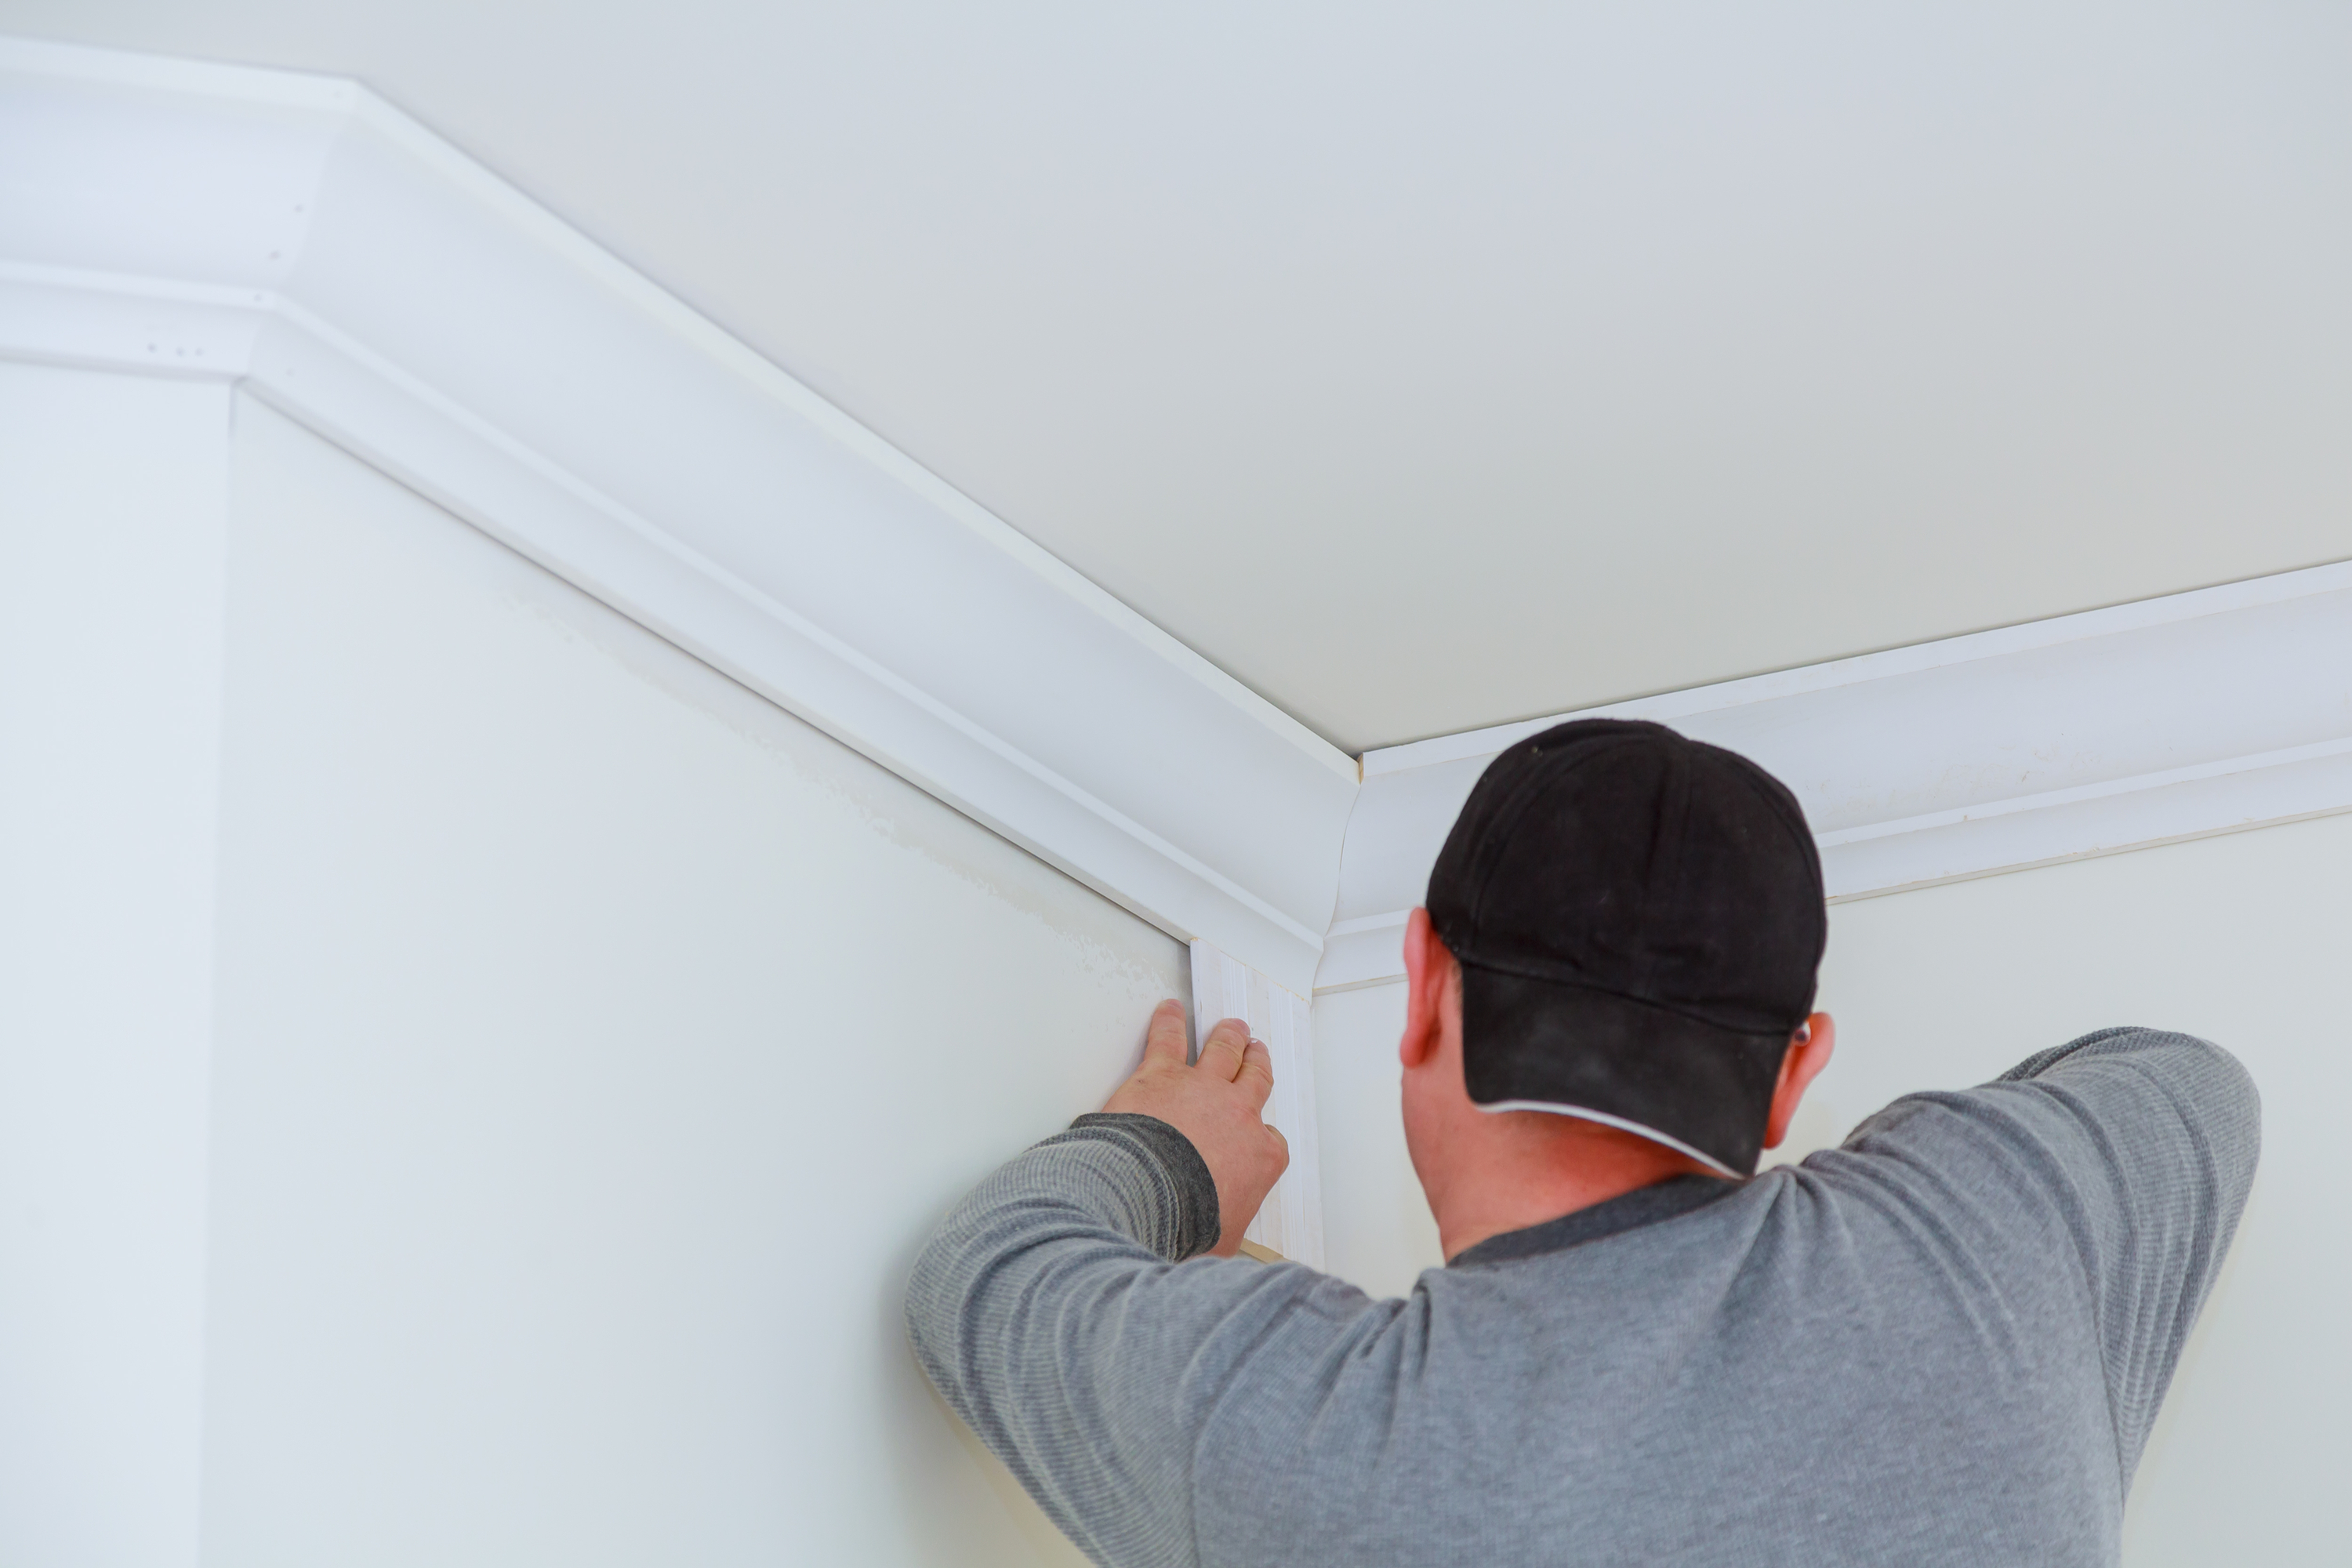
To cut crown molding for inside corner joints, DIYers should make a square-cut to the first piece of molding and then place it into the corner. Next, cut the second piece of crown molding (again with the miter saw) to 45 degrees. Next, cut along the leading edge of the crown molding with a coping saw, sand it when done, and fit the pieces together.
Don’t Forget These Tips!
-It is easiest to use a miter saw when cutting crown molding. I wouldn’t suggest using anything else.
-When cutting, always lay the molding “upside down.” Basically, always make sure that the molding’s wall edge (or the bottom) is against the vertical cut of the saw. You get a much more accurate cut that way.
– Always wear safety glasses and gloves! Sawdust can really fly and it’s horrible when in the eye.