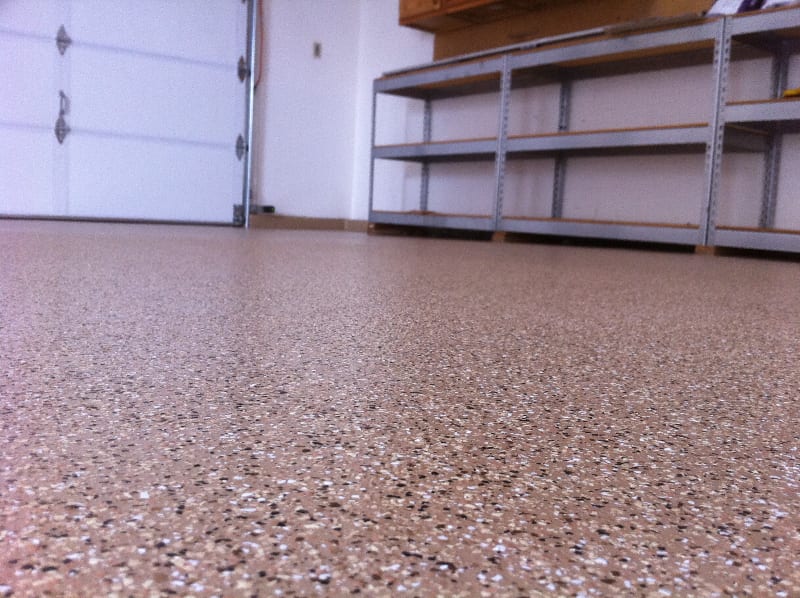
I love a clean garage. I am a woodworker, and I have dust collection systems that help keep it this way. When you epoxy your garage floor, it not only looks nicer, but it also protects it from oil and grease and makes the garage floor much easier to clean. Garage floor epoxy is one of my favorite products and one home improvement project that I would highly recommend. It is relatively inexpensive for what it provides. There are some tips you should know before you get started. These things will help make this process easier and give you a nicer final product.
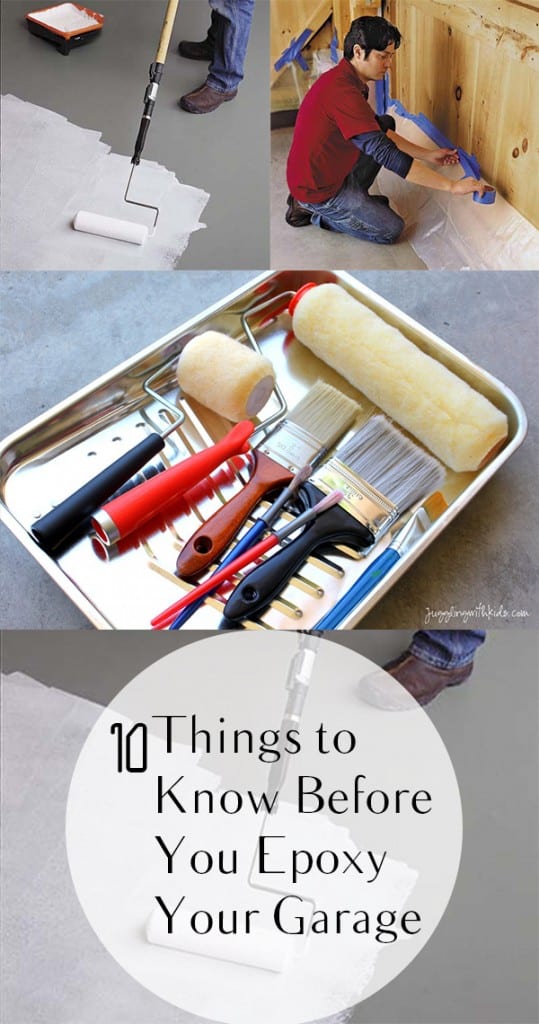
1. This is a 2 person job.
Epoxy dries fast. You will be so glad that you had an additional person with you to help apply the sprinkles.
2.Don’t do this in shifts.
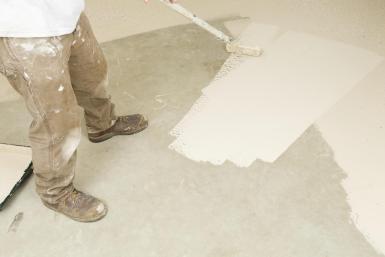
Do the whole floor. If you do part of it, and wait to do the other part, you will likely be able to see the line in the floor from where you start and finish.
3.Don’t use wet brushes or rollers.
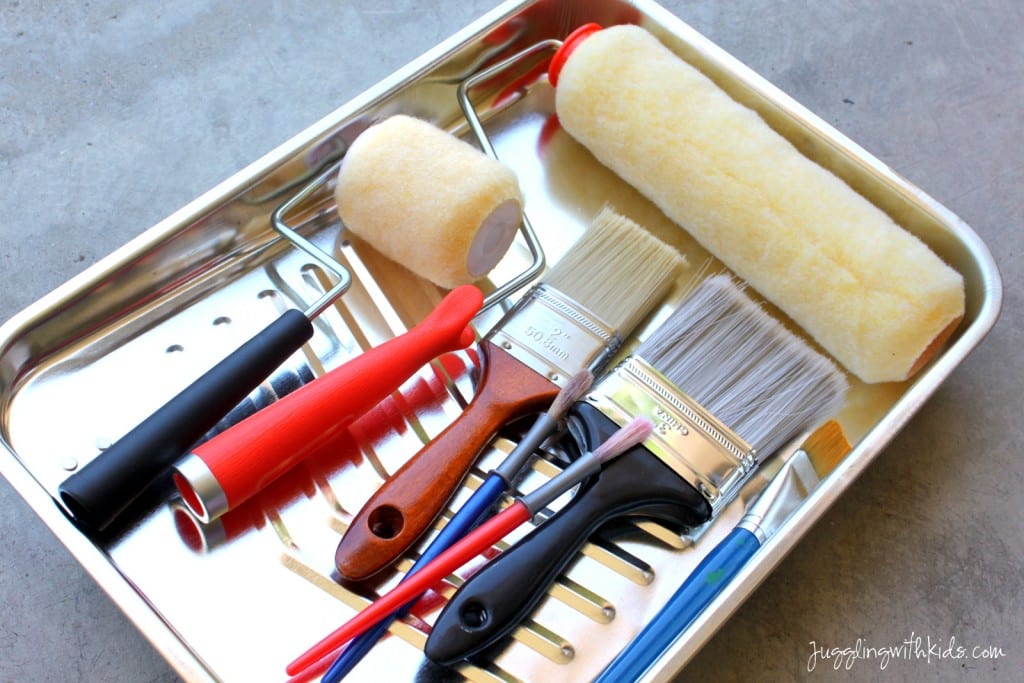
Make sure that your brushes and rollers are completely dry before applying the Epoxy. Wet brushes can make the epoxy sticky and a lighter color than you had originally intended. Plus, it can be the reason the epoxy takes longer than normal to set.
4.Do not try to epoxy a floor that has already been sealed.
The epoxy will not adhere to it. If you want to epoxy it, you must use a chemical stripper to take the sealer off before you coat it with the epoxy. It would be a pity to do all this work and then just have wasted all your time and resources.
5. Be sure to thoroughly clean your floor first.
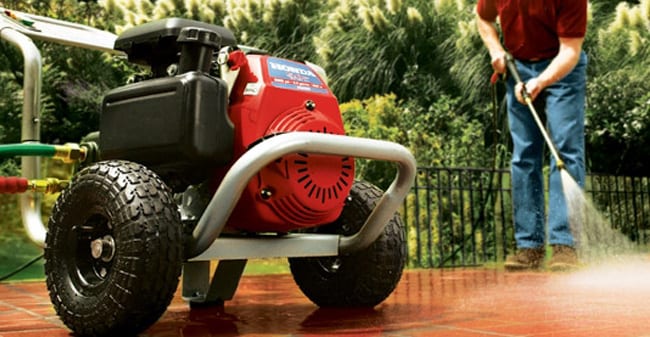
You definitely do not want to seal a bunch of dirt and dust to your floor. Use a pressure washer (after sweeping) and let the floor completely dry first to make sure it was clean. Epoxy also doesn’t adhere well if the surface isn’t completely clean.
6. Check For Water
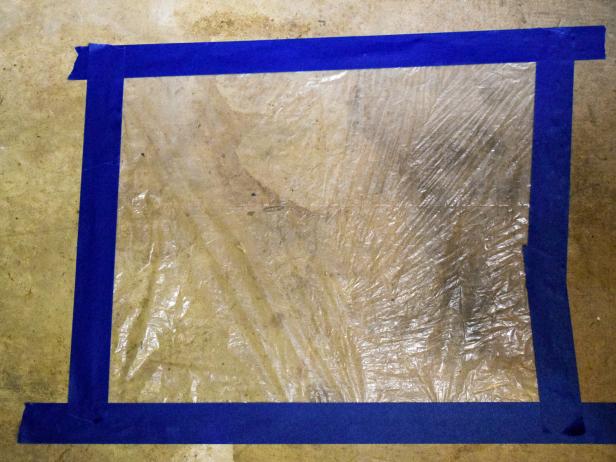
If you have high ground water, or the concrete was poured without a water barrier, you could have issues with moisture. Check for moisture before beginning your work, and contact a specialist if you notice any condensation on the plastic. Get the full how to test for water here.
7. Check The Forecast
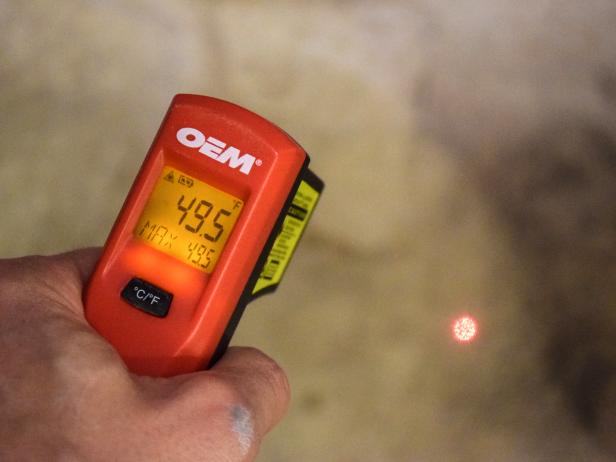
Epoxy sets and hardens at a certain temperature (it has to be warmer than 60 degrees) It is best to avoid projects like this in the winter, as it would be impossible to get the epoxy to set. Great tip from DIY Network.
8. Choose The Right Epoxy
There are many different levels of quality when it comes to epoxy, so make sure you do your research before taking the plunge. Use Choosing The Best Epoxy Floor Coating before you pick out what exactly you are going to do.
9. Prepare The Area Beforehand
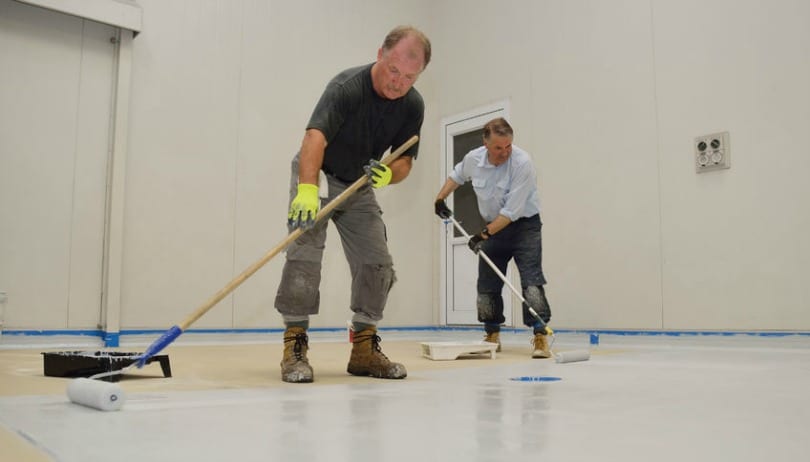
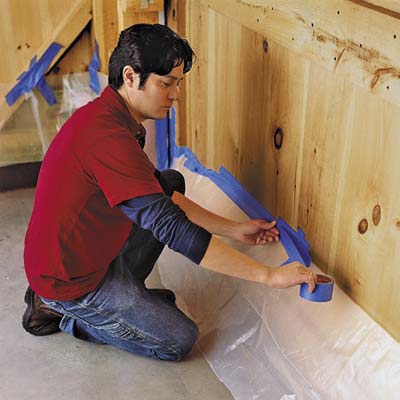
Remove baseboards and make sure that you tape the edges of your floor. This will save you time, who doesn’t like that?
Image from This Old House
10.Drying Time
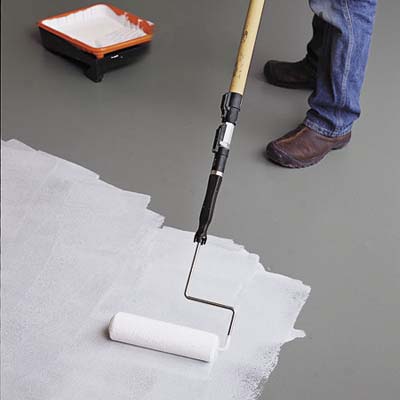
Make sure that you give an adequate amount of time for the epoxy to set, otherwise you risk ruining your new floor. Wait at least 24 hours to walk on the surface.
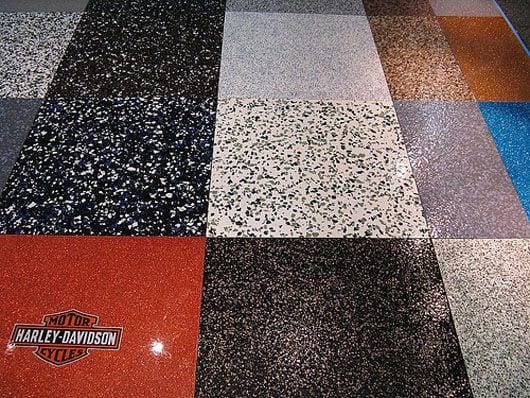
Image from Elliots Pour House

If you do a basement floor would you still recommend pressure washing first? We have an unfinished basement that I would like to do etching or epoxy to the to cement floor. I think it would be possible but a HUGE task to pressure wash but not cause issues with the framing that is already in place.
Did anyone answer Amara’s request?
Sorry, I thought I had but now it’s not showing. Obviously power washing in a framed basement would be tricky. I would recommend doing everything you can to clean it all up (lots of sweeping, shop vac, mopping, etc) before you start
I really like your post!
How do you repair a epoxy floor that didn’t harden and weather is too cold now