
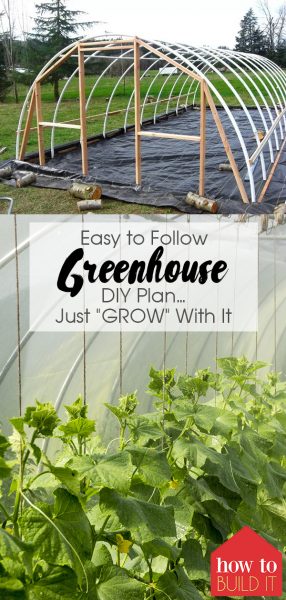
DIY greenhouse plans are the way to go. I mean grow!
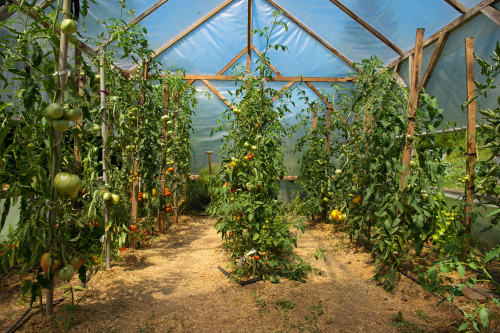
My Mom has been begging me to build her a backyard greenhouse ever since my husband built ME a backyard greenhouse (he taught me all of his how-to skills) The greenhouse has been my prized possession for years and I love all of the fruits and veggies I am able to harvest from it in the winter time.
Since my Mom’s birthday is coming up, I thought it would be a good idea to finally build her that greenhouse she had been begging me for. It may not be as big as the one she pictured, but this DIY greenhouse will definitely get the job done. You can’t miss these DIY greenhouse plans, it’s the easiest tutorial around!
DIY Greenhouse Plans/PVC Pipes
This plan is for a DIY greenhouse that is 12’x32′
Here’s what you’ll need:
Four 2×6 – 16’
Two 2×6 – 12’
Fourteen 2×4 – 12’
Nineteen ¾” x 20’white PVC pipe (I buy the kind that looks more grey..tends to last longer!)
Nine 10mm x 10’ rebar
One 20’x50’ roll of 6mm plastic
Zip ties
Nails or screws
Metal banding
Step By Step
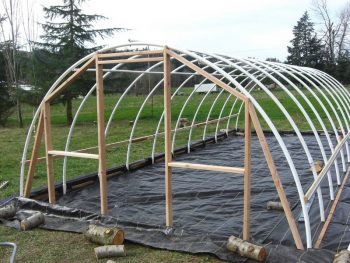
Step One: Break out your 2×6 pieces of wood and began creating the 12’x32′ wooden frame. Use a 2′ piece of 2’x4′ to connect the 16′ pieces of framing together.
Step Two: Cut down your 10-foot pieces of rebar so that you have 34 individual pieces now, each cut rebar should be about 30 inches long. Stick the rebar into the ground into the ground in two-foot intervals around your brand new greenhouse frame. You will want to leave 14 or so inches sticking up from the ground. This is what will secure your PVC pipe.
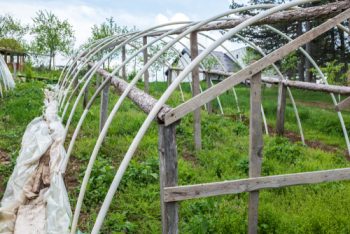
Step Three: Now, stick your pieces of PVC pipe into the rebar so it creates a sort of “hoop shape.” After the rebar has been inserted into the PVC pipe, you can use your metal banding and an electric drill to secure the piping.
Step Four: Cut the rest of your 2x4s into various sizes for the door and wall braces. This should look like one large door, surrounded by two smaller “door frames” all in diminishing sizes (see below, cut sizes are listed above.)
For my Mom’s greenhouse, we did NOT line the bottom like they did, it’s just a dirt floor.
Step Five: Connect two PVC pipes together so together they reach 30 inches long. This pipe will act as the spine of your greenhouse, giving the other PVC pipes some support up top. Attach the “spine” down the top of your greenhouse using zip ties. You will want to connect the spine to every PVC pipe for a maximum level of support.
Step Six: Drape your roll of plastic around the PVC framework of your greenhouse. Working one end at a time, pull each corner snug and use staples to secure the plastic to the PVC pipe. Make sure to take special care so that the plastic doesn’t ever rip away over time or in a storm! Make sure you cover the doors (and walls) of your greenhouse as well.
Step Seven: When you have to secure the “walls” of your greenhouse, you will want to fold the plastic over before securing to prevent any bubbling or rolling. Make sure that you cut out a hole in the plastic for your door!
Step Eight: For the door, cut four pieces of 2x4s so they will fit in the door frame. Nail them together. Next, cut a 2×4 to go diagonally down your door. Secure. Attach the door hinges to the frame before covering the door with the remaining plastic. Leave a few inches of overhang on each side. mount your door inside the frame and enjoy your newly-built DIY greenhouse!
Now you know how to build it, you can will want to read up about how to create a nuturing greenhouse.
Read here for more DIY backyard projects.