

We are all busy in our respective lives. After a hectic week at work, we all need to cool off a bit, and what better way than to have a game night with friends? Chilling with friends, playing poker, a bowl of snacks right beside you – does it get better than this? Wait a minute! Where are you going to place all this? On a table, right? However, tables are ridiculously expensive in the market. Not everyone can afford them. In this article, we’ll talk about how to make an inexpensive DIY folding table using items you can find with ease (and for little to no money!)

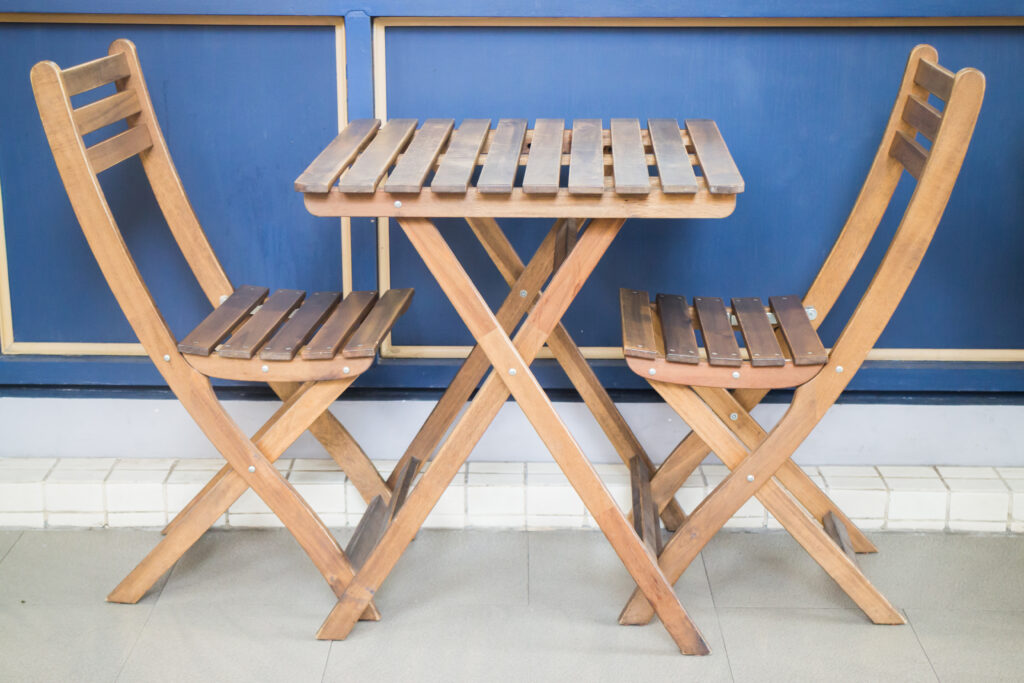
It gets a bit tricky to set the table for numerous people again and again. Sometimes, it is too hot inside, which is why you wish you had a table outdoors as well so that you could enjoy the sun while you enjoy the game. We have a solution for you! Instead of building a simple table, opt for a folding one. They don’t weigh much, making them easy to carry. You can now enjoy a game of poker inside the comfort of your home as well as in your backyard whenever you want.
How to Make a DIY Folding Table
Required Tools
Here are some things you need to make a DIY folding table:
- Jigsaw
- Circular saw
- Wooden Yardstick
- Cordless drill
- Cordless screw gun
- Tape
- Paintbrush
- Paint roller
- Sander
- Straight edge
- Drywall trowel
- Sandpaper and block
- Sawhorses
Don’t let this long list of tools discourage you from diving into the process. You likely have most of them.

Required Supplies
Here is the list of supplies that will be required to complete this project:
- Painter’s tape
- 1 ¼ inch screws
- Drywall sandpaper
- Drywall compound joint
- Plywood
- Metal legs
Process
Step No. 1 – Choosing the Plywood
In the process of a DIY folding table, the first step is choosing the grade of plywood. You can choose whichever grade you want, considering the size of your desired table. One more thing that you should consider is the sanding cost. Wooden furniture, whether static or folding, needs sanding for the paint to last. Therefore, it is important to consider the cost of sanding when choosing the grade of plywood. The most economical option is the CDX plywood.
Step No. 2 – Cutting the Plywood
If you already had a table, you can take its measurement to ensure that you get the correct size for your new table. Be precise and try to get the exact length using a measuring tape and a straight edge. Note the measurements down for future reference.
Make sure the lines you draw on your guideboard are straight. It won’t be possible if you are using your hand. Therefore, using a straight edge is important.
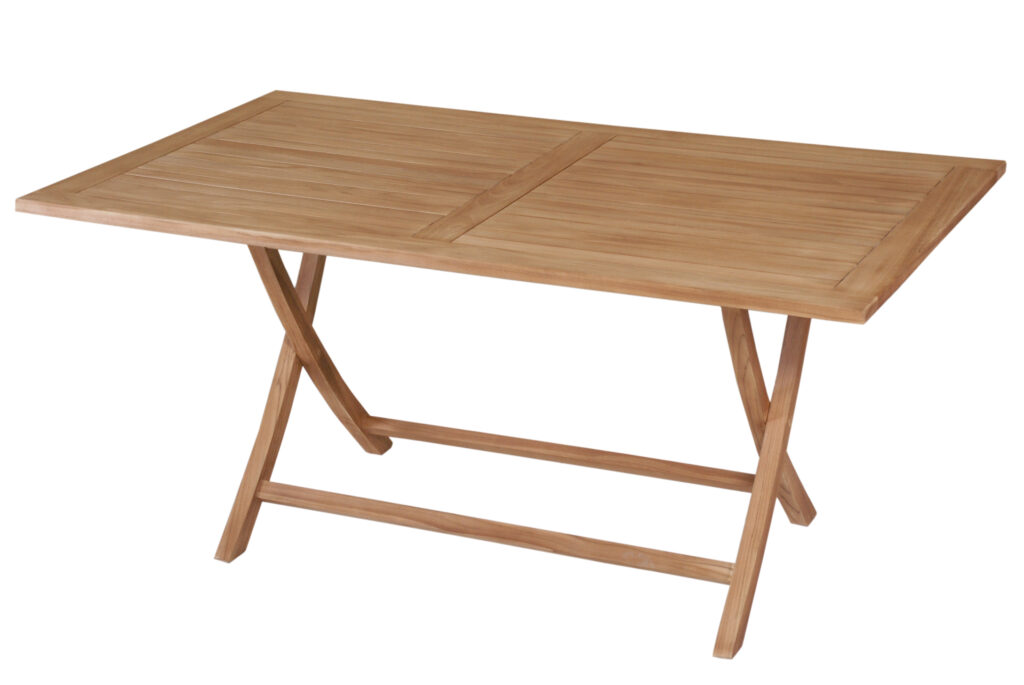
Step No. 3 – Decide the Shape You Want
Most tables are rectangular in shape. However, if you want a folding table or a circular edge to your table, you can determine a radius, take measurements, and draw on the wood. You can then cut the edges of the table using a jigsaw.
Step No. 4 – Smoothing the Edges
In the process of a DIY folding table, smoothing the edges is an important step. You will have to use an electrical sander for a smooth surface. A regular sander won’t work.
In this step, you have to determine the tabletop as well. Whichever side of the table has the smoothest surface that might work well as a top, choose and use an electric sander and sandpaper to even the surface.
Step No. 5 – Adding Folding Legs
You might make the legs of the table on your own. However, it can be a long process that requires professional assistance. Moreover, wooden legs are heavier and cannot be carried around easily. Therefore, you should opt for metallic folding legs for your DIY folding table. They are lighter and can be carried around the house easily.
In this step, you have to turn the tabletop and install folding legs. Take ¾ of a bit of plywood and install them with the help of a screw where the legs attach. Then add a pad in the middle of the tabletop as well; this is where the legs will be folded. The screws that come with the folding legs might not be enough for the DIY folding table project. Therefore, additional screws will be required to hold the folding legs in place.
Step No. 6 – Final Tweaks on the Surface
Now that the folding legs are attached to the tabletop turn it around and look if something feels bumpy or inadequate. Check every edge, screw pad, and inch of the tabletop. Smooth the surface if it feels bumpy using a sander. If you see knotholes, use a joint compound to even the surface.

Step No. 7 – Sanding the Plywood – Again
The final step of the DIY folding table project is achieving a perfectly even look by continuous sanding. Apply it again and again on the surface until you are sure the result was what you had initially planned. Mostly, two coats of joint compound and sanding are enough to achieve the desired look. However, if it is not up to par for you, apply another coat for your satisfaction.
Additional Tip
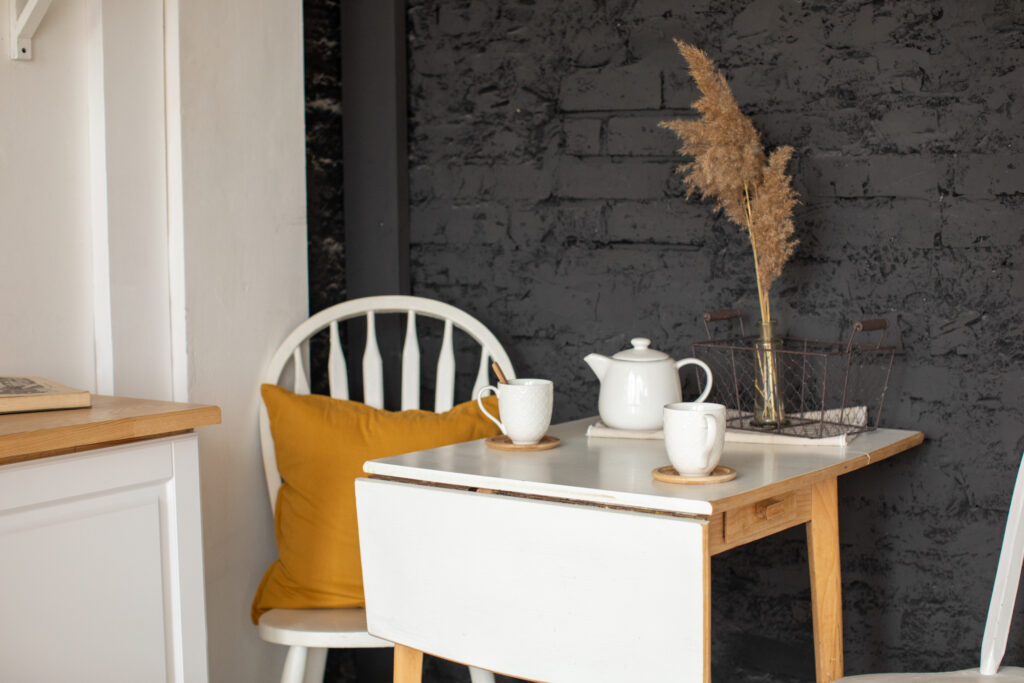
Your DIY folding table is now ready to roll (or… fold)!
However, if you want to add a quirky design or a simple paint finish to it, you can do so by choosing any paint color of your choice. There are several brands available in the market with an extensive variety of colors. Buy the one that lasts long and complements the room’s interior that the table is placed in – or anything that fits your mood.
Final Word
DIY folding tables are easy to make if you have all the required supplies. They are way more inexpensive than those available in the market. Making one on your own can be quite a fun task if you know what you are doing. Therefore, research your way in and work accordingly.