
Today I’ve got a great tutorial for you that will help you refinish and revive your old and worn-looking wood trim. This method doesn’t require stripping {or the mess!} but will still have your trim looking like new. Best of all, it’s a simple DIY project you can finish in a day’s work. Keep reading for the low-down!


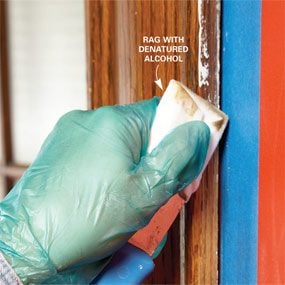
To begin our revitalizing project, it’s necessary to thoroughly clean the trim. You want to be sure and completely eliminate any grime, dirt and grease that will prevent the wood from looking like new again. Use a TSP substitute to clean the wood, and a putty knife to carefully remove any paint that shouldn’t be there. A rag dampened with denatured alcohol wrapped around the putty knife is a great help to soften and remove unwanted paint stains.
Any areas of your trim that are badly scratched or otherwise damaged will look better in the end if you spend some time scraping and/or sanding them smooth right now. For any wood that has darkening from water damage, you can use oxalic acid to remove the stains.
Now use an abrasive pad or steel wood to just slightly roughen up the area to be re-stained. This helps the new stain hold onto the wood. Remove any dust that’s created with a soft, damp cloth.


If there are surrounding areas {like a painted wall} where you do not want stain, mask those off with painter’s tape before moving on. Once that’s done, you can begin applying matching stain to the wood trim. A foam brush is a good applicator for this. They come in varying sizes to fit your project.


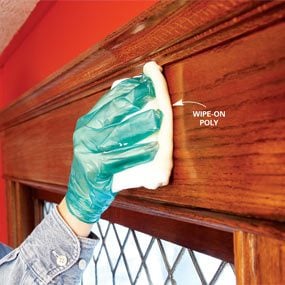
Once the stain is applied, wait just a minute or two for it to penetrate the wood, and then use a soft cloth to wipe away any excess stain. Now allow the stain to dry according to manufacturer’s recommendations. Overnight is a good rule of thumb. The next day, apply a coat of wipe-on polyurethane to match the existing finish. Once that dries, prepare to kick back and admire your beautiful handiwork!


