A few days ago, I was checking in on some of my favorite home decor bloggers when one of them posted a set of STUNNING honeycomb hexagon shelves on her wall. I immediately knew that I wanted some in my own home. If you want some too, use the tutorial below to make it happen.

Honeycomb Hexagon Shelves: DIY
If you haven’t seen these hexagon shelves grace your Instagram feed, these babies are about to be EVERYWHERE. Whether you paint them white, stain them dark, or leave them be, these gorgeous wall hangings are a great way to add some decorative appeal to the walls of your home. You can even use them as a spot to place houseplants or photos, it is completely up to you. Even better, you only need a few tools to bring this DIY to life. Keep reading to see how I did it.

Honeycomb Hexagon Shelves: Step by Step
Learn how to make honeycomb hexagon shelves with the step by step tutorial that I have included below. This is a great way to learn how to make honeycomb hexagon shelves on a budget.
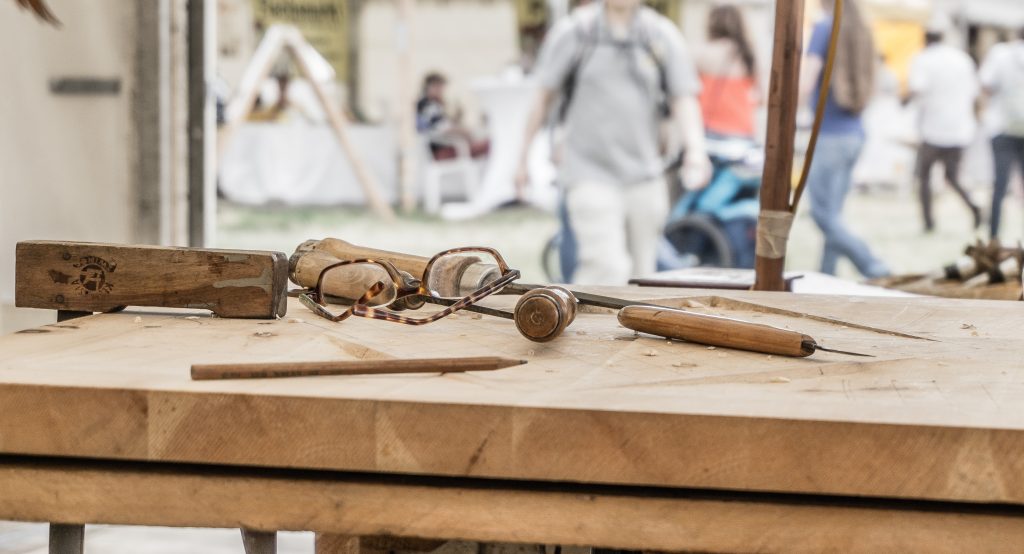
Here’s what you’ll need to create your own honeycomb hexagon shelves:
- Chop saw (set to 30 degrees)
- 1/4 inch sheet rock screws
- Drill bit
- Level
- Sandpaper
- Wood glue
- Wall brackets
- Three hardwood fencing planks (or scrap wood that follows the same exact measurements)
Step One
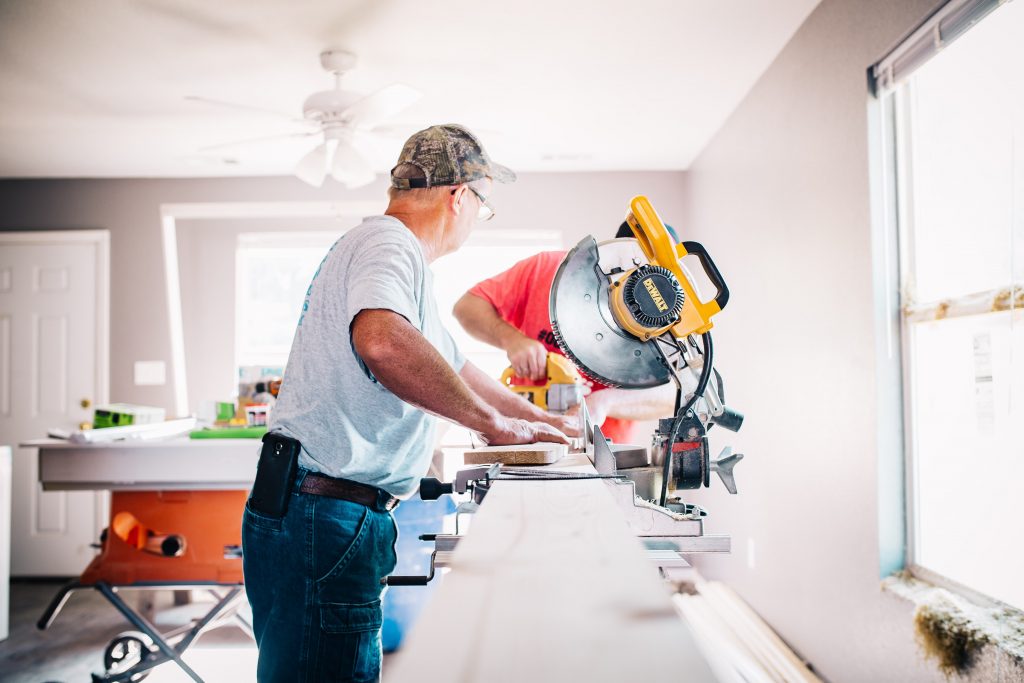
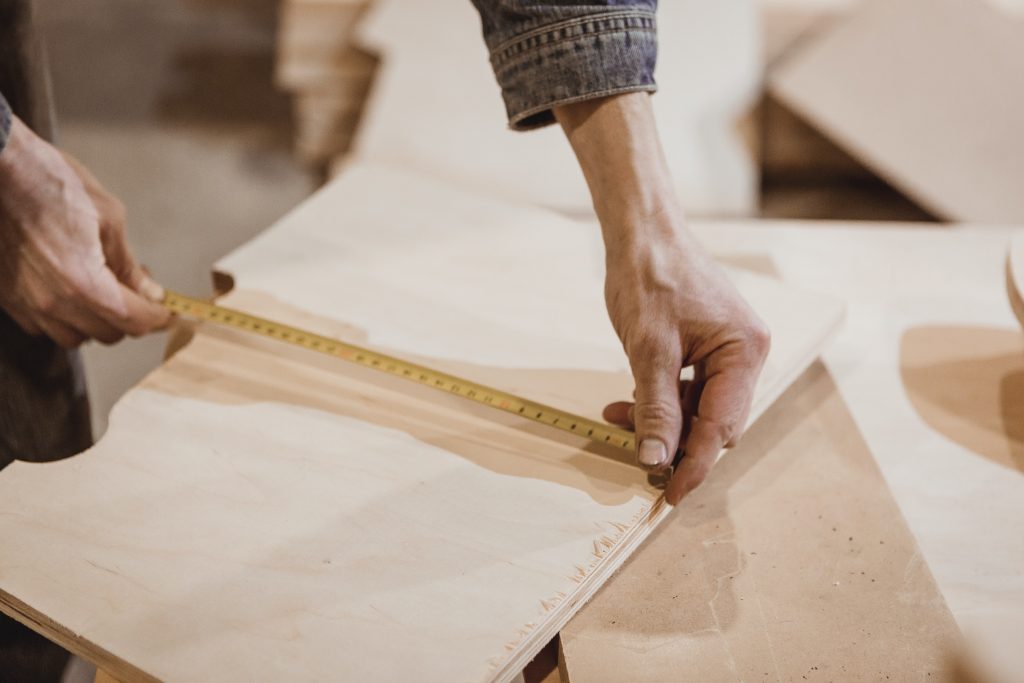
Remove the end of the fencing that is decorative with your chop saw. Flip the wood over, measure 12 inches, mark it, and then make another cut at the mark. Repeat this process so that you have 15 different pieces of hardwood fencing cut out.

Step Two
After the cuts have been made, take six pieces, and begin forming a hexagon. Lay them on a table to layout, and glue with a line of wood glue as soon as you like how everything has been placed. Make sure to hold the pieces together for a few minutes every time so that the glue sets as it should. Once the glue has set, use your drill bit and screws to drill the pieces of the shelf together. Next, repeat the process so that all of your shelves have been attached in the hexagon shape.
Step Three
Attach all of your shelves together to create a GIANT honeycomb shape. Now you can spray paint them or leave them as is, it’s totally up to you. Now use the brackets to hang your creations on the wall and enjoy.