
Just last year, one of my nieces had her first baby girl. It’s been a blast to watch her figure the whole Mom thing out, and we also got a super cute new family member. This July is her first birthday and we are eagerly planning her first birthday bash! And while everyone else gets assigned jobs like cooking, cleaning, and shopping, I was assigned the task of building my dear niece a watermelon stand for her party.
Though it sounds (and looks!) like a lot of work went into building her a watermelon stand, I can easily say that it was one of the easiest DIY projects I’ve ever tackled! Twenty minutes is all you need to whip this one up. Find the full tutorial for this adorable watermelon (or lemonade!) stand below!
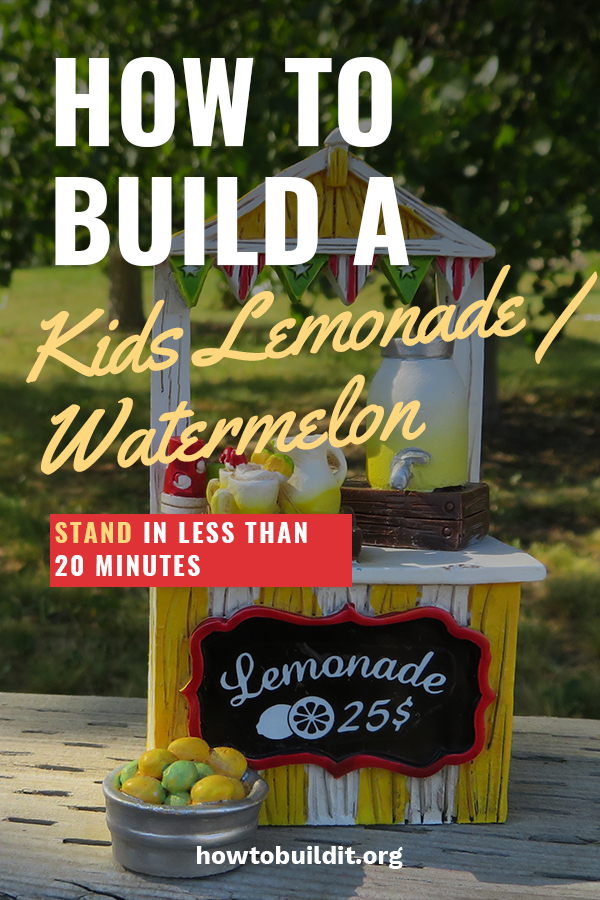
How To Build A Kids Lemonade/Watermelon Stand In Less Than 20 Minutes
Here’s what you’ll need:
-4 Wooden Crates
-2 1x4s (for the poles of the sign)
-1 1×8 (for the horizontal sign)
-Spray paint in your desired colors
-Electric Screwdriver/ Hardware
Step One: To begin, sand down all of the wood used to build your stand. Nothing kills a DIY project faster than a nasty splinter!
Step Two: Begin building the base of your stand, using the wooden crates. Stack your four crates in two columns on top of one another. Rotate your crates so that one faces out, and one faces in like the photo below. Use your electric screwdriver and hardware to attach the crates to one another.
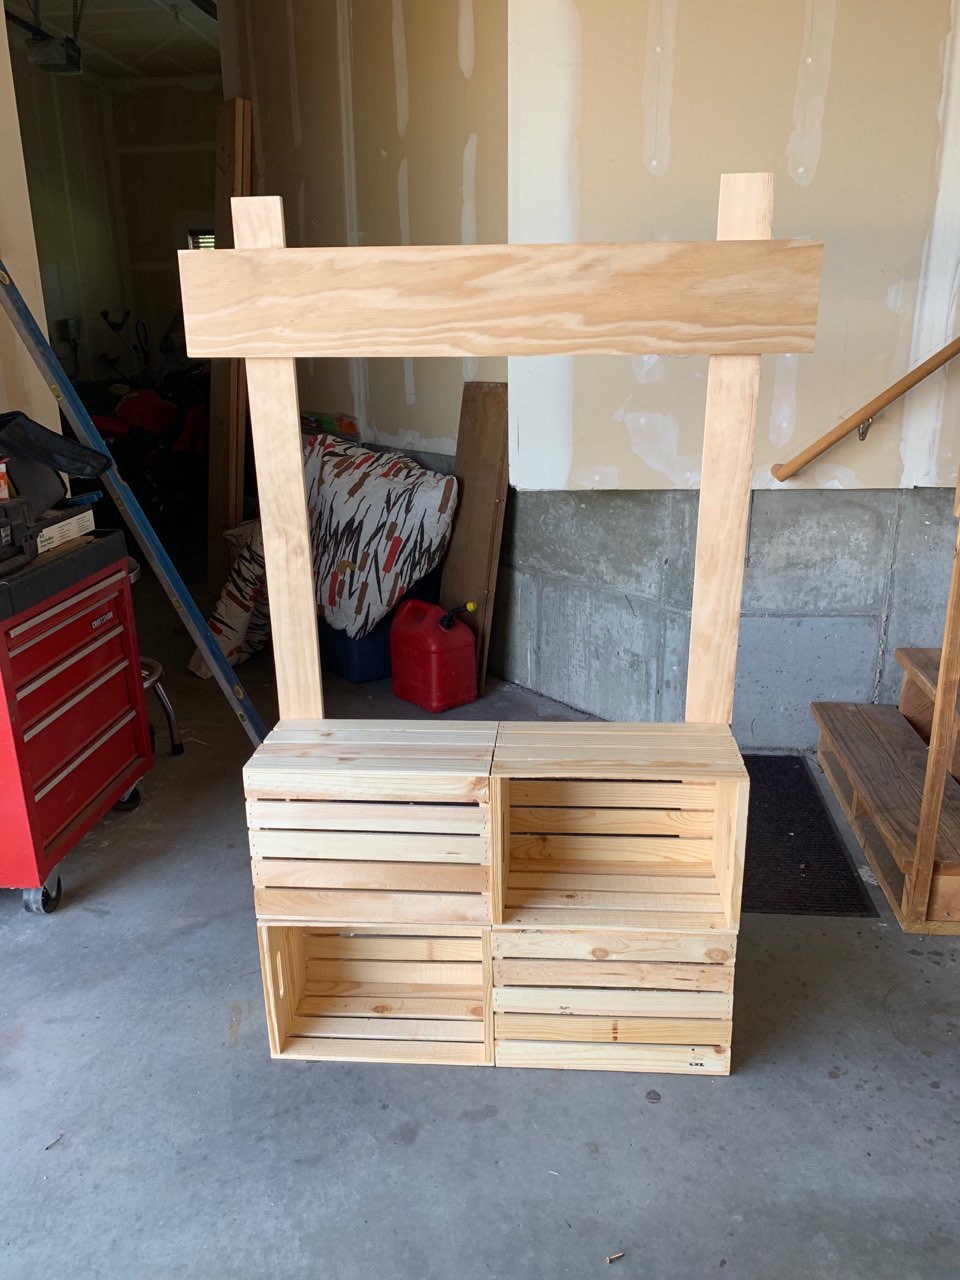
Step Three: Next, use your 1x4s and 1×8 to create your signage. Attach your 1x4s to the sides of the crates, and screw to attach. Next, attach the 1×8 to the tops of the 1x4s to finish the signoff.
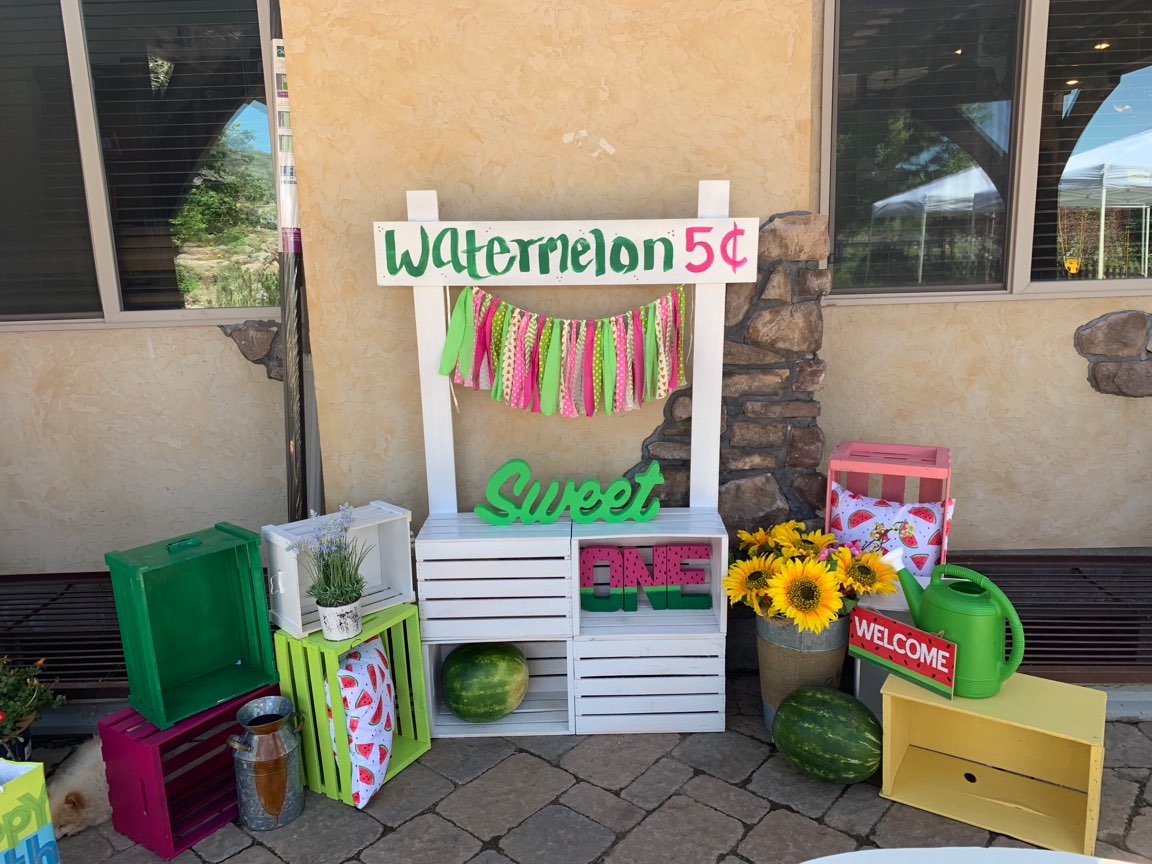
Step Four: After everything is attached, it’s time to really have some fun and start painting! I chose a solid white color for my stand so that the pink and green lettering could be read more easily. I did the lettering on the sign with a stencil after the white spray paint had dried.
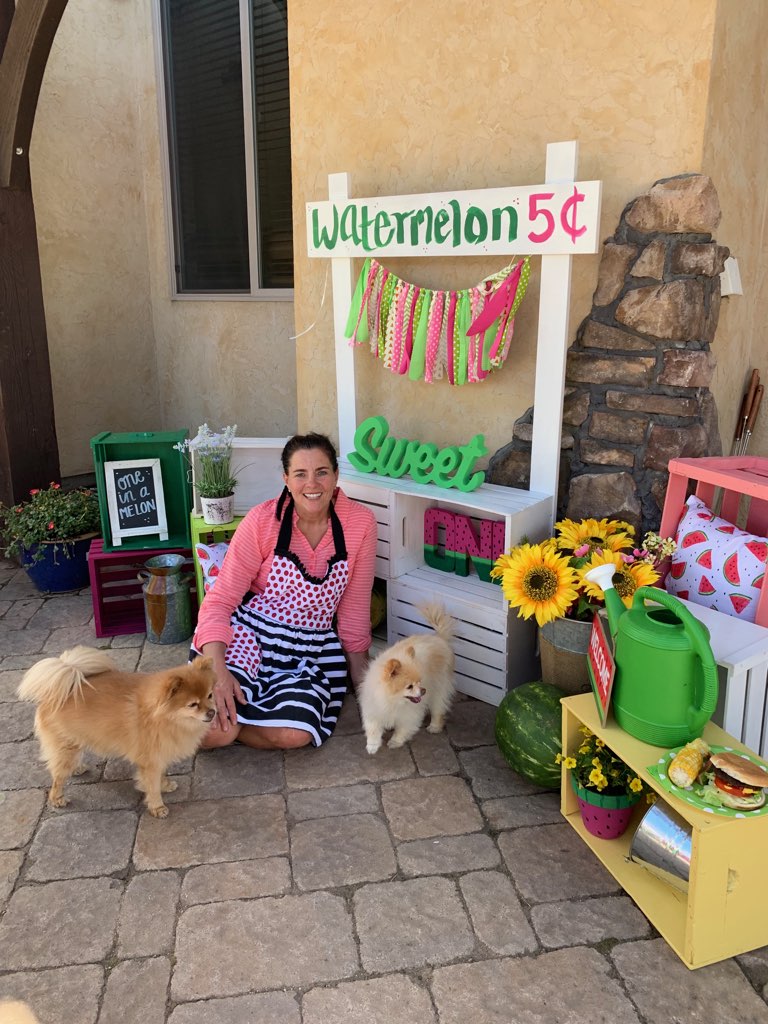
Step Five: Decorate your stand with other wooden crates (see how I painted them pink and filled them with decor items?) and a garland across the back. Doesn’t this look adorable?
About how much did it cost to put the stand together?
About $65 with paint. The crates were $10 a piece. The two pieces of wood for risers and the header were about $10. The paint was less than $15. I used wood screws to secure everything.
Hi Your stand looks amazing! How tall are your 1x4s? And how wide is the sign? Thanks so much!
The 1×4’s are 64″ tall. The crates are 18″ wide and 12″ tall. The sign is 1×8 and is 44 inches long, so it sticks out 4″ past the crates on each side 🙂
What are the dimensions of the crates? Thanks!
12.5 x 9.65 x 18 🙂
Where did you get the crates? I’m having a hard time finding anything in those dimensions.
You should be able to find them at your local craft store 🙂 I think I got these at Michaels or Walmart.
oh nice to know cause i am starting a lemonade stand
What size crates are those?
The crates are 18″ wide and 12″ tall 🙂