
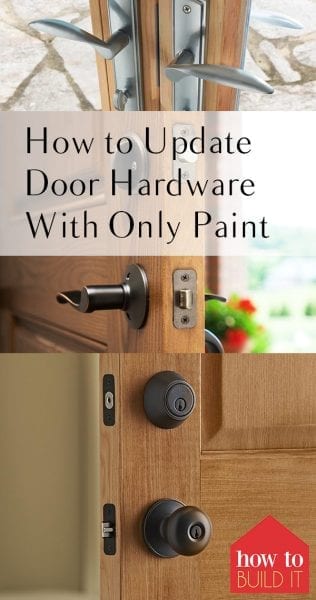
Door hardware is a huge expense when you consider every single door in your home. Changing out just one door won’t do it. You’re going to want them all to match. But, if you have the time and the patience, this is one DIY project than can be done in your own garage for less than half the cost of buying all new door knobs.
You’re going to need a handful of supplies:
- A pen and a camera for taking notes and remembering where each door knob goes
- Sandpaper
- Steel wool
- Styrofoam or floral foam
- Painter’s tape
- Metal paint primer
- Metal spray paint

STEP ONE: Remove all existing door knobs you wish to upgrade. It is easy to mix up your door knobs once they’ve all been removed. To avoid this, mark each door knob on the inside of the hardware using your painters tape and pen. Taking photos can also be very helpful.
STEP TWO: Clean the hardware using your steel wool to remove all debris and gunk from years of messy hands touching your door knobs.
STEP THREE: Sand each of the door knobs to create a rough surface. This will allow your primer to adhere better to the metal.
STEP FOUR: You will need to fill the key holes of any hardware with a tiny piece of painter’s tape so you do not clog the key hole or destroy the locking mechanism.
STEP FIVE: Place all door hardware on foam blocks using either styrofoam or floral foam. This will hold them in place while you are painting.
STEP SIX: Now you will prime the hardware. Using your metal primer, spray according the the manufactures instructions on the bottle of your spray can. Allow primer to fully dry before moving on to step seven.
STEP SEVEN: Spray hardware with your top coat/metallic spray paint. Let hardware dry completely.
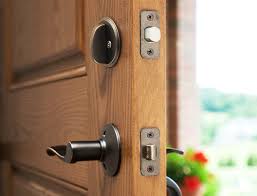
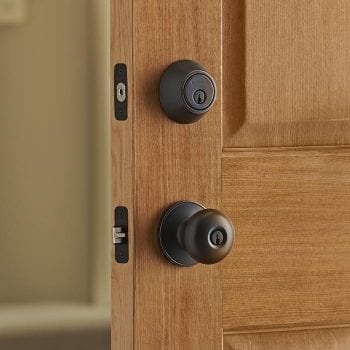
STEP EIGHT: Re-Install updated hardware to doors.