Caulking tips and tricks are something the average homeowner should know. Most of us have at least one caulking project to do during home ownership, but more often there are many.
Depending on the size of the job, a caulking project is a huge pain. Here are a few caulking tips and tricks to make these projects just a little easier.
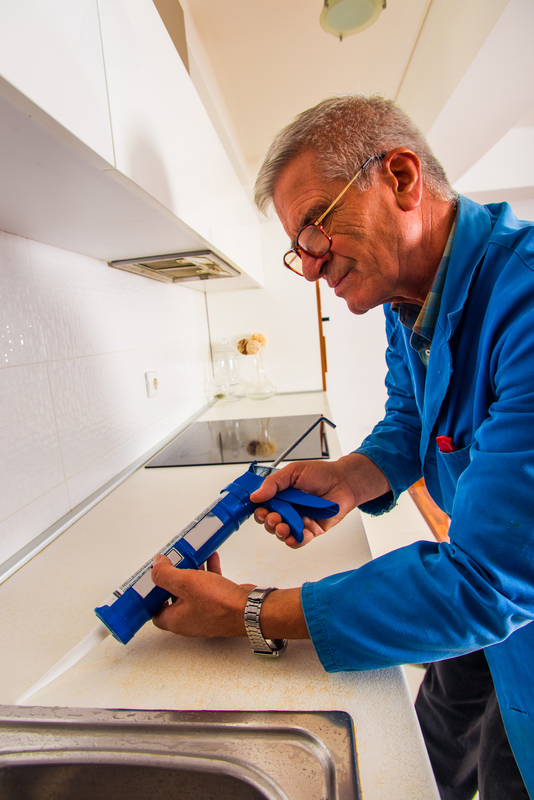
Caulking Tips and Tricks
Invest in a Pro-Grade Caulking Gun
Do yourself a favor and buy a pro-grade caulking gun rather than a super cheap one. (The pro-grade one should still be only about $10). This will help you apply a much smoother bead of caulk.
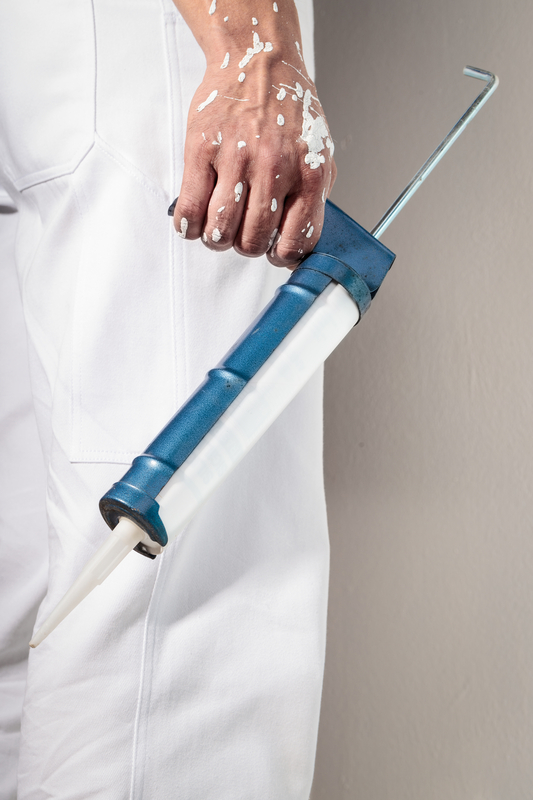
Prep the Job Correctly
Make sure to prepare the area being caulked by cleaning and drying it thoroughly. Use a bleach mixture and brush to clean the area. After that use a rag or cloth to thoroughly dry it.
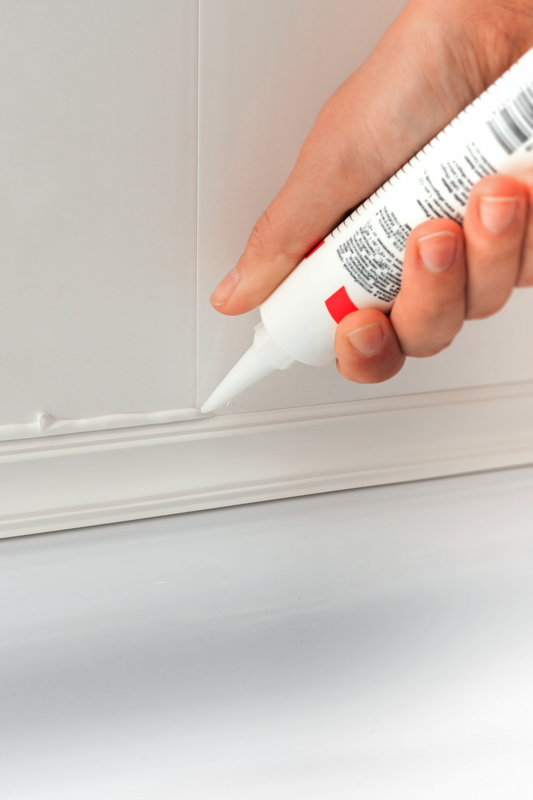

Caulk length
Follow the manufacturer’s instructions on how wide a gap that particular caulk is meant to fill. If you try to fill to large a gap, the caulk may sag. (FYI: caulk works best for gaps up to 1/2” wide).
Use Backer Rod
You can also prevent sag by using backer rod. Backer rod is made of foam and comes in different sizes. Buy some that is slightly larger in diameter than the space you are trying to fill. Cut it to length and insert into the gap, pushing it down in a little. You can caulk right over the rod which prevents sagging!
Be Conservative
When you cut the opening for a caulking bag, start with a small opening and test it out. You don’t want to cut the hole too big—that will make for a messy caulking job. One expert gives the guideline that the hole should be 2/3 the size of the gap you want to fill.
Smooth it Out with Sandpaper
The caulk will come out smoother if you cut the bag at an angle, and if you REALLY want it smooth you should gently smooth and round the end with 100-grit sandpaper.
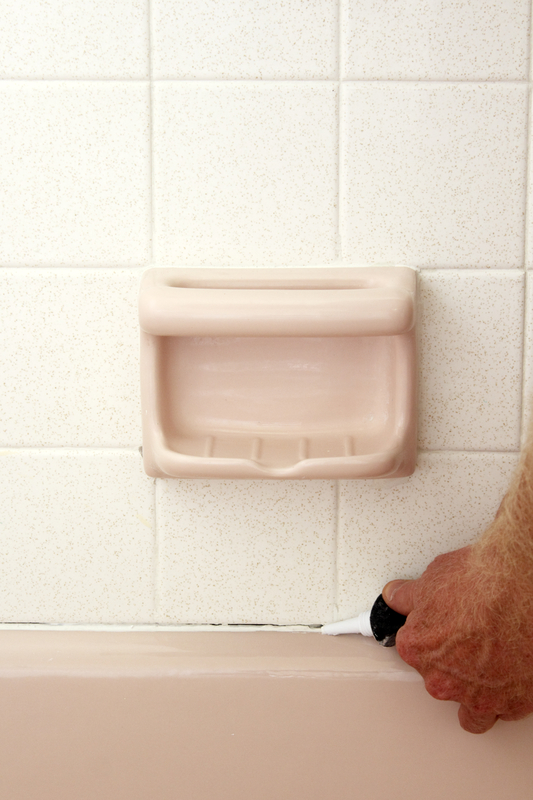

Pressure and Speed
When you caulk, start at the far end. Pull the gun toward you at a steady pressure and speed. If either of these two things are uneven, your caulk will turn out too blobby or too thin. If needed, practice beforehand so you can get the hang of it.
Smooth with Your Finger
You can easily smooth out the caulk with your finger—just make sure to wear gloves! Don’t push too hard or else you’ll have to re-caulk the whole thing!
Post-Caulk Clean Up
Clean off the tip as you go so the caulk won’t harden on the gun. This is an incredibly important step. If you forget it, you will regret it when you pull the caulk out for your next project. Use soapy water and a wet rag when needed.
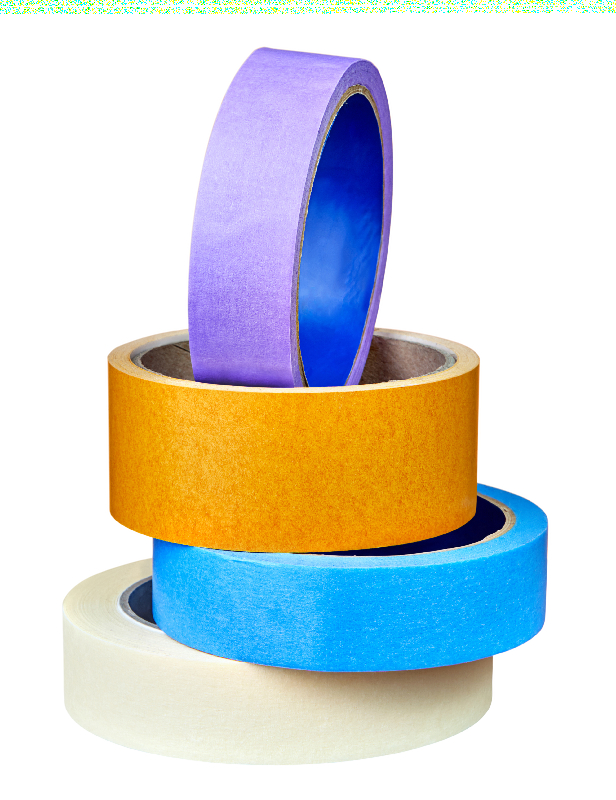

Apply Tape
For a very precise caulking job, apply masking tape or green painter’s tape to the wall on either side of the joint before you caulk. The tape prevents caulk from staining the surrounding surfaces.
Is painting next on your list? Don’t miss these professional painting tips!

Tip 9, I would suggest using a plastic spoon the round tip of the spoon works perfect for smoothing out and it wont stick to your fingers!
I hate caulking but I have to try your tips. Hope it’ll be painless as it seems on your pictures.Thanks for sharing!!
Thank you for these tips. One tip I swear by is before smoothing any caulk (especially silicone) put a very small bit of washing up liquid in the water you dip your finger in. Not one piece sticks, ever and leaves beautiful smooth lines. Best tip I was ever given.
Very helpful tips and tricks with pictures. Caulking is boring work, but when I find this post I inspired & I try practically using caulking.
Thanks for this guide