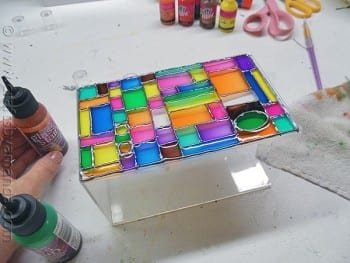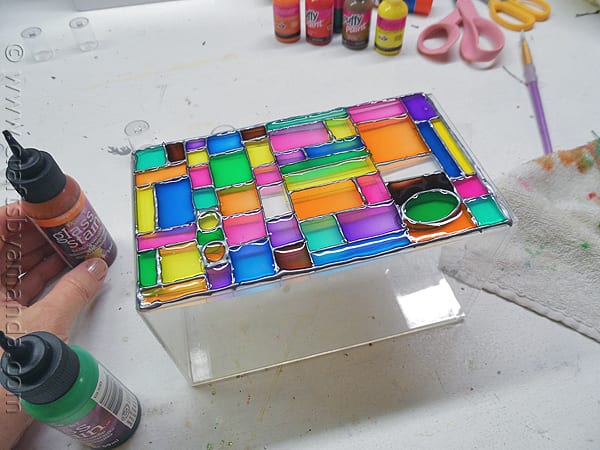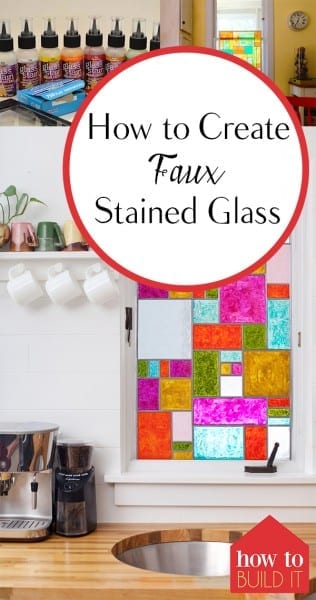

Did you know you can create some gorgeous “stained glass” that will have everyone oohing and aahhing? Thanks to an amazing tutorial over at A Beautiful Mess, you and I can create faux stained glass to beautify and liven up any window in the home. Seriously, no one will believe this was a project you did yourself. Let’s check it out!
Here’s what you need for this awesome DIY project:
a glass panel to fit your window
a ruler or T-square
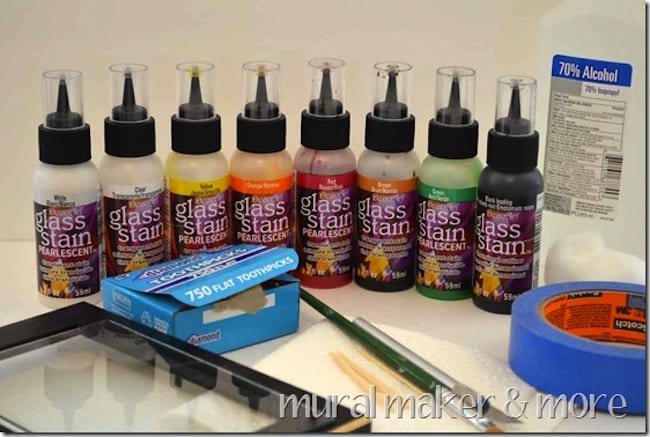

Start by tracing your desired design onto the background paper. This is where your ruler and/or T-square come in handy! Then, lay your glass panel on top of the design you just traced. Use sharp scissors to cut the lead adhesive strips, and use them to cover the lines of your design. Use the stylus that comes with the lead adhesive strips to press them firmly into place. {This saves your glass panel from fingerprints!} Now, use glass paint in your desired colors to outline the lead strips.
Now fill in the outlined areas with glass paint. Spread the paint evenly within each space. You may want to use special glass paint brushes for this purpose, but you don’t have to. Use a toothpick to pop any air bubbles that form in the painted areas.
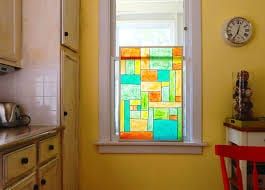

Keep filling in your design until you reach the desired look. At A Beautiful Mess, they suggest working in shifts: fill in part of your design and let it dry before working on another part. The finished product just looks so amazing!!
