

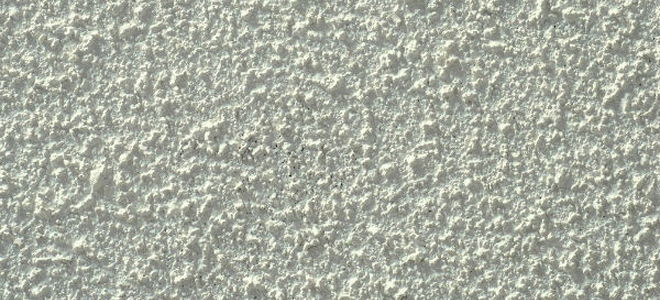
If you are remodeling and looking to update the look of your home, one of the best moves you can make is to ditch the popcorn ceilings. Popcorn ceilings began in the 1950s and gained popularity during the 1980s, due to the easy application and their ability to hide imperfections. However, because they are so texturized, they are tough to repaint, to keep clean and seem to attract dust continually. If you’re ready to say goodbye to them, let’s look at the best way to remove your popcorn ceilings.
Before beginning any popcorn ceiling removal, you must test the ceiling to see if it contains asbestos, which was used a lot before 1980. You can obtain a test kit at your local hardware store. If it comes back positive for asbestos, you must call a professional to remove the ceiling.

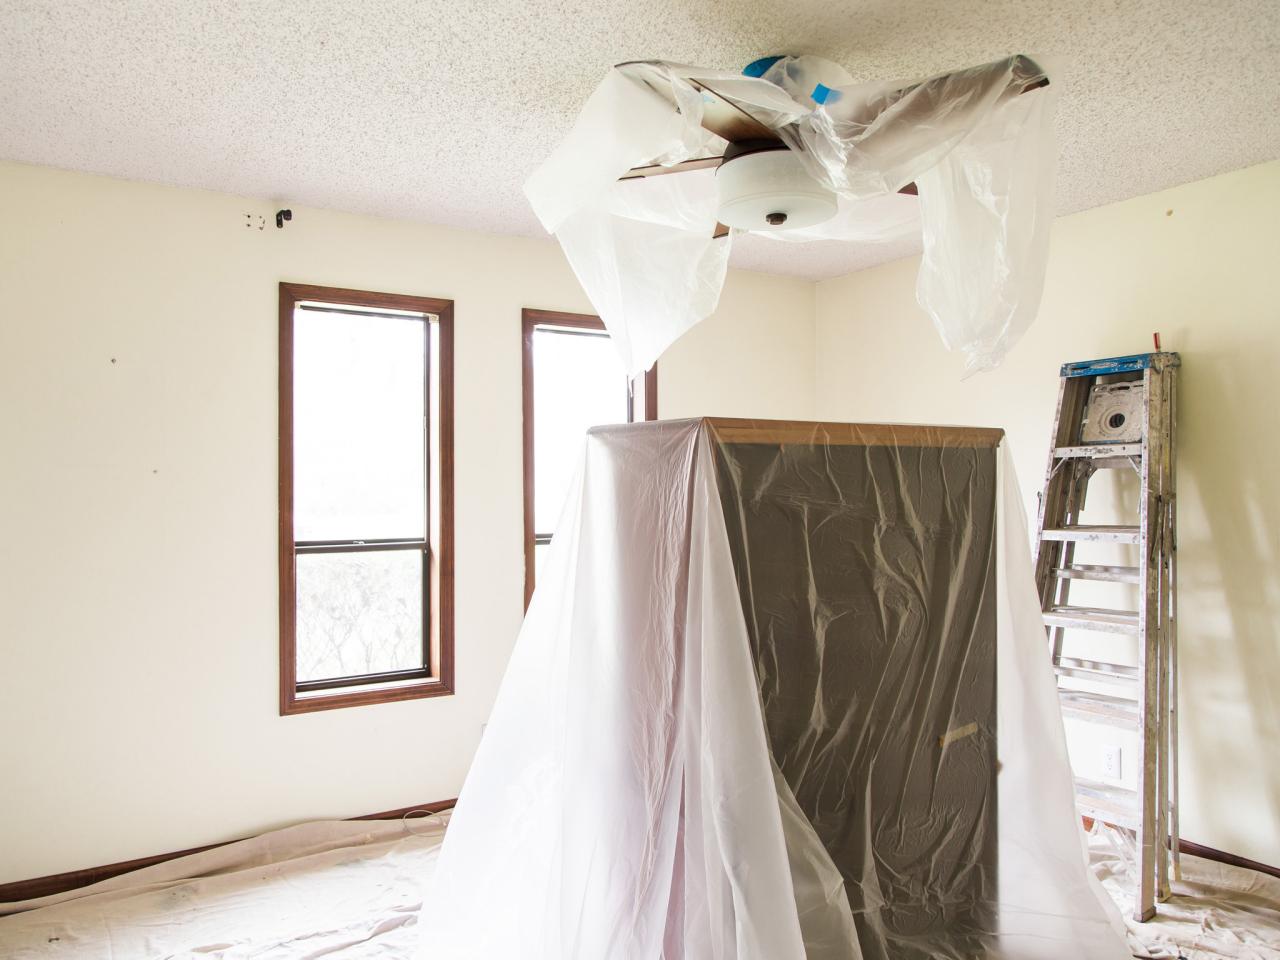
Preparation:
It’s preferable to remove furniture from the room, or cover it with plastic sheeting. Use a drop cloth {plastic is slippery to walk on} to protect your flooring, and also cover any light fixtures and/or ceiling fans in the room. Covering everything will give you much easier clean up after the job is done.

Method:
To cut down on the amount of dust {that will get all over everything} DIY Network recommends dampening the ceiling with either a spray bottle or a plastic sprayer. Work in small areas of approximately 10 square feet, and let the water penetrate for a good 20 minutes before you begin scraping away the texture. Note that the ceiling should not be saturated, so don’t use too much water.

Now use a wide putty knife or a floor scraper to scrape away the wet ceiling material. Use caution not to gouge the underlying drywall, or you’ll need to make repairs before you can finish your new popcorn-free ceiling. A small putty knife is a good tool to use to remove the popcorn texture from the corners of the ceiling.
Once you have removed all the popcorn texture, carefully pull up your drop cloths to trap all the debris inside, and shake them out into a trash bin or dumpster. Lay them back out on your flooring to protect it while you make any necessary repairs to your ceiling’s drywall.

Repairs may include hammering visible screws or nails below the surface and covering with drywall compound, and replacing any damaged sections of drywall and tape. For best results before painting the ceiling, use a long-handled sanding pad to smooth everything out.