A heated pack feels great on cold feet during a winter evening, but, it is well known that heat also helps to soothe sore muscles. Applying heat to sore muscles will soothe tightness and helps to promote better blood flow. It’s even said to be more effective than cold therapy when treating muscle and arthritis pain. If you are in need of some serious muscle TLC, use this awesome tutorial on how to make microwavable heat packs to help you to get back on your feet.
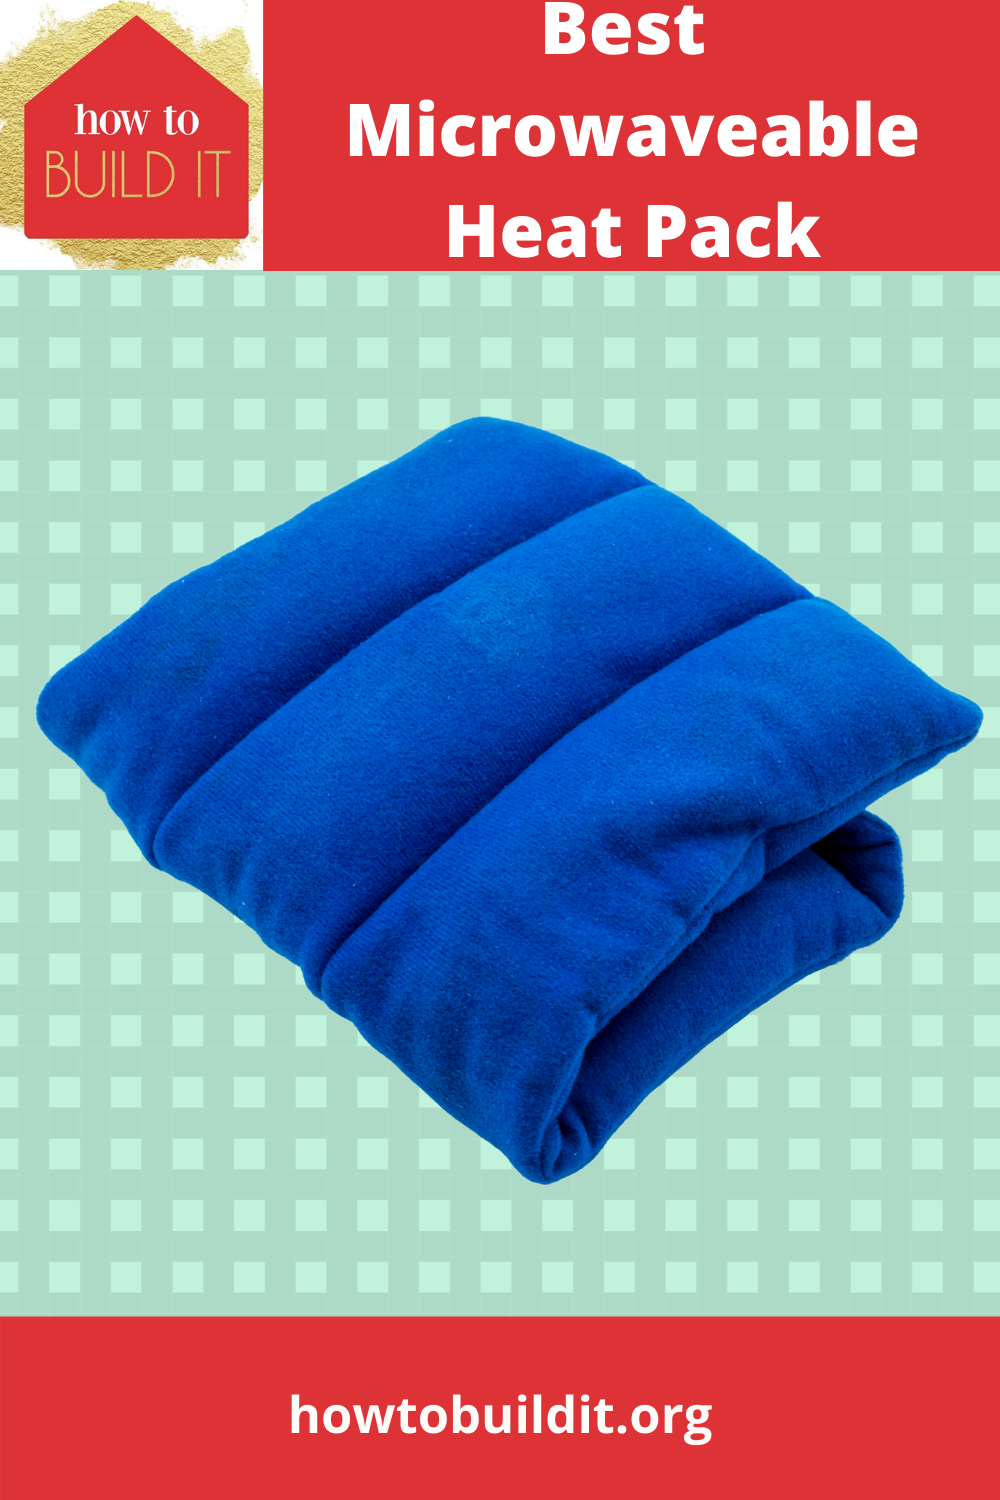

How To Make Microwavable Heat Packs
Step One Gather Materials
The basis of every great craft project begins with the gathering of materials. You will need these items:
– Thread
– Filling (corn, rice, barley, oatmeal, beans, cherry pits)
– Two pieces of cotton material.
*Additionally, you could add a few drops of essential oil to further promote healing. This is optional.*
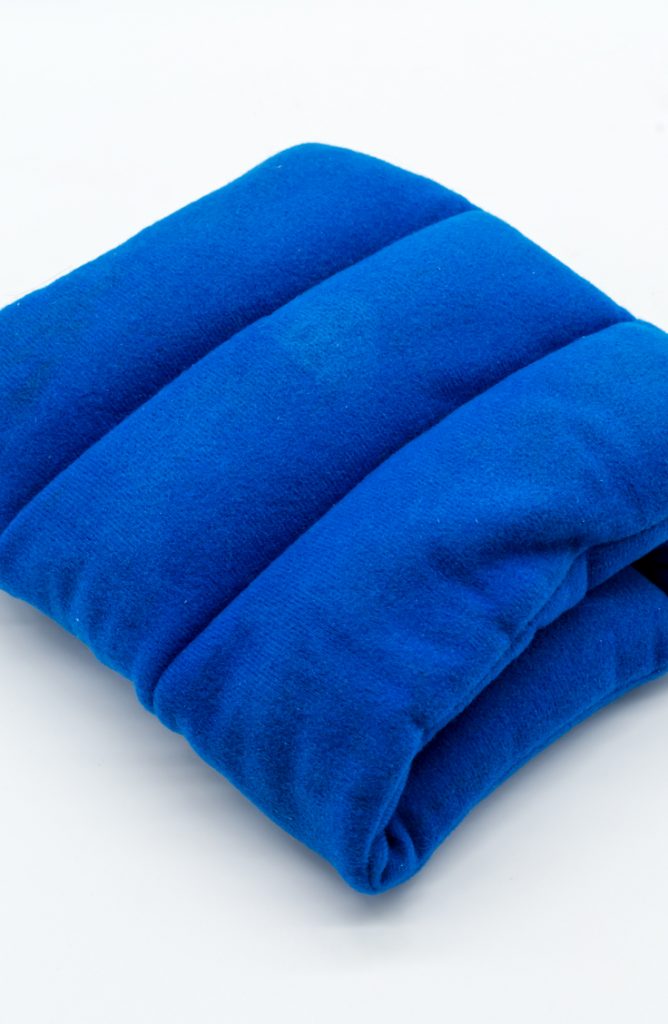

Step Two
Pin the edges of your cotton material pieces, making sure the backside of the fabric is on the outside. Pinning them together ensures a straight sewing line, and prevents any issues with unevenness.

Step Three
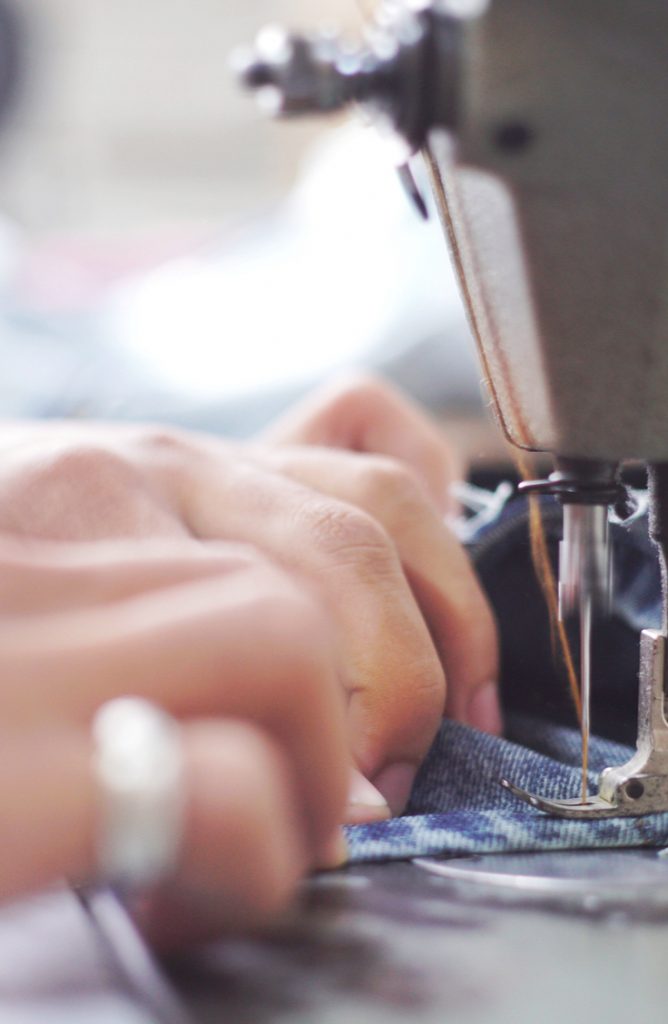
This is the part where things get a bit tricky. Sew the pieces of fabric together, using the pins as a sewing guide, be sure to remove them as you go! Leave a section open so you can flip the fabric and fill with the material of your choosing.
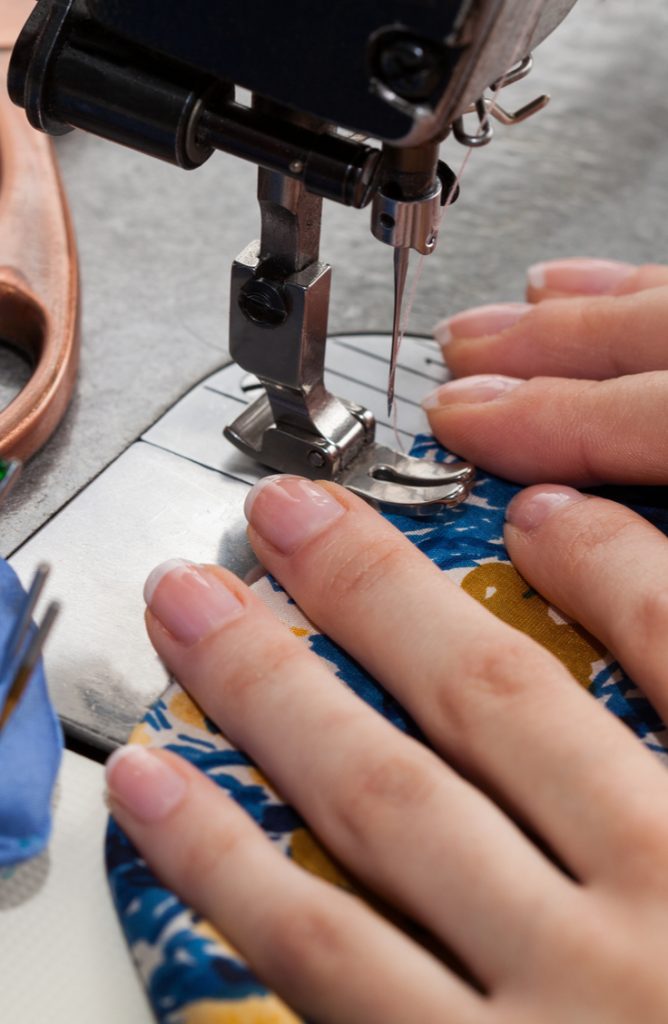

Step Four
Turn the newly sewed heat pack the other way around, and press the seams flat with the help of an iron. Of course, this step can be skipped, but it helps the finished result to look better.

Step Five
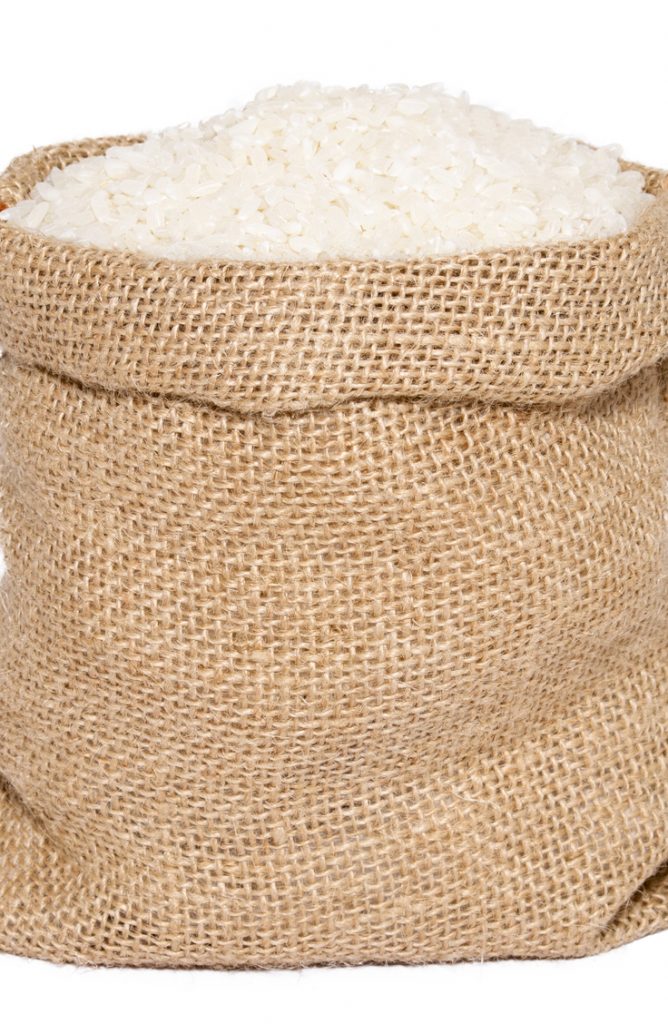
Here comes the best part. Use a funnel to help get the rice fully in (this helps to prevent a mess!). Do not fill the bag more than halfway full. Once filled, pin the open section and sew up the hole.

Step Six
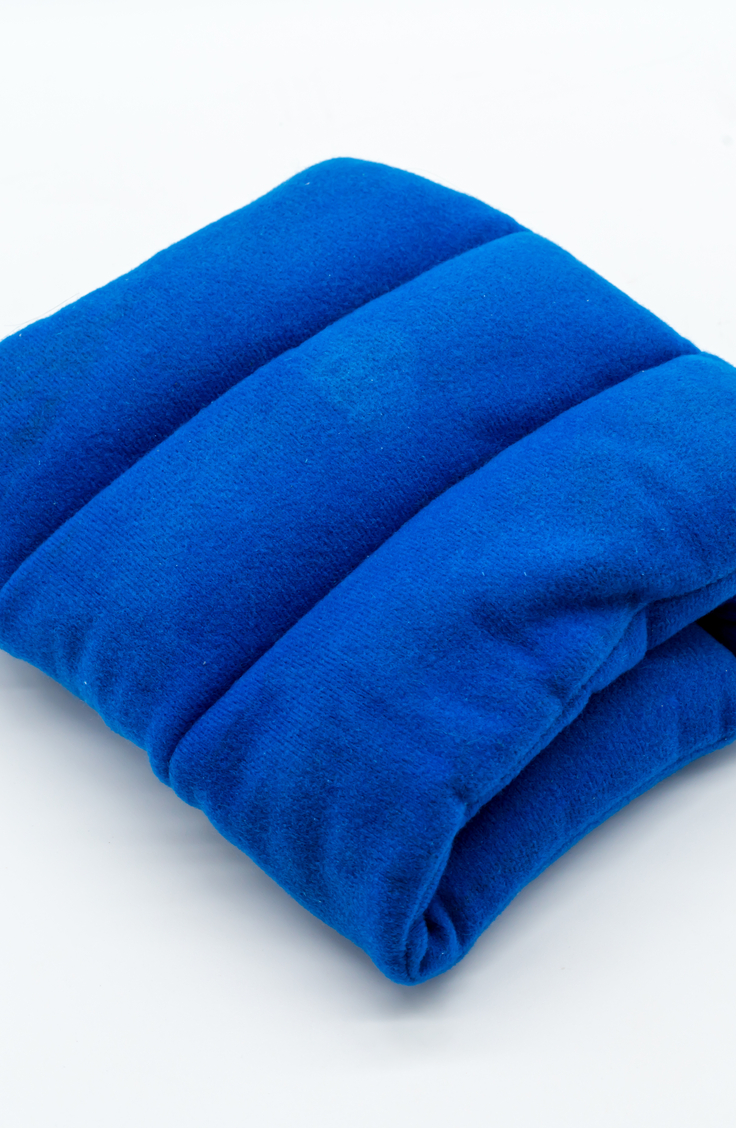
We lied, THIS is the best part. Use your newly acquired heat pack to warm your cold feet or soothe that tense muscle in your back. Begin microwaving at 2 minutes, and increase the time as you feel necessary.
If sewing machines scare you, you can always fill an old sock with rice and simply tie it up. No effort is required!


I have one of these in my freezer but would like to make some new ones – where can I get the instructions.?
Thank you
Press the right arrow button at the top of the page where it says 1 of 9.
Nice, but no instructions on using essential oils. How much to use, and what odors? Many thanks.
Which oils you do all depends on what you’re looking for!! It’s just a nice option for you to try! I like lavender for when I”m relaxing in bed.
If using essential oils add a drop to the filler and mix in a large bowl. Essential oils go a long way. I use white rice as a filler and the oils last for quite some time.
What do the little tags you have on them say? I love this idea!
I don’t have the exact wording anymore (accidentally deleted the document) but it was a cute little saying about staying cozy this holiday season. Then I just put the instructions on them.
I need to make some of these! I had a store bought one at one point (two, I think) but I keep misplacing the damn thing! And now that I have little ones I have a feeling that I’ll be needing them more often!
Thanks!
What kind of rice or corn do I use
I have successfully used feeder corn bought at the grain/ feed supply. Same pack still being used 15 years. I love my corn bags better than rice ones.
Just have a couple suggestions. I have been making these for years and have found if you make the bag out of muslin, double stitched, then make a flannel cover that is removable and washable, it helps if someone is sick and the cover gets germy and/or thrown up on! A small tab of velcro keeps it together. I usually use lavendar essential oil ~ about 8-10 drops. To me, corn ends up smelling after heated a few times. Okay if you like popcorn.
What filling do you use instead of corn?
Quick question what do you think about giving as a gift to male teacher???
I think it’s a great gift for any teacher!
Does it matter what material you use? Surely you need to becareful of it catching alight or am i wrong.
You have to use 100% cotton fabric and cotton thread!! If you don’t it will start on fire in the microwave!
Happy New Year! You stated that the material should be 100% cotton. Does that also apply for socks. It does not state that for the “old sock” method. Some of my socks are a blend that I would like to use. Thanks.
That should have been a ? not . after socks…oops!
I’m sorry, but I guess I’m not seeing what you are seeing. Mind letting me know which slide it’s on?
Hi Jenn, I no longer have that screen available for immediate access but it was either in general conversation before the slides or on slide 1. It stated for materials, use 100% cotton and cotton thread in order to avoid catching fire.
How long do you it heat for?
I usually heat in 30 second intervals. This allows me to stop at a temperature that’s not too hot, and I’m not ruining any material.
What is the size of the fabric that you are using. I did not see it.
Honestly you can really use any size you want, depending on where you plan on using it! Just make sure you add a bit in length and a bit more in width so that you are taking into account the filler.
These are so useful, I am in Australia and I use wheat as a filler, it does get to smell a little bit malty after a while, but my present ones are at least 10 years old. Be careful not to overheat, as they can burn the skin or burn the fabric, the 30 sec increments idea is ideal. Make them in different shapes eg and horseshoe shape for around the neck…Very comfortable for neck pain or tooth ache. Finally, using cotton fabric is most important, synthetics will give you a melted bag if you are not careful.
The legs of flannel pajamas can also be used – like the pillowcase, this means minimal sewing. It’s also a way of recycling outgrown children’s pjs.
Dries beans, split peas or lentils are also a great filler- no smell. I like to use a heavier cotton- like a denim so the heat doesn’t get too hot. I have a friend who puts dries herbs like rosemary or lavender in with the rice and it works well buts gets a little “dusty” after constant use.
I use Spelt grains. For therapy reasons they always have a moist heat.
I get them in bulk food health food store in my town.
I use 100% cotton tube socks. Use 2-3 drops of your preferred scent. Tie your sock into a knot, no need to sew anything….
Can you use an elastic band instead of sewing it?
Does The material have to be 100% cotton? or Can it be any fabric? i am dong this late at night and i can get any cotton. Also This is a REALY GOOD IDEA!!! …sry, i’m Hyper…
Can’t* XD
Just wanna make some for my kids, Im gonna use long grain brown rice (dont know if that matters or not) but how long should they microwave them for?
omg i just saw the directions for the microwaving lol
I usually microwave mine for about a minute! I’ve found that it’s really up to personal preference. Don’t heat for more than 2 minutes (ish) though, it’ll make your home smell like burnt rice!
THANK YOU VERY MUCH
Hi when do I have to throw away the pouches? How long do they last? They won’t turn to bigs right? I will be using rice
Jazmin,
I usually throw mine away once they begin to smell like burnt popcorn (usually like 20-30 uses or so..) I always use rice as well, and I find that it holds up a little better.
Another good thing for rice bags is a pair of pyjamas cut the sleeves and or the legs off and sew the ends up and you have four rice bags and they are nice and soft I do that when I get new pyjamas and use the old ones for new rice bags .?
I made these years ago and used rice, I called them boo boo bags. I kept them in the freezer. They worked great depending on size boo boo.
How long does the Essential Oil smell powerful enough for? I work with them, and want to add this to my Craft Fair Booth, but if I make them ahead of time, I don’t want them to not smell nice… I also don’t want to add more oil than necessary. Thank You!
I think it depends on how often the heat pack is used, I’ve noticed that it keeps mine smelling good for 5-7 uses!
I notice you have tags on the heat pads. Can you tell me that say
Thank you
I have made rice bags that turned into bugs after a year or so. Any ideas on how that happened or how to keep it from happening???
I made one and it works great! Thanks for sharing.
I do have a comment. When using rice, rinse it first and let it dry on a large cookie sheet. I didn’t the first time, and my husband kept getting hungry when I used it. It does smell like cooked rice. lol. Have had mine for years and the rice does break down after time, but still heats fine.