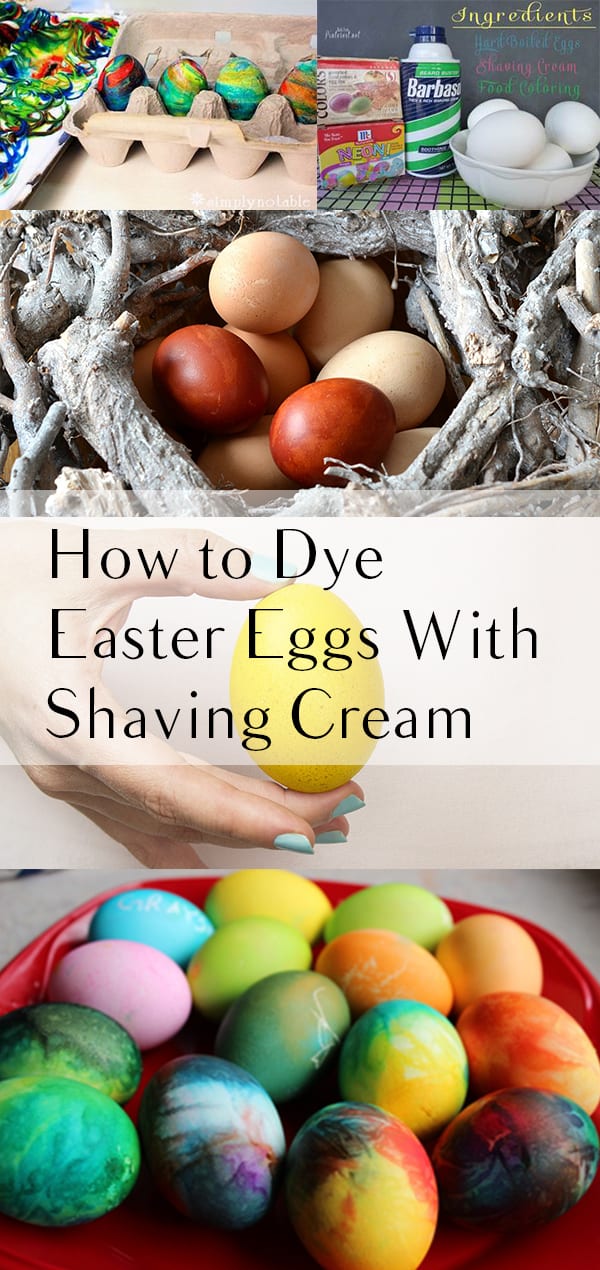
With Easter comes lots of holiday traditions, including coloring and/or dying eggs. If you’ve already done this for a few years, it can get pretty rote and boring. Plus, it can be hard to come up with new designs for your eggs, as well. Well, here’s the solution to your problem: dying Easter eggs by using shaving cream!

Get Materials
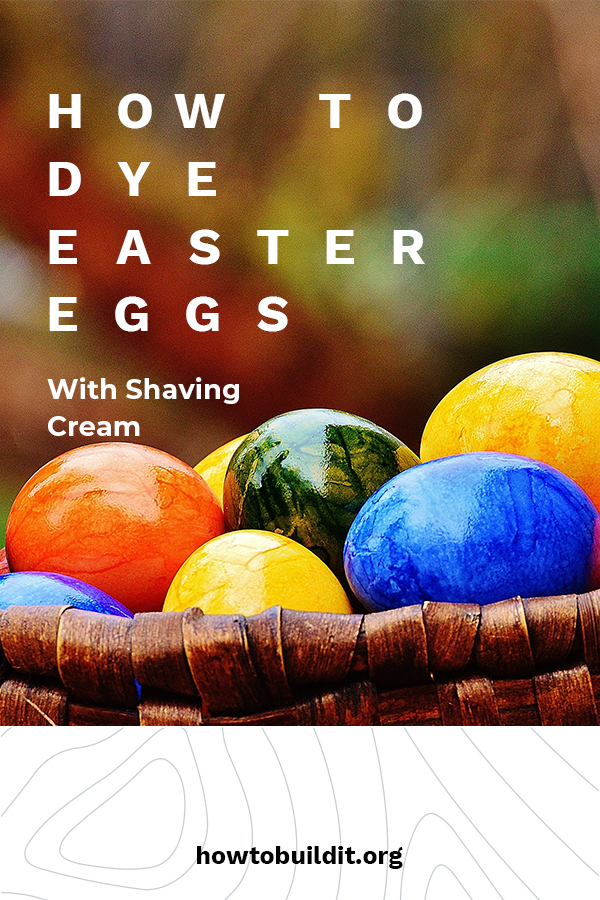
First off, you need to get the materials and get the right ones. While you can use any kind of food coloring, most people seem to say that the neon kind works best. However, for shaving cream, you need to get the actual cream stuff and not the gel kind. Then, you just need your typical Easter egg dying kit!

Mix Shaving Cream and Food Coloring
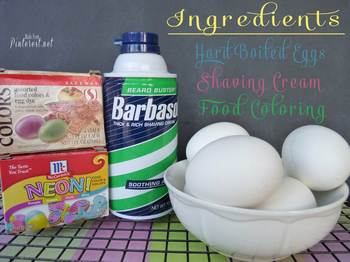
Spread the shaving cream all around a dish or platter and mix in the food coloring. You can use one color or multiple colors. Just remember that most people say 3-5 colors usually makes for the best eggs.

Soak Eggs
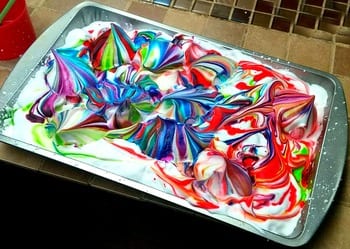
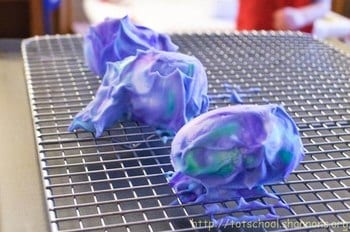
Now you just need to put your eggs in the shaving cream and food coloring mixture! Immerse the eggs completely into the shaving cream and then leave them in there for about 30 to 45 minutes. You can also spread the shaving cream mixture all around your egg, but it seems better to just put the whole egg in the mixture.

Clean
Once the shaving cream covered eggs have been sitting for the appropriate amount of time, take them to the sink and wash them off. The color should be set into the eggs, so this won’t make anything run. You can also wipe them dry when you’re done rinsing them.


Store
Now that you have your eggs, just store them away until Easter day or do whatever your family does with them! However, remember that it’s probably not a good idea to eat these eggs since they’ve been infused with shaving cream!


Variety
There are tons of ways to make your shaving cream dyed Easter eggs, so try all of them! You can do one plain color, mix multiple colors together, do zigzags, etc. The possibilities are pretty much endless, so have fun and enjoy yourself!
