
One of the hardest parts about painting the walls of your home is ensuring that the lines are straight, even, and crisp. Especially where the wall meets the ceiling. I swear, it seems nearly impossible every time. After all, no one wants something that is uneven and looks sloppy. But believe it or not, there’s a foolproof method that will give you a clean, straight line every time. Keep reading to see the best way to paint a straight line.


Paint Tips From A Pro: Best Way To Paint A Straight Line (Be “CAULKY”)
Use Caulk
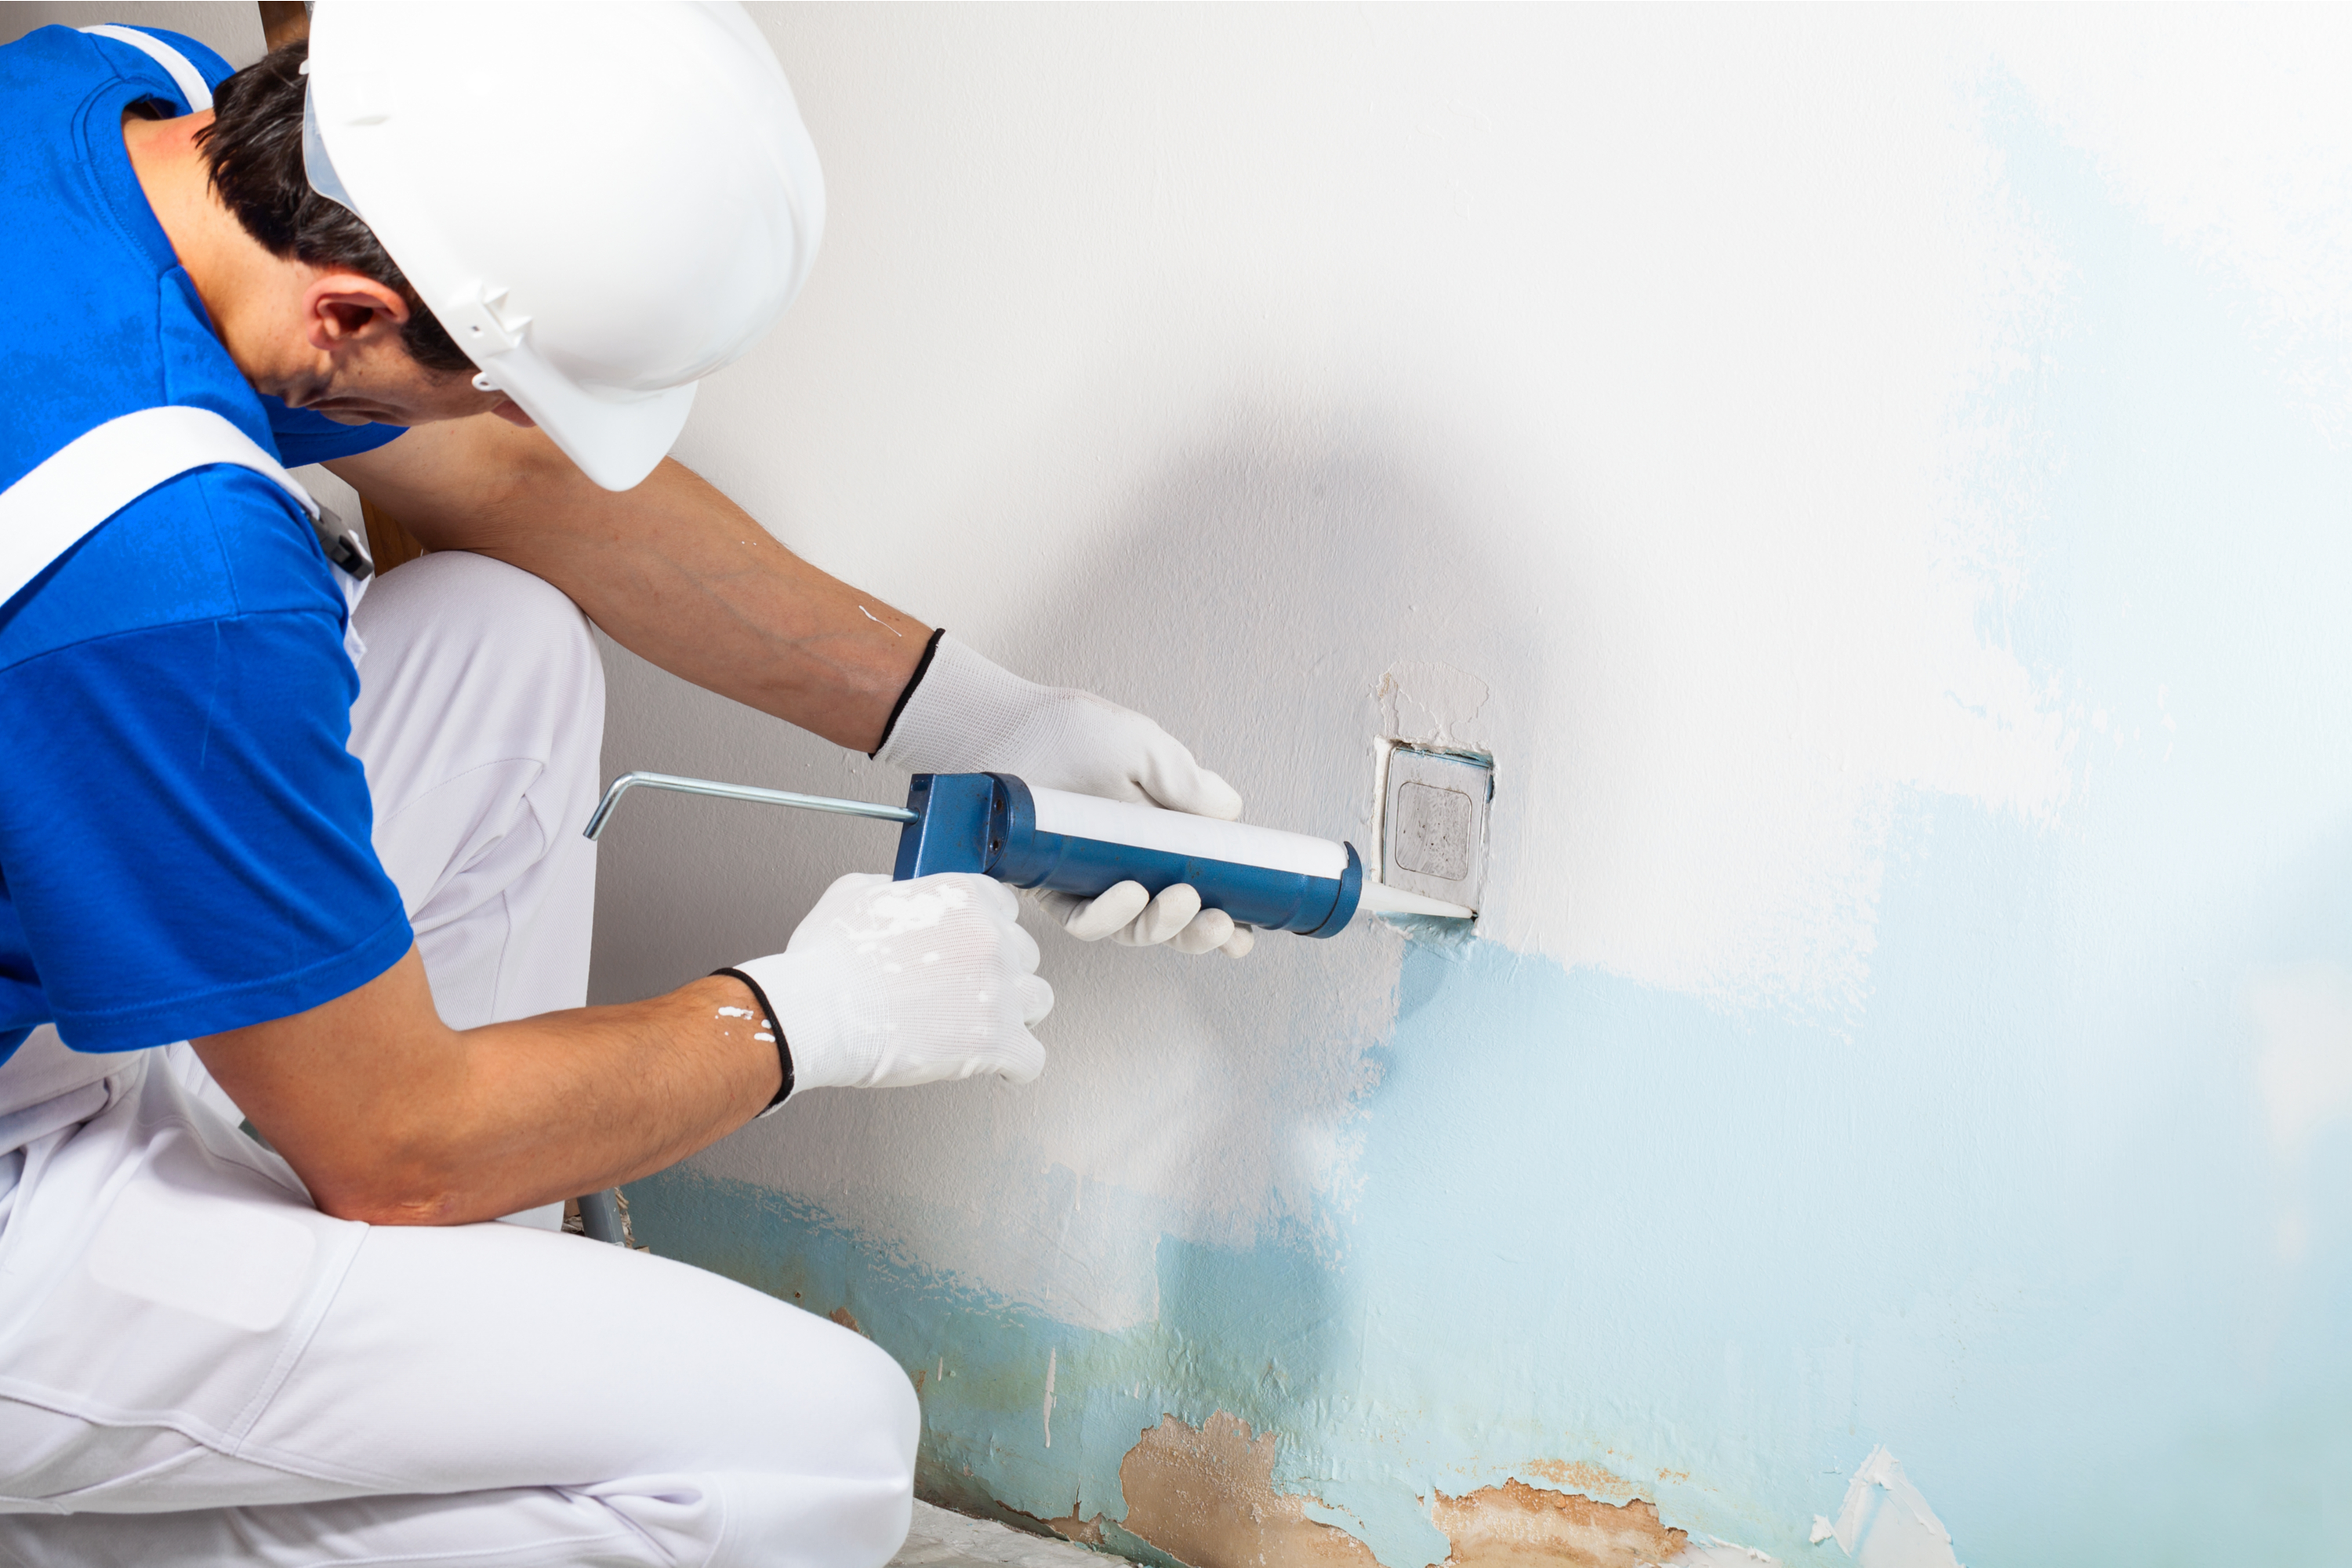
Seriously! It’s possible to paint a straight line using nothing but caulk. To do so, pick a caulk that is both paintable and clear. This will be necessary for the overall finished look of the project. First, apply a length of painters tape to the ceiling, directly above where the wall meets the ceiling. Apply it so the tape lays smooth. This tutorial will help you with everything you need to know about painters’ tape.


After taping, apply a thin line of caulk to the wall directly below the edge of the tape. It doesn’t matter if the caulk isn’t straight, just so long as it is right next to the tape. Next, use your finger to rub the caulk into the edge of the tape. The caulk will seal up the tape so that no paint can leak through and ruin your clean lines. Use a towel to wipe off the excess caulk so that it does not dry on your finger.
Next, paint your wall directly as you normally would, working fast to apply the paint before the caulk dries. If you wait too long to remove the caulk, you could end up gluing it to your wall and no one wants that. Immediately after painting, remove the tape from the wall and enjoy your incredible straight, clean lines. This was easy enough, right?


