Need to remove your baseboards for a new paint job or re-carpeting but are afraid to damage them? Never fear! Follow this simple, safe process for removing your baseboards with ease and peace of mind.
1. Cut off any excess caulk on the top edge and corners of the baseboards using a utility knife.
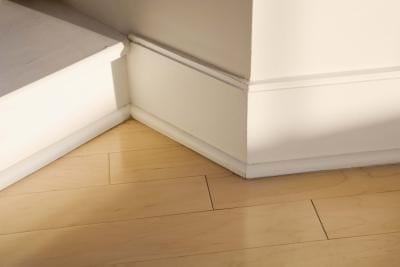
2.Check to see what kind of joints are in the baseboards. Coped joints need to be removed before mitered joints. (Coped joints are typically on inside corners—one piece is cut at a 90 degree angle, the other piece is cut at a 45 degrees. Mitered joints are typically on outside corners—both pieces are cut at 45 degree angles.) Tips and how-to from SF Gate.
Image from Home Renovations
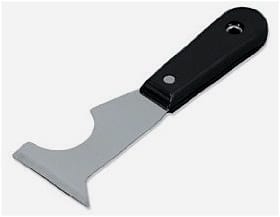
3.Use a 5-in-1 painter’s tool to begin separating the top edge of the baseboard away from the wall. Insert the narrow end into the small space you created by removing the caulk. Gently hammer the top of the 5-in-1 tool to further separate the baseboard away from the wall. Do this along one end of the baseboard—you don’t have to go along the entire thing.
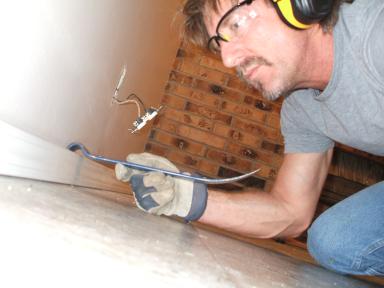
4. Once you’ve got the end somewhat removed, Use a pry bar to further remove the baseboard. To protect the wall, place a small piece of scrap wood behind the fulcrum of the pry bar (where it connects with the wall) to distribute the pressure. Go along the entire baseboard, gently prying it away from the wall. As you move along, you will be able to use your hands to help pull the baseboard away. Pry near studs or nails, not too far away from them or you might crack the baseboard.

5.Gently remove the nails from the baseboards for safe storage.
6.Fore easy reinstalling if you are just temporarily removing your baseboards, number each baseboard and the spot on the wall where they belong. The numbers will be covered up when you reinstall.


Our tile was laid without taking up baseboards & then grout was done to finish off between baseboard & tile. Now im needing to remove the baseboards but the grout has them fastened to the tile. How to removed baseboard in this case?