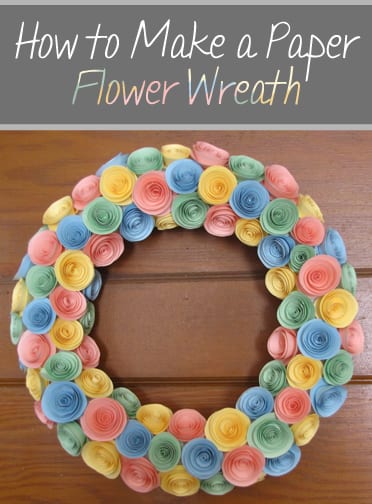
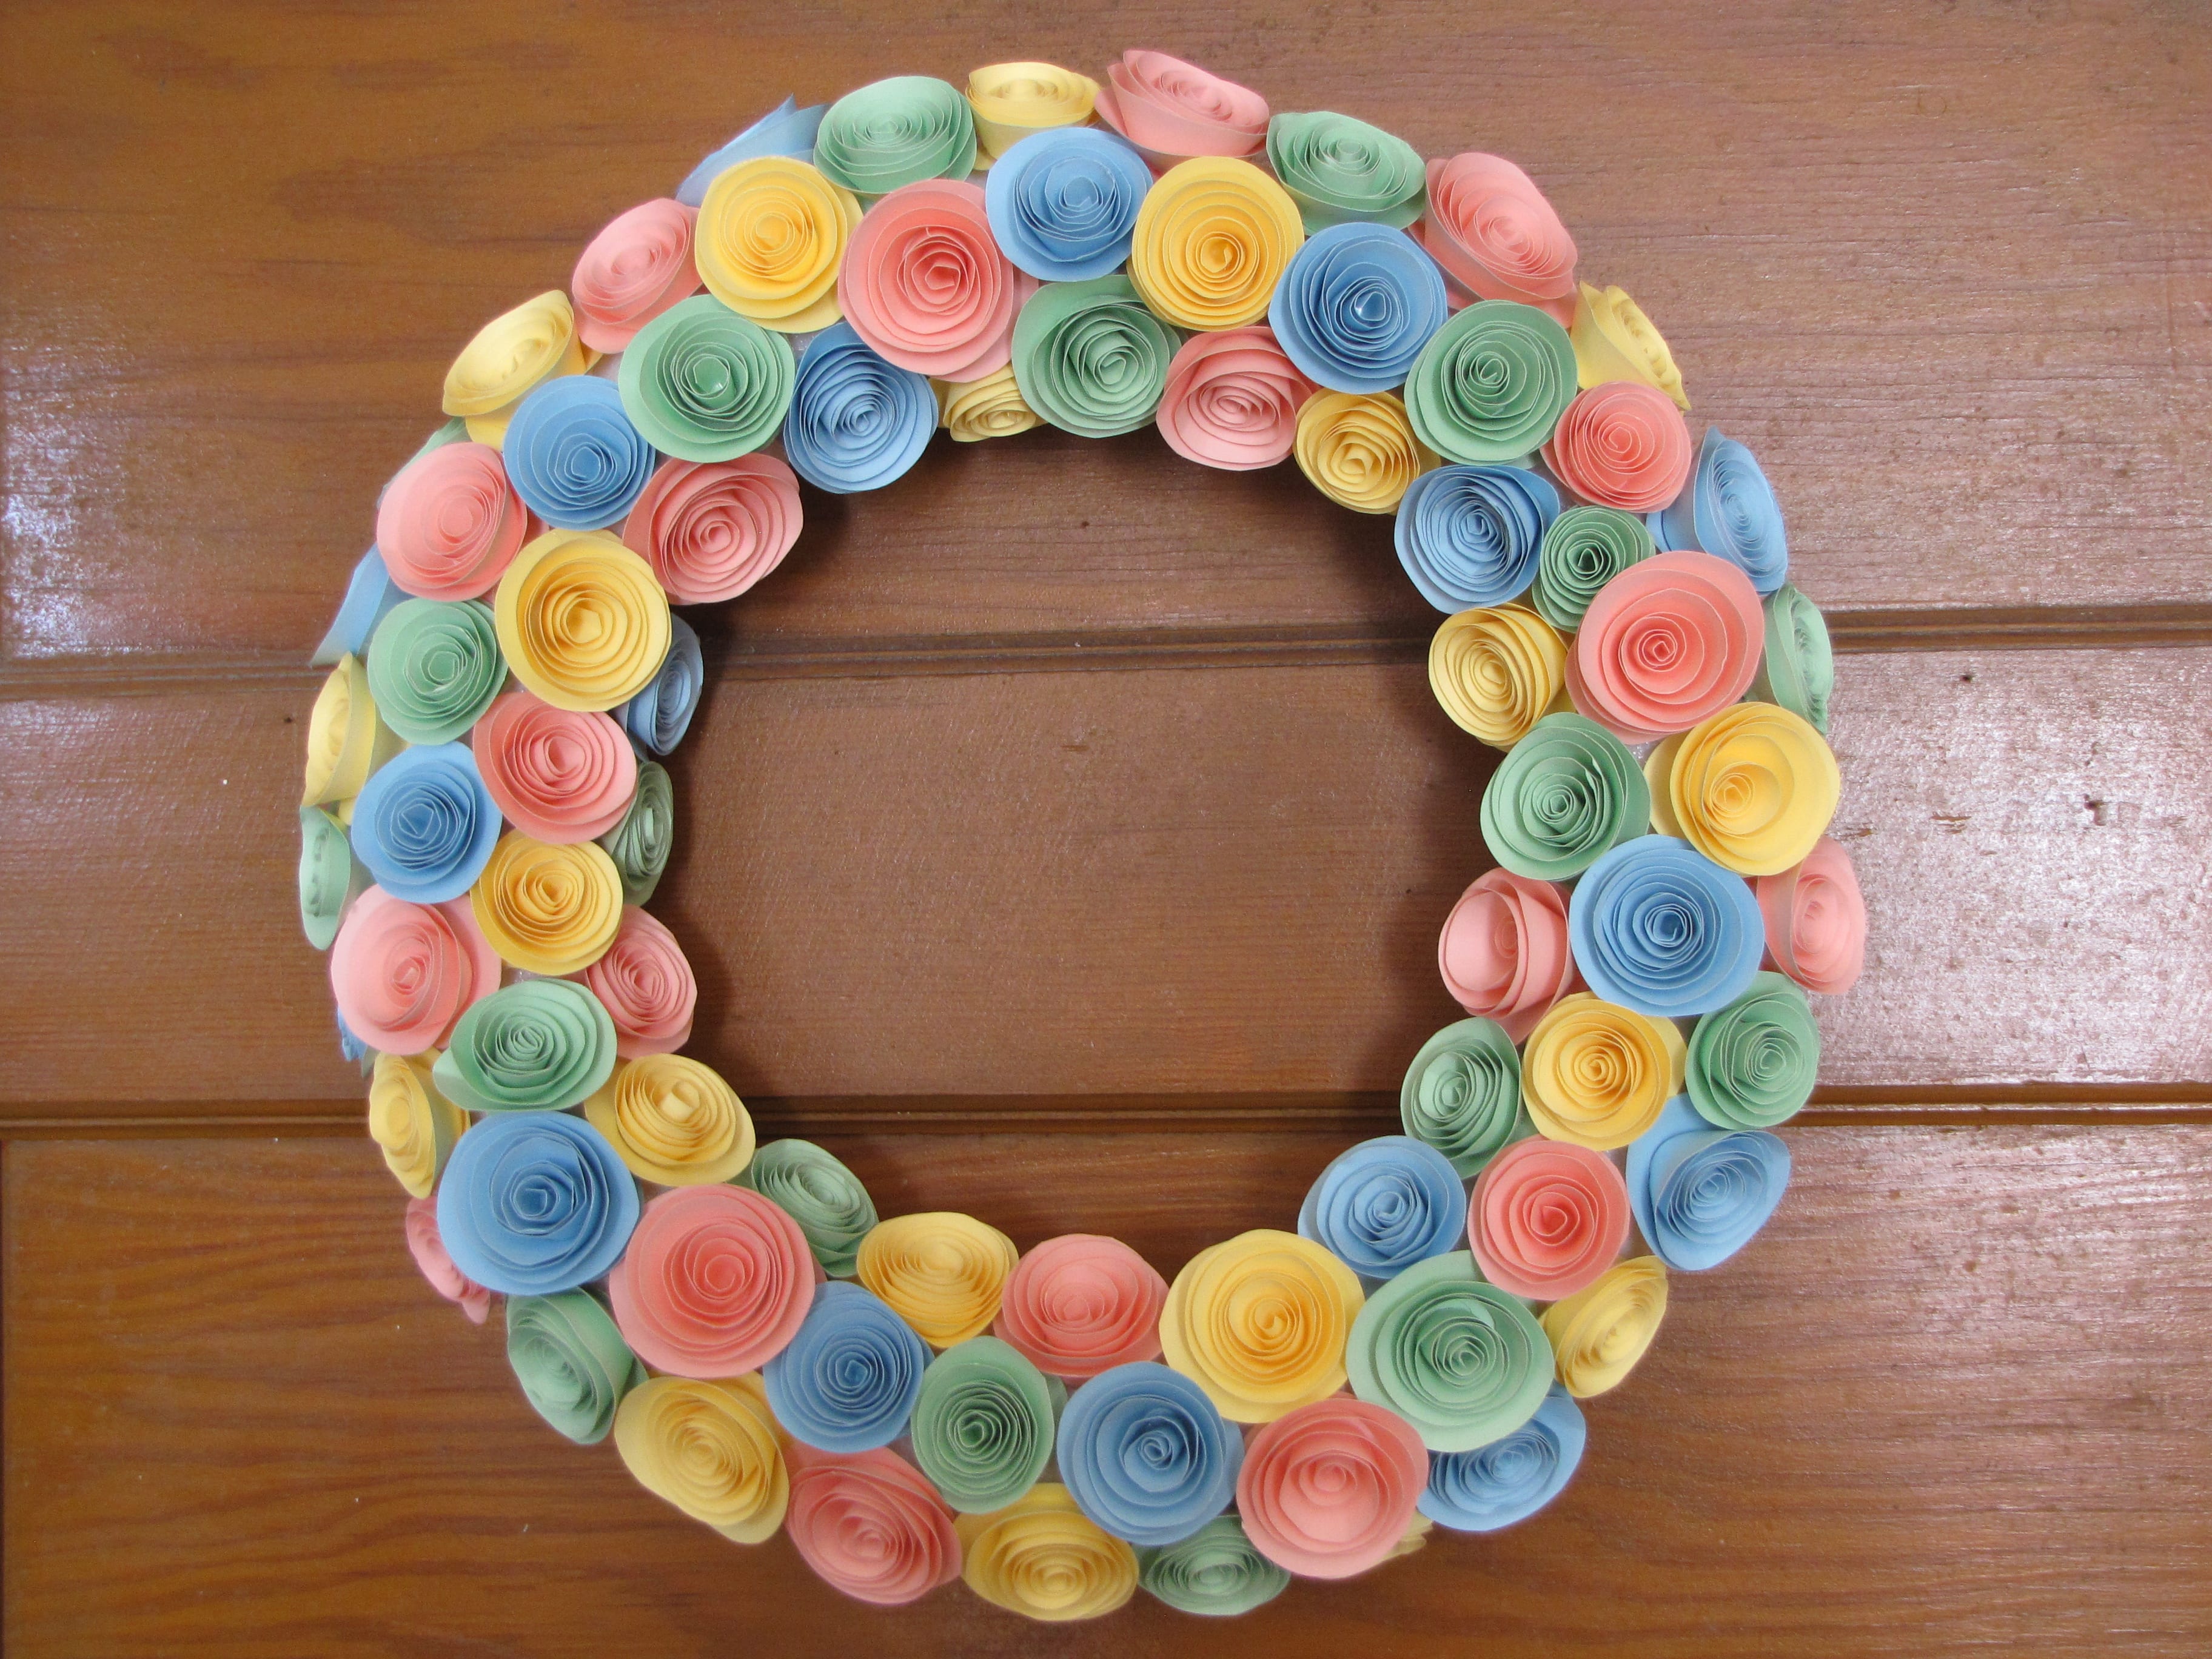
I made this wreath a couple weeks ago when I was really starting to get spring fever (don’t the colors make you think of Easter?). The original tutorial for the paper flowers can be found here. This tutorial includes how to make the flowers and how to assemble them on the wreath. Ring in spring by making one of your own!
Supplies:
-Construction paper or stiff scrap-booking paper
-Pencil
-Scissors
-Hot glue gun and extra sticks
-Foam wreath
Step One: Make Your Flowers
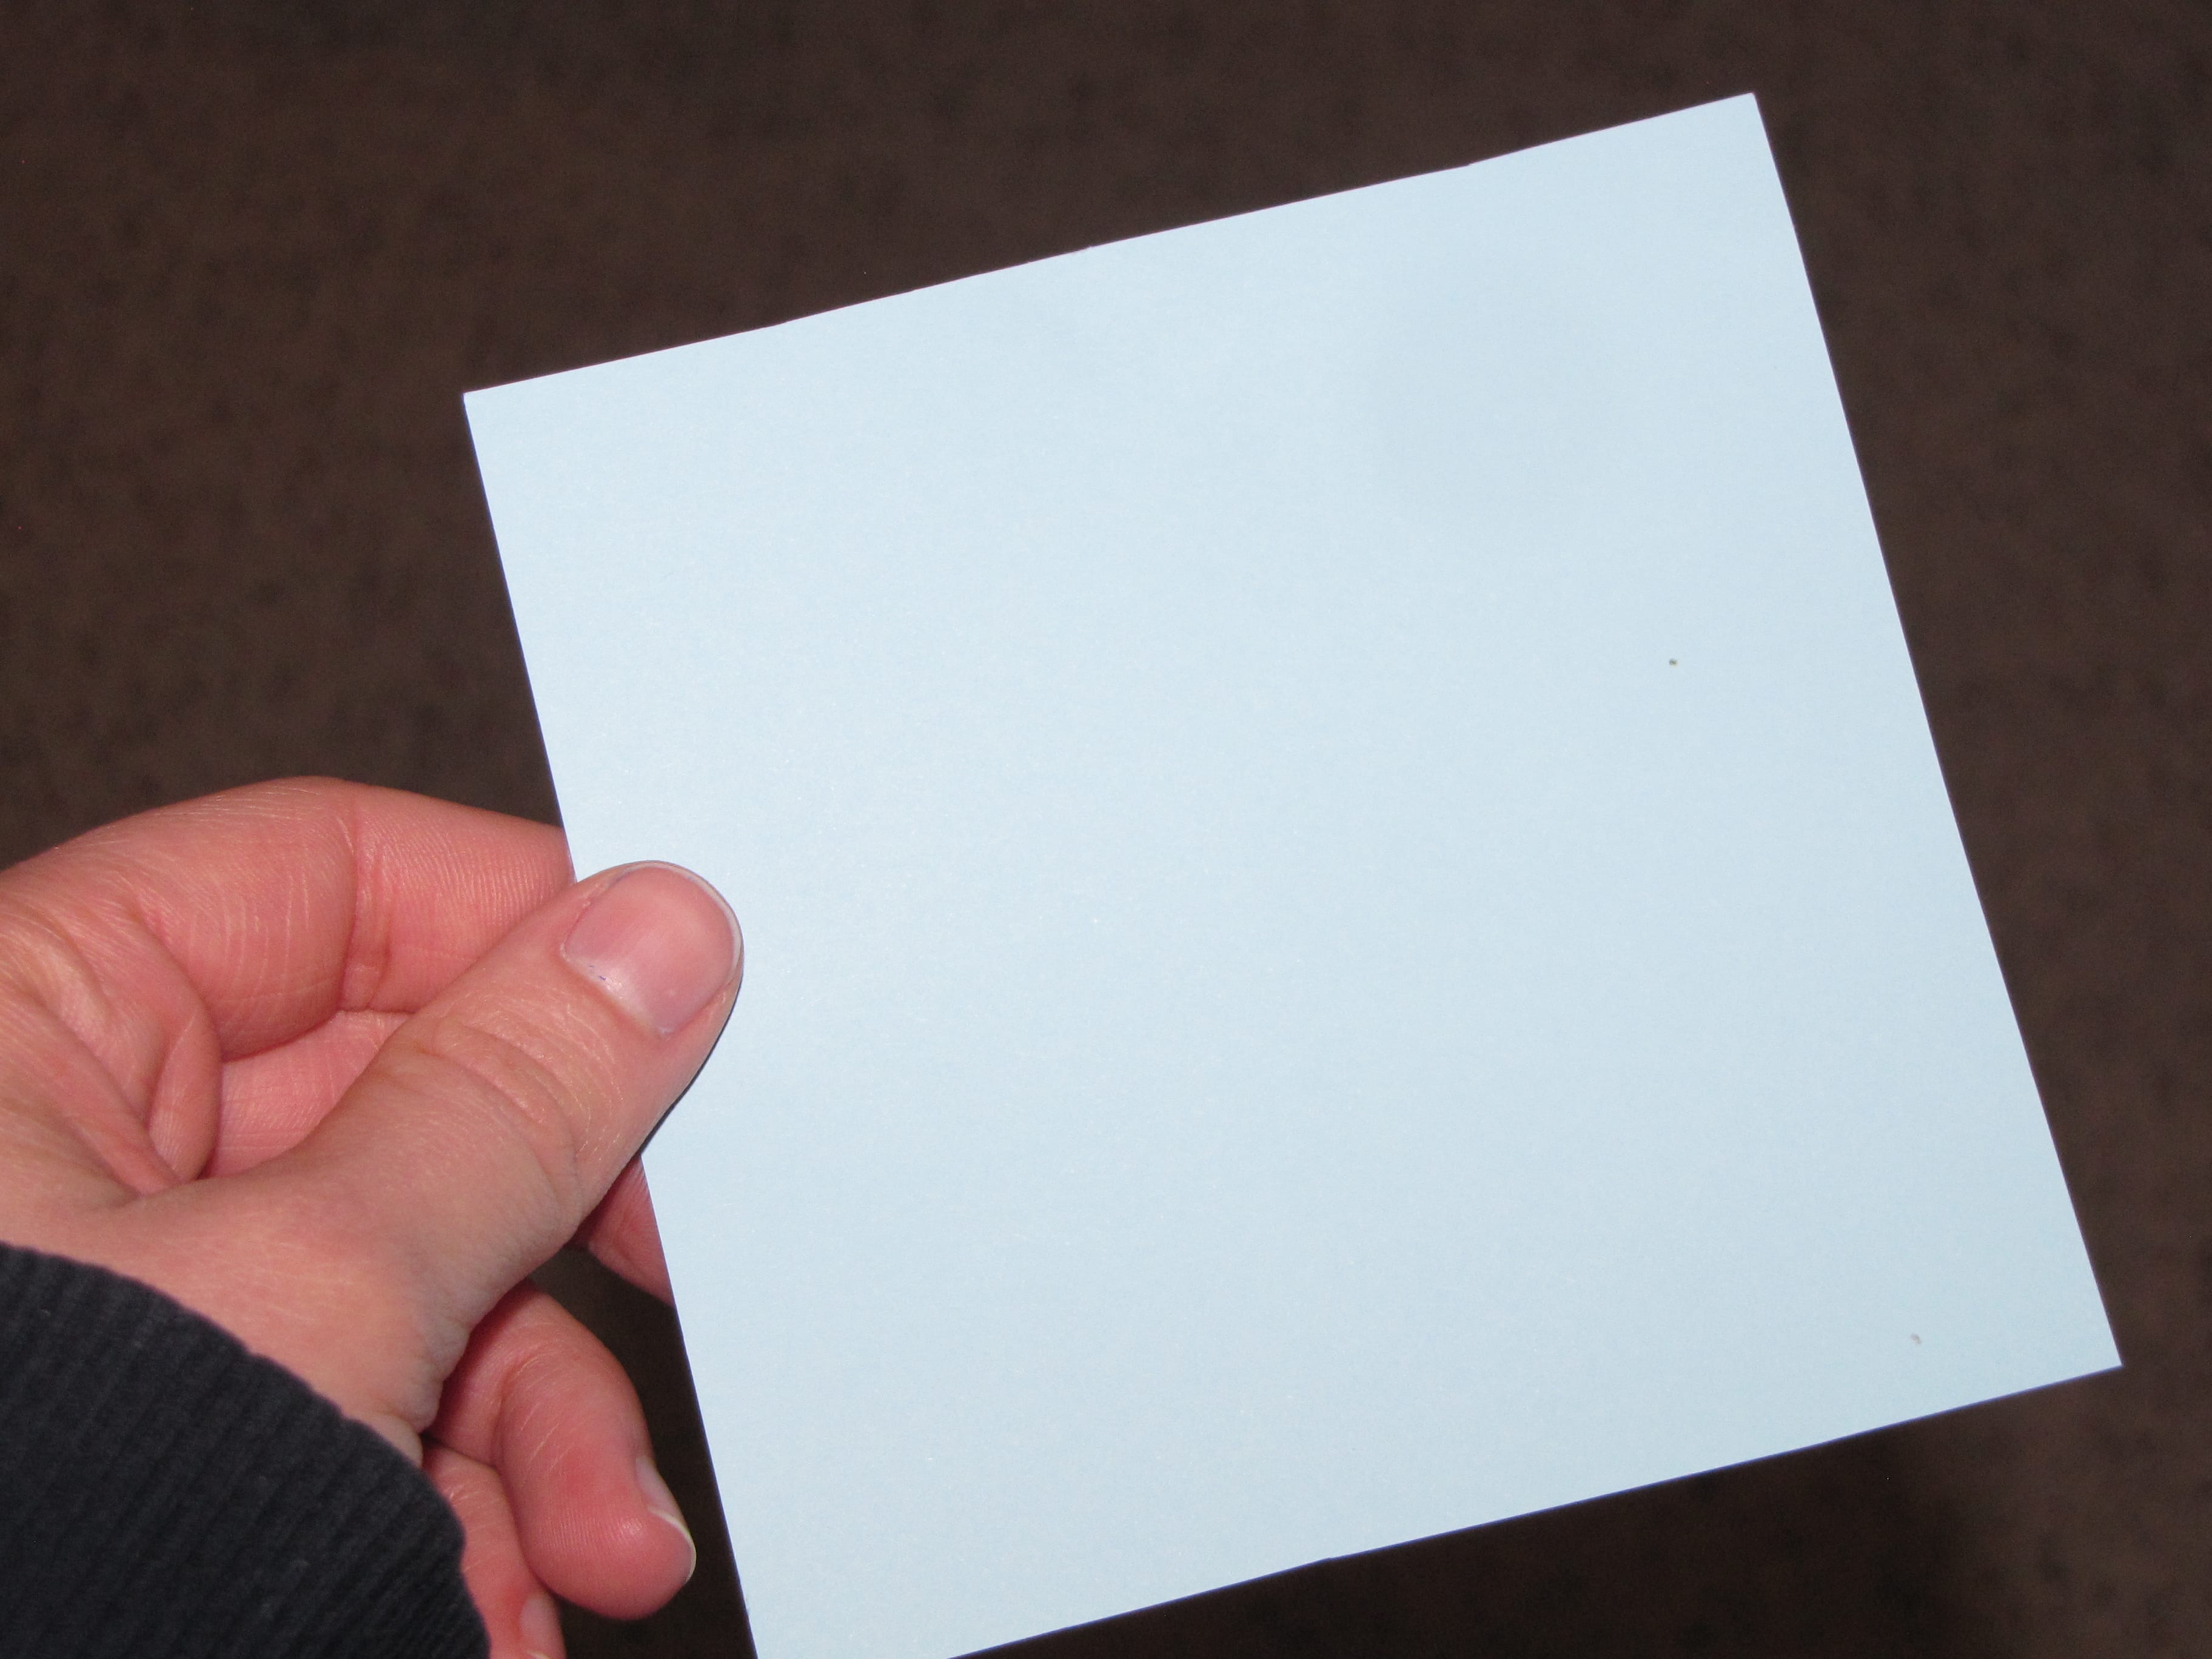
Cut out a 3-4 inch square piece of paper.
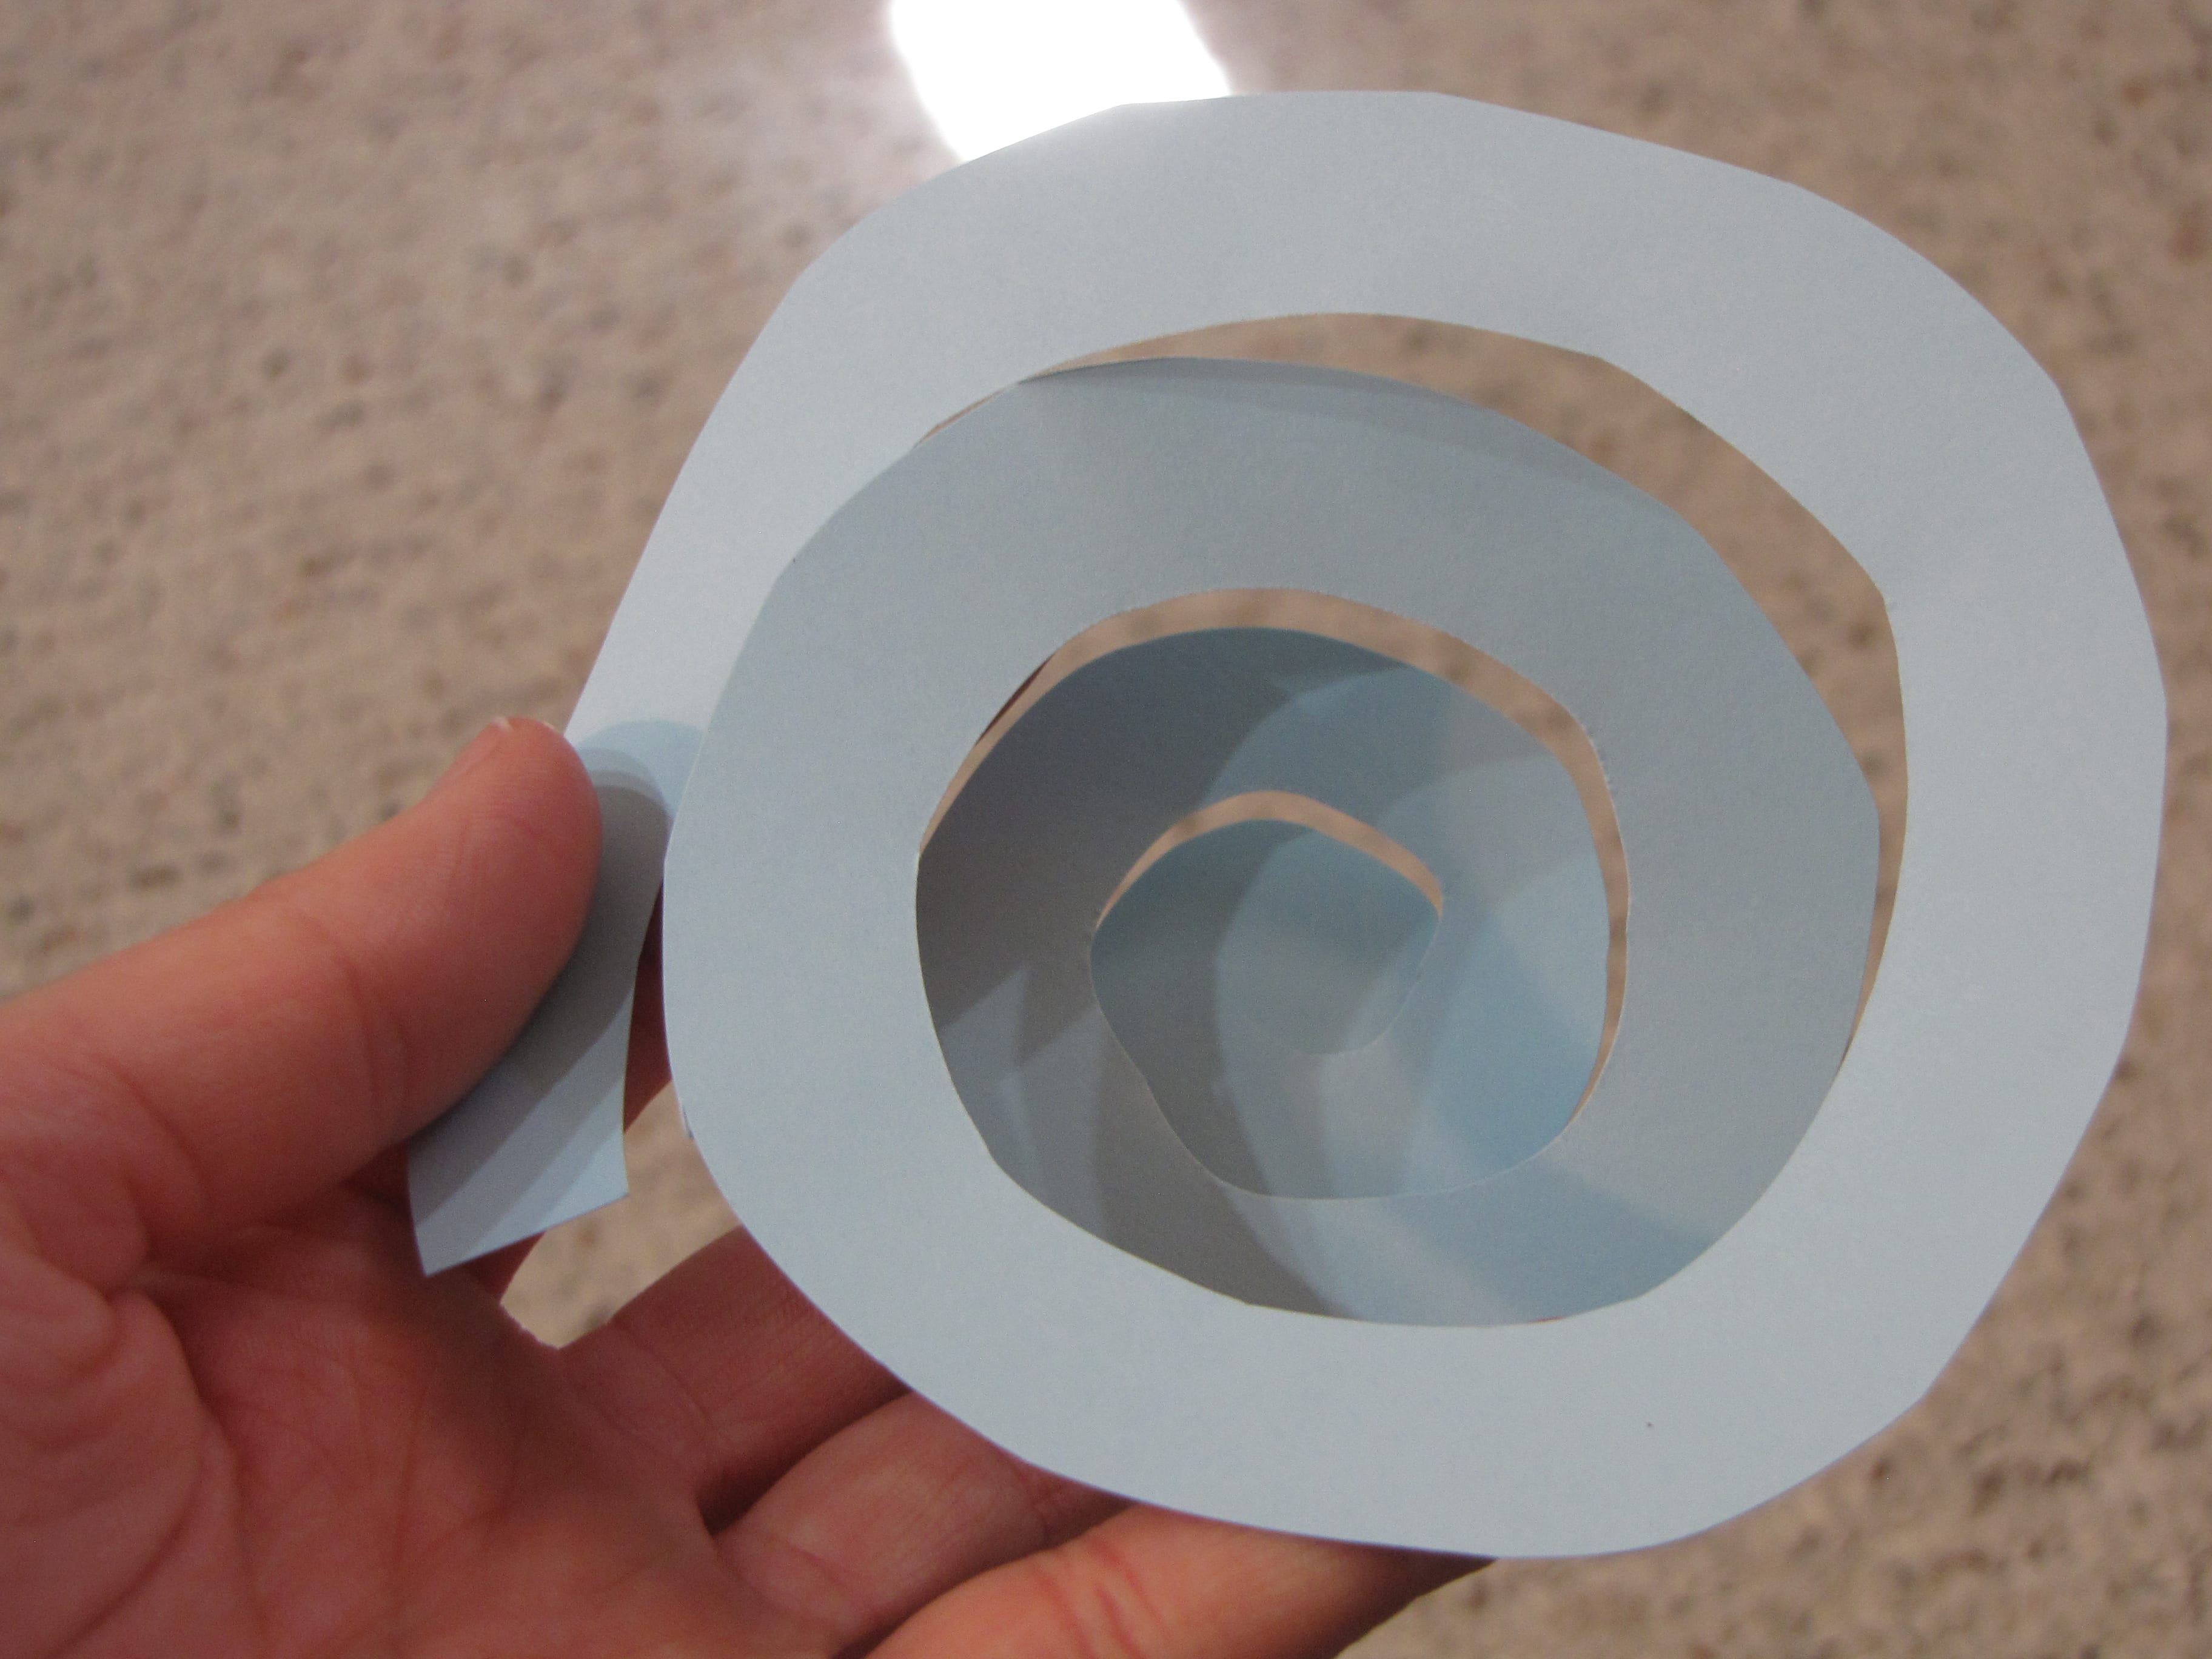
Cut a swirl out of the paper, leaving a rounded end.
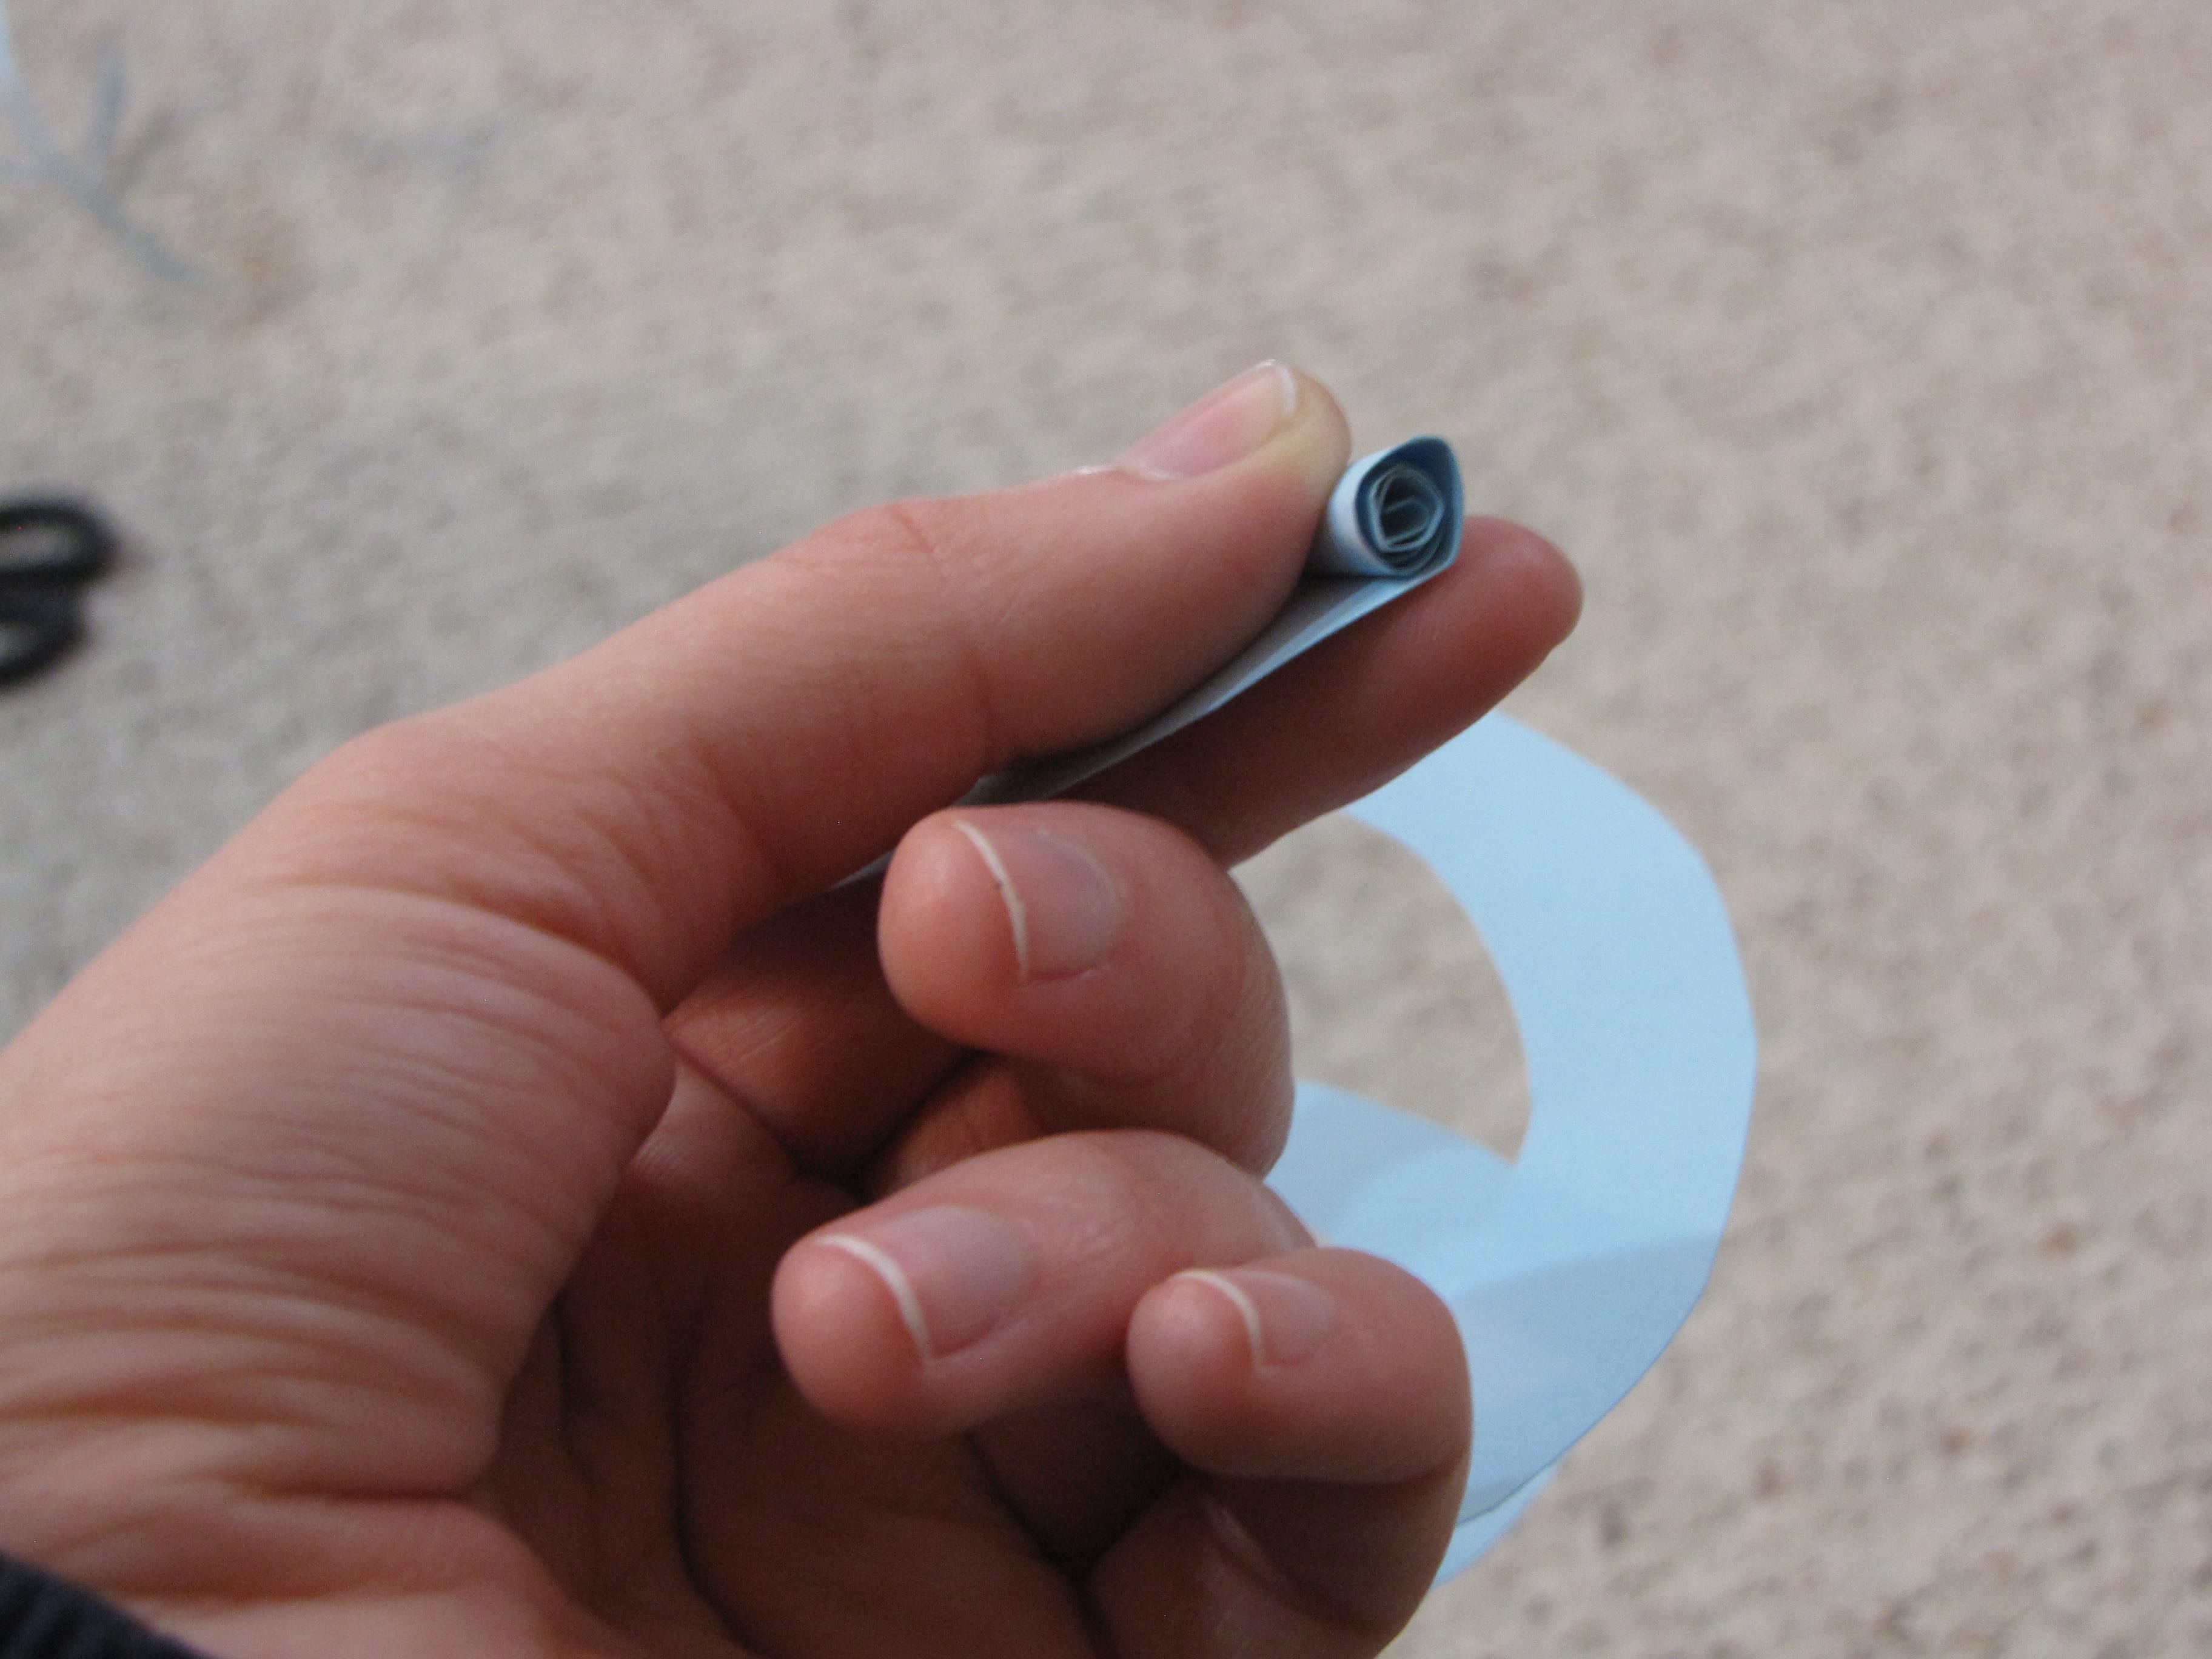
Roll the paper starting from the outside and go all the way in.
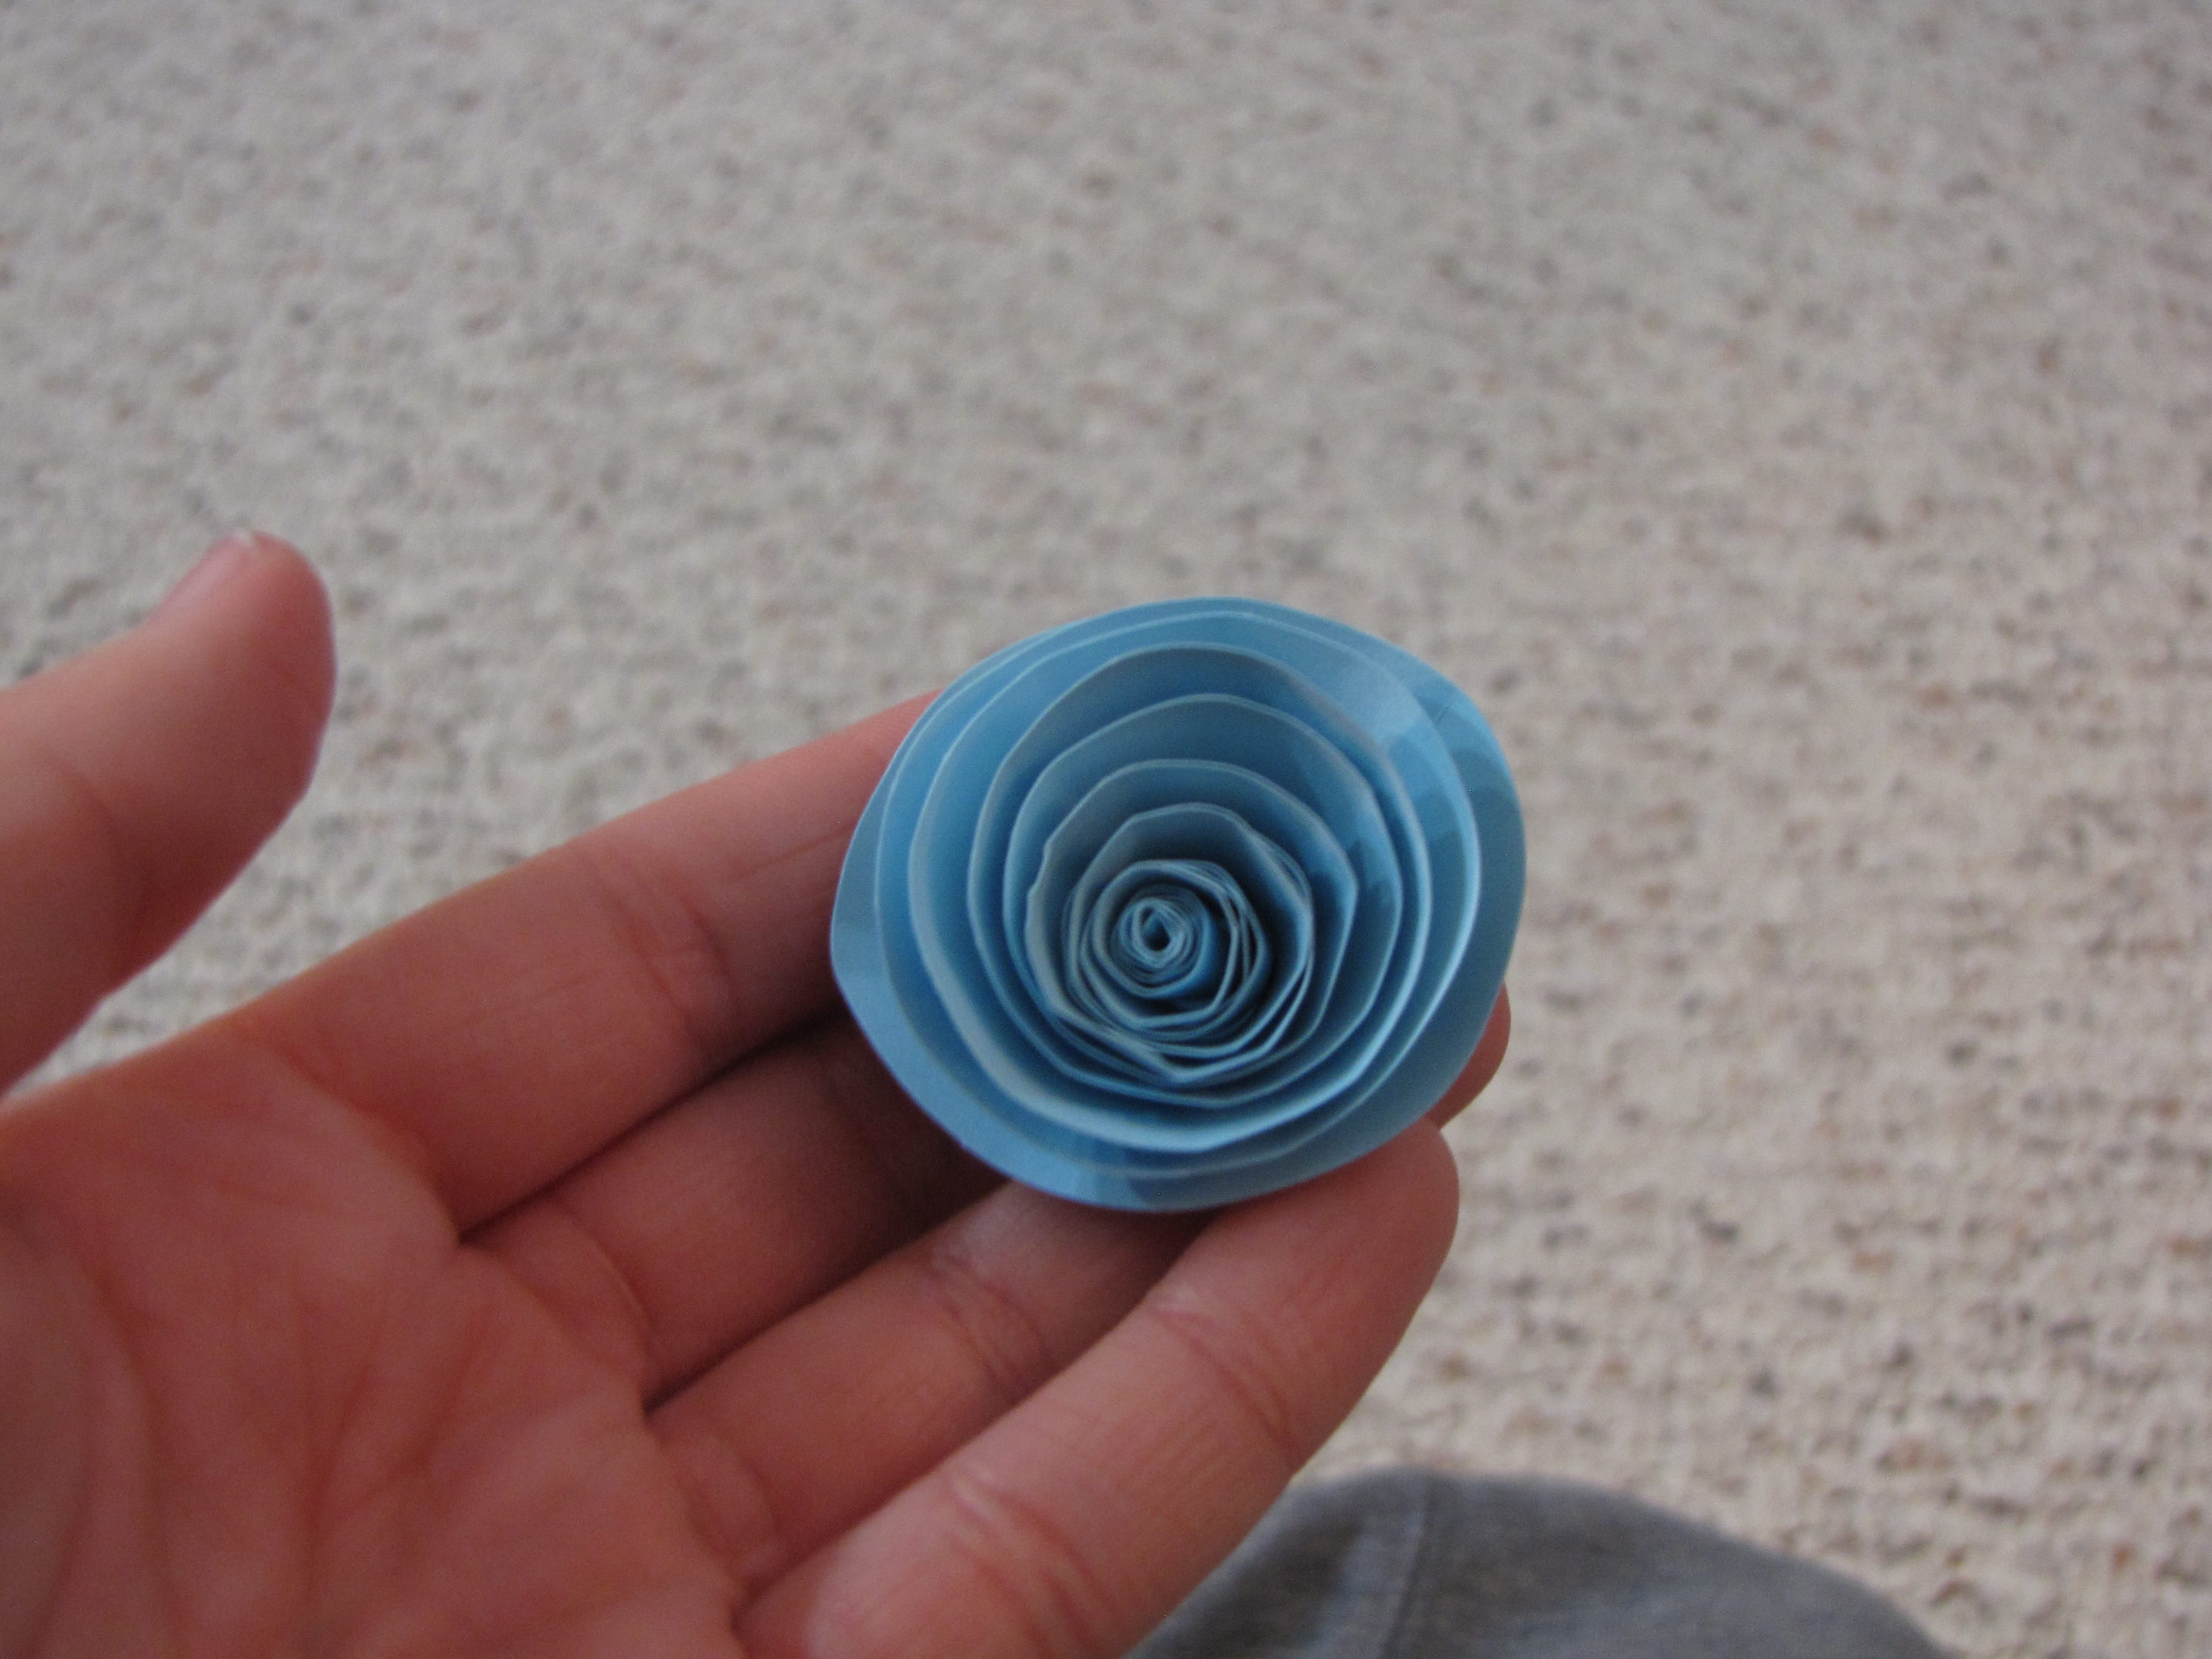
Let go of the roll and the flower will “spring” out.
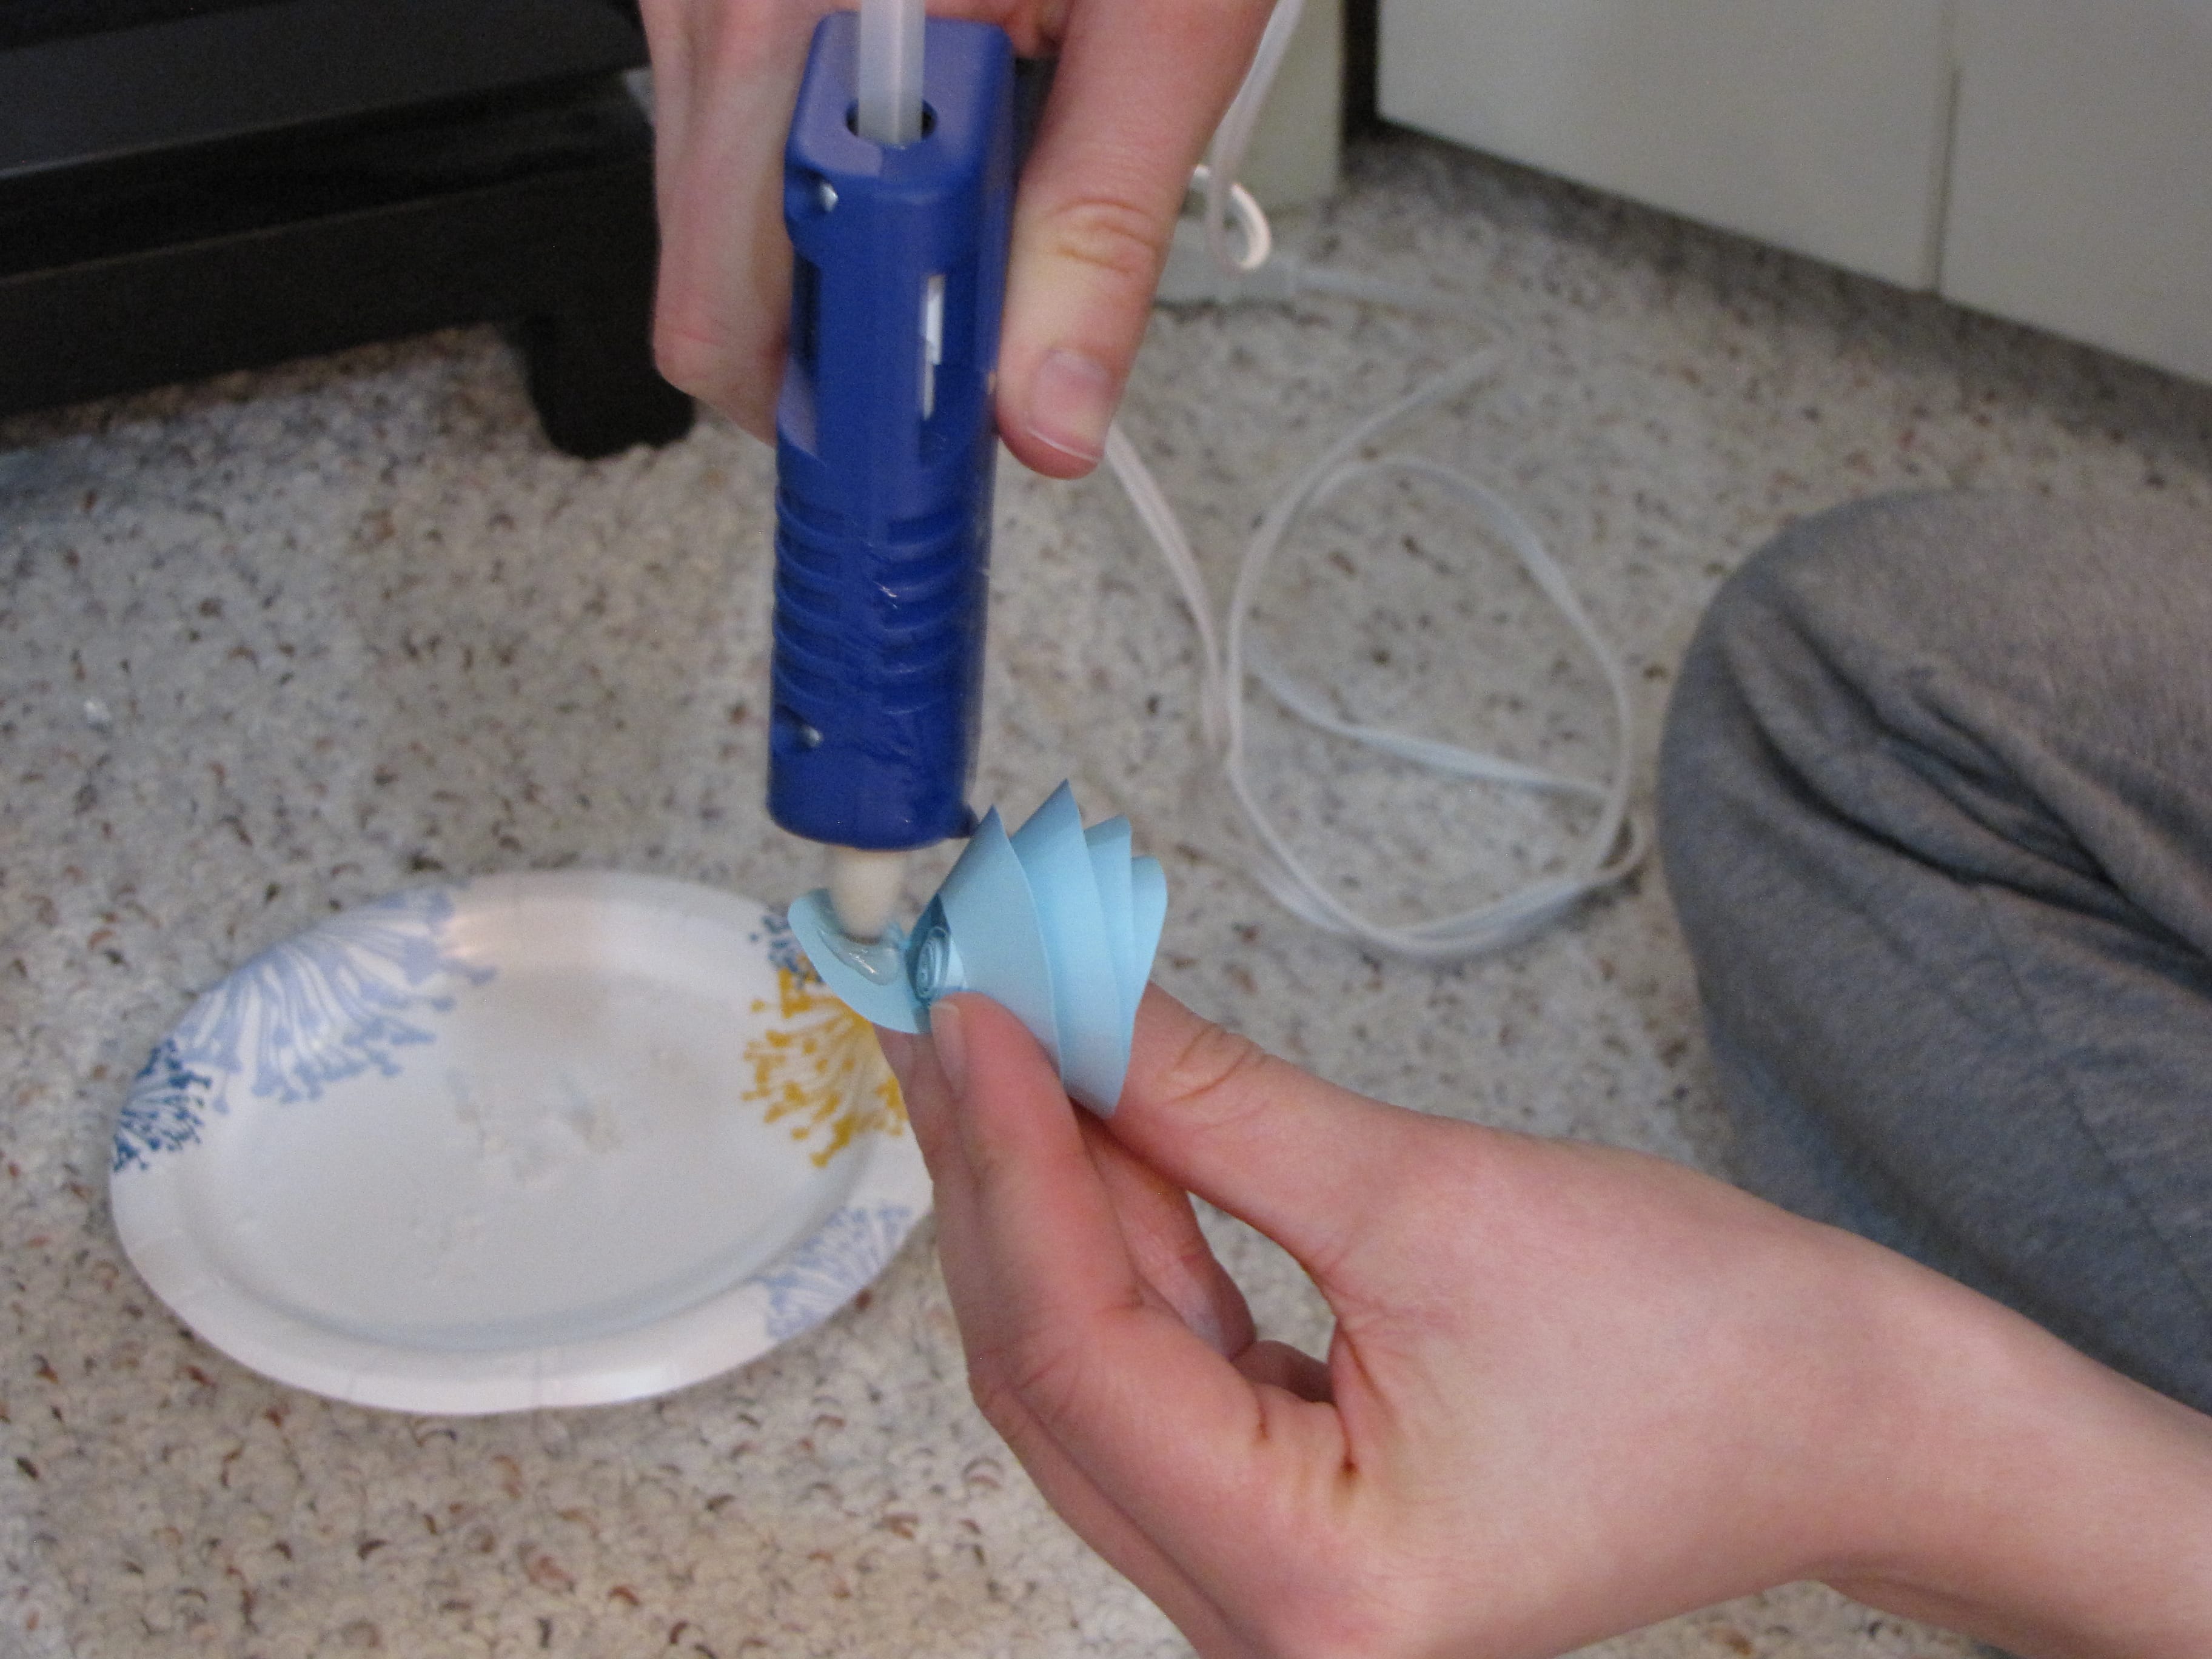
Put some hot glue on the round base of the flower and press the center of the flower into it. This will hold the flower together.
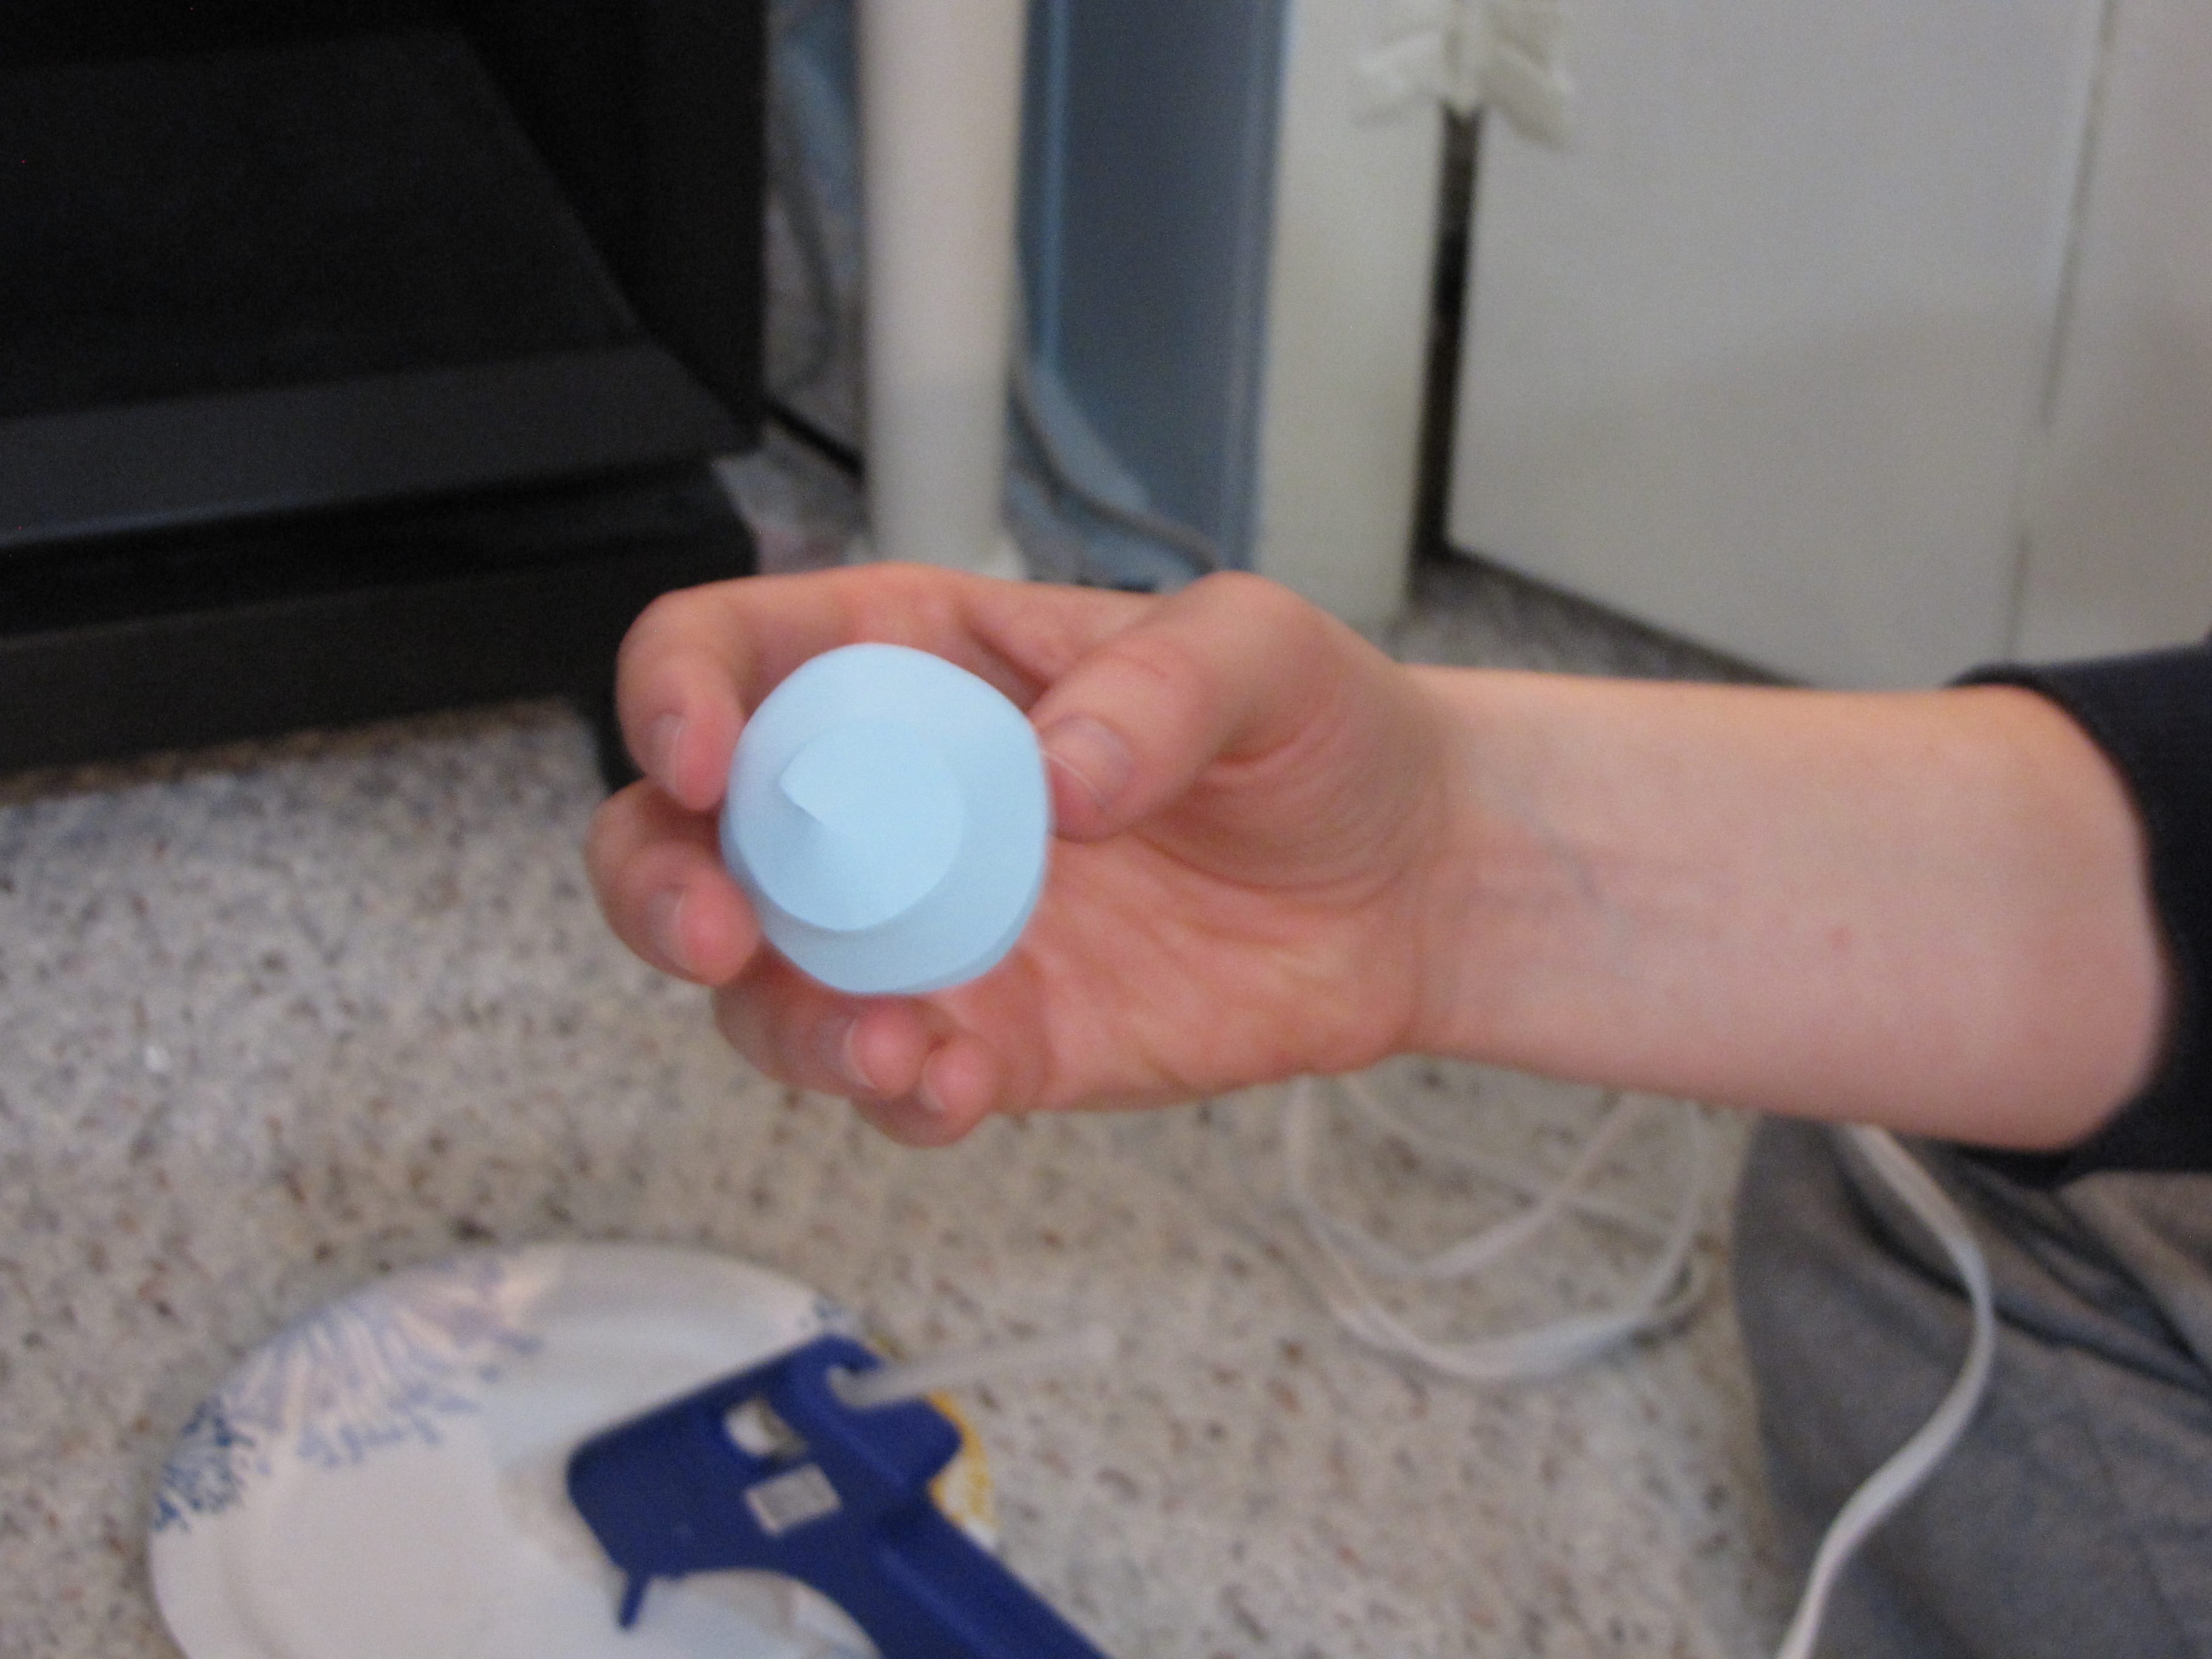
This is what is should look like on the bottom when you are done.
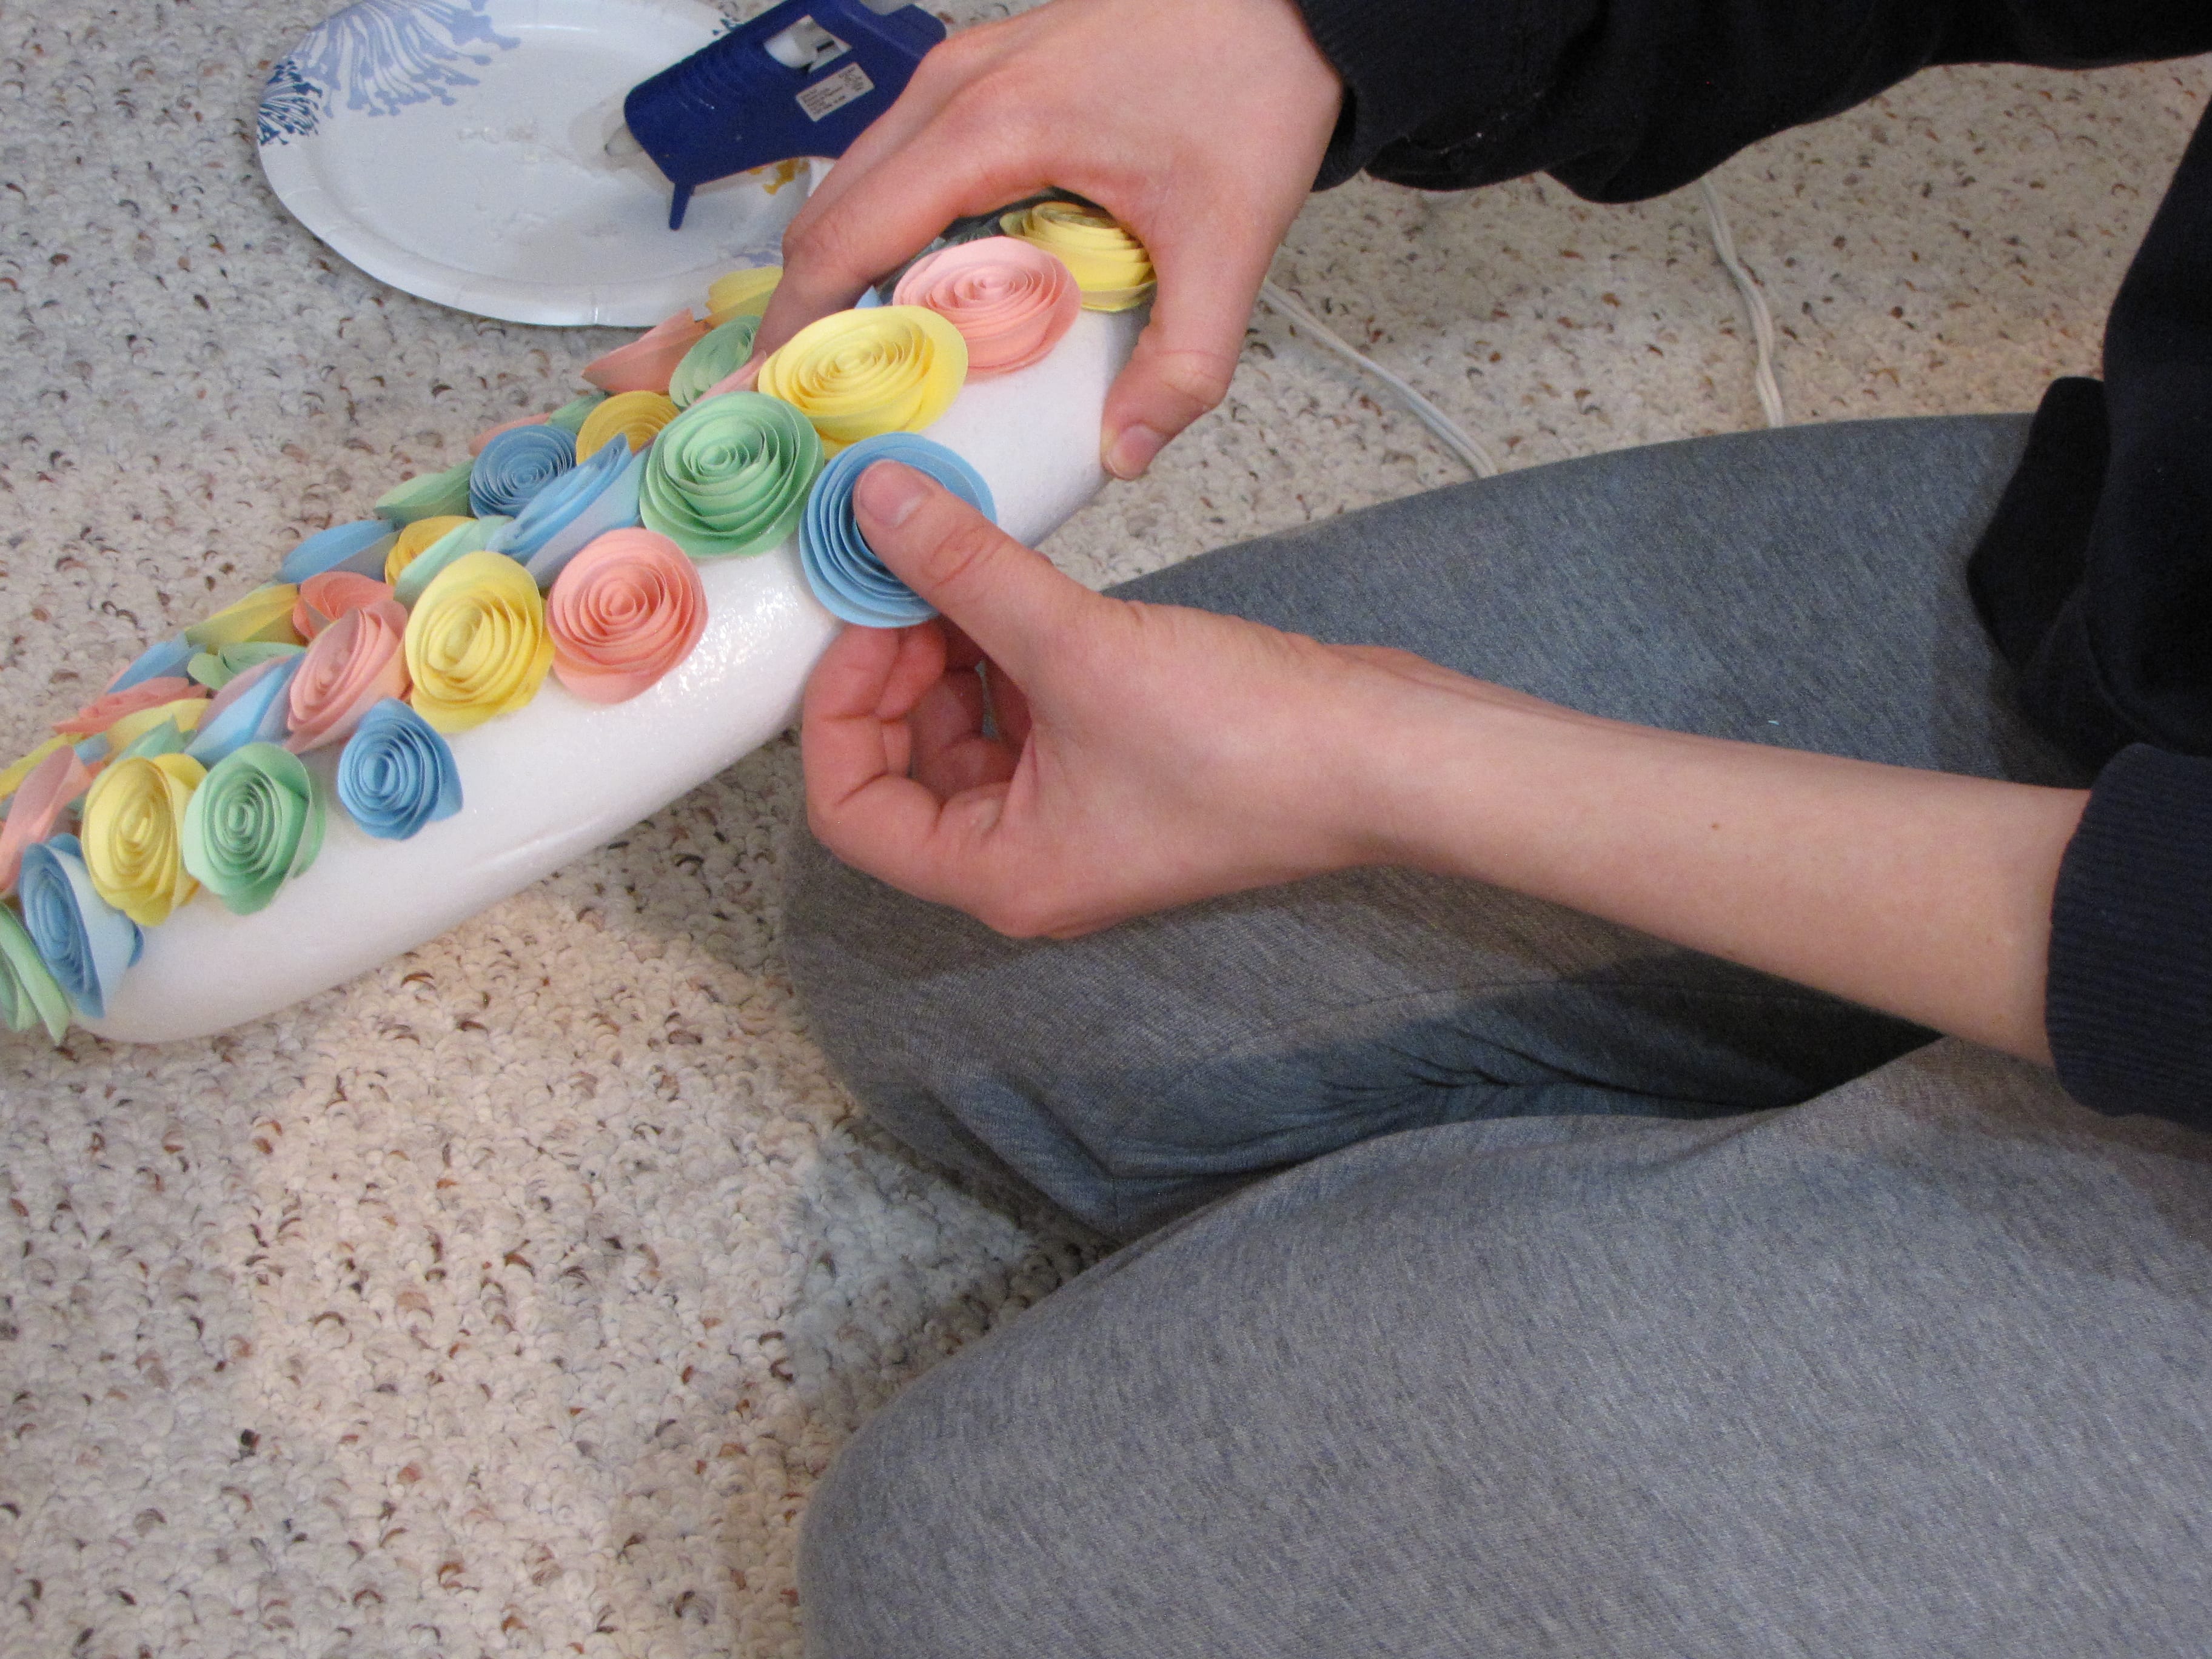
Step Two: Glue Flowers to Your Wreath
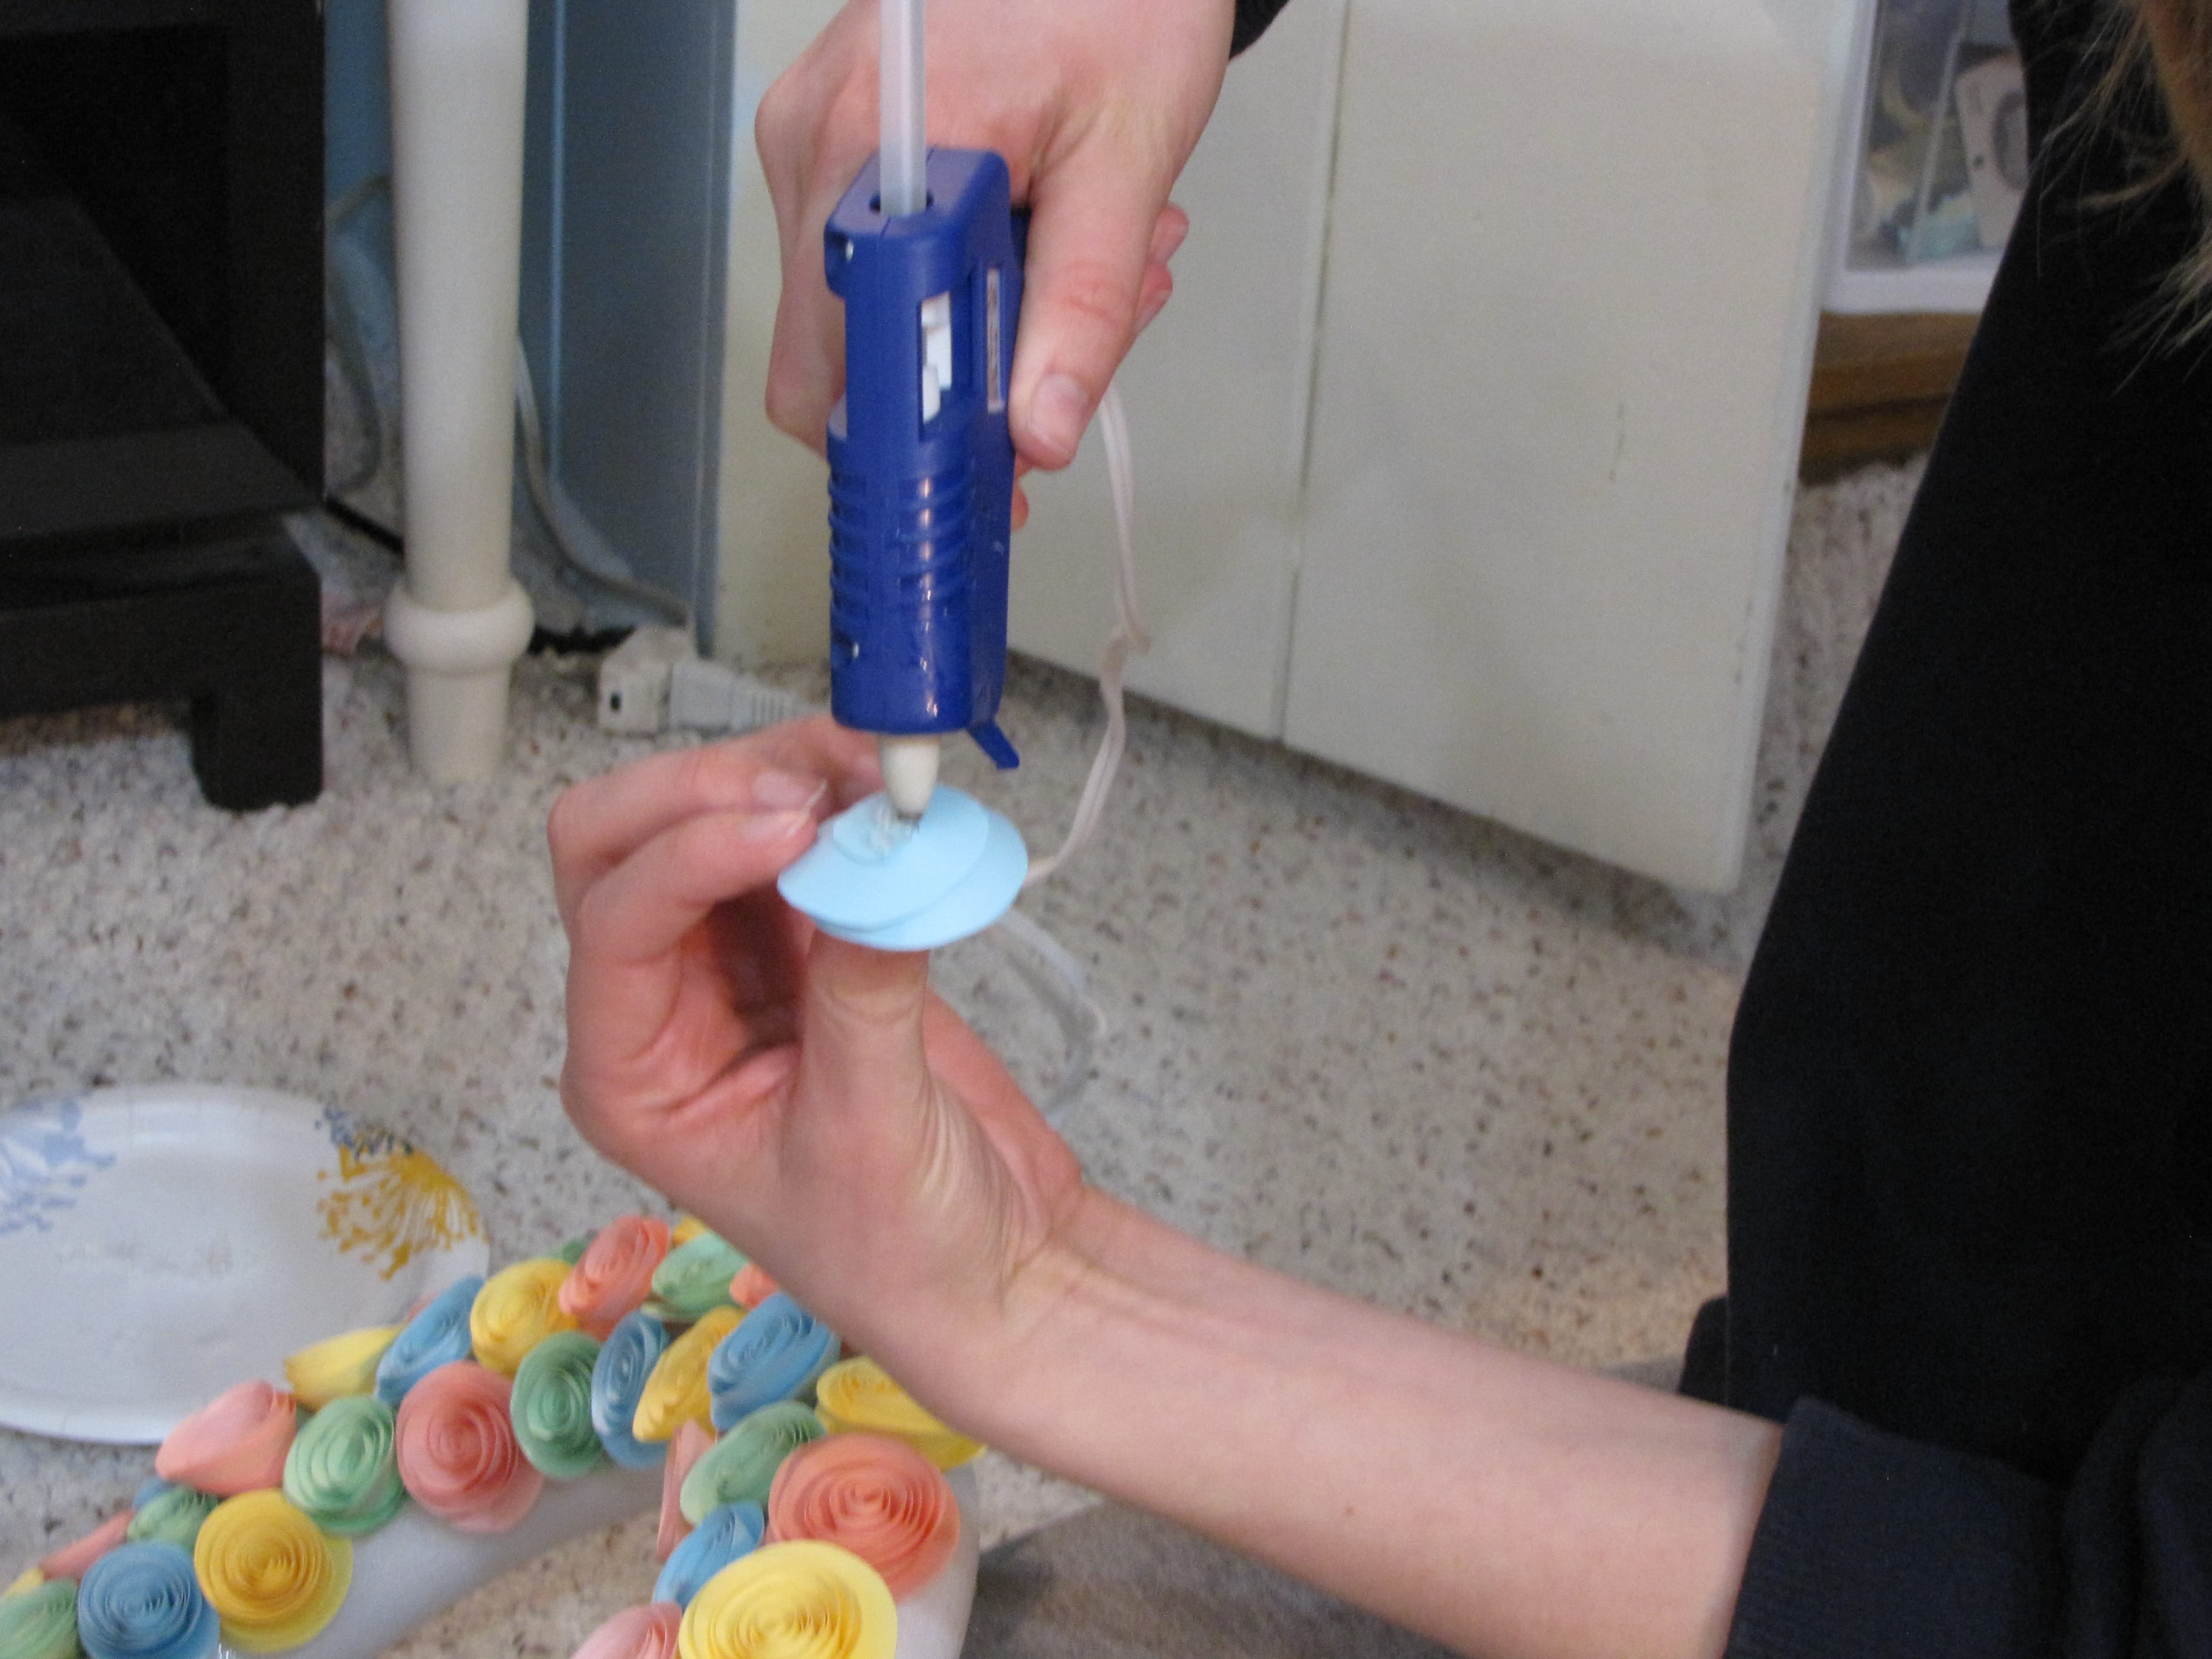
Put some hot glue on the bottom of your flower.
Quickly press the flower to the foam wreath. (I say “quickly” because putting hot glue on the bottom of the flower will melt and loosen the glue you already put inside the flower to hold it together.)
Step Three: Repeat
Turn on a movie and repeat this process until your wreath is covered! If your flowers are all the same color, you could make all the flowers and then glue them to the wreath. I put the flowers on mine as I went because I wasn’t sure how much of each color I would need and I didn’t want same colors touching.
Step Four: Enjoy!
You’re all done! Hang up your beautiful new wreath and enjoy!

Thanks for sharing I love this I will be making one