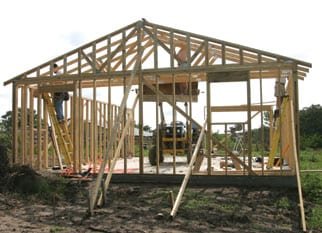

Framing a house, or even just one wall, needs to be done right, but it really isn’t hard with a little guidance, a laser level, and a stack of 2x4s. Today I can help you with some basic tips on how to frame a wall and avoid costly mistakes! Keep on reading to see just what you need to complete your own home project.
First up, here’s an overview of the assembly process for framing an interior partition wall:

When you choose your 2×4 lumber for your walls, be sure to get #1 or #2 grade pine boards. The lower the number, the greater the quality, so stick to 1 or 2 for the best. As you choose your boards, be sure to eye them well and choose the straightest boards you can find. Straight boards will make it much easier to build a straight, square wall. Note: If you are building a wall that will be in contact with concrete, choose pressure treated lumber for best results.
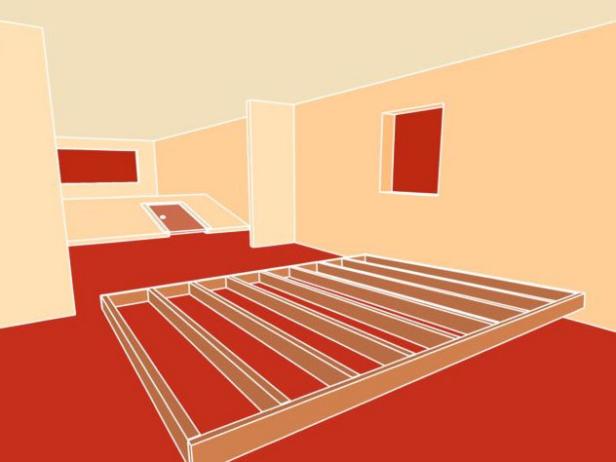
Pro Tip: It is much easier to build a wall on the floor first, and then tilt it up into place once it’s built. Lay out the boards 16″ apart, measured on the center. For any wall that will include a door, leave out two boards where you want the door to be to allow yourself the space to add it in later.


The old adage is correct: measure twice, cut once! Double-check all measurements to ensure everything is square. Mark a chalk line where you want your new wall, and be sure to clearly mark any doorways or window openings.
Walls are framed from the bottom up–this means the sole plate (bottom horizontal stud) is nailed to the floor first, and the header (top horizontal stud) is nailed to the ceiling. The king, jack and common studs (inner vertical studs) are then nailed in place. King studs mark the outsides of doorways and window openings, and jack studs line the insides. Common studs are used every 16″ in the regular run of the wall. (In the diagram above, you will see that the framed wall is made only of common studs because there’s no need for a window or door. This is, of course, the easiest wall to build).
The final step in building your wall, once you have nailed it into place, is to install blocking. Blocking is made up of 2x4s cut to fit snugly between the wall studs to help make the wall stronger. If your wall is shorter than 8 feet in length, blocking isn’t necessary, but for any wall longer than that, Tom Silva from This Old House recommends adding zig zag (or herringbone) blocking to strengthen the run of the wall and make it stiffer.


