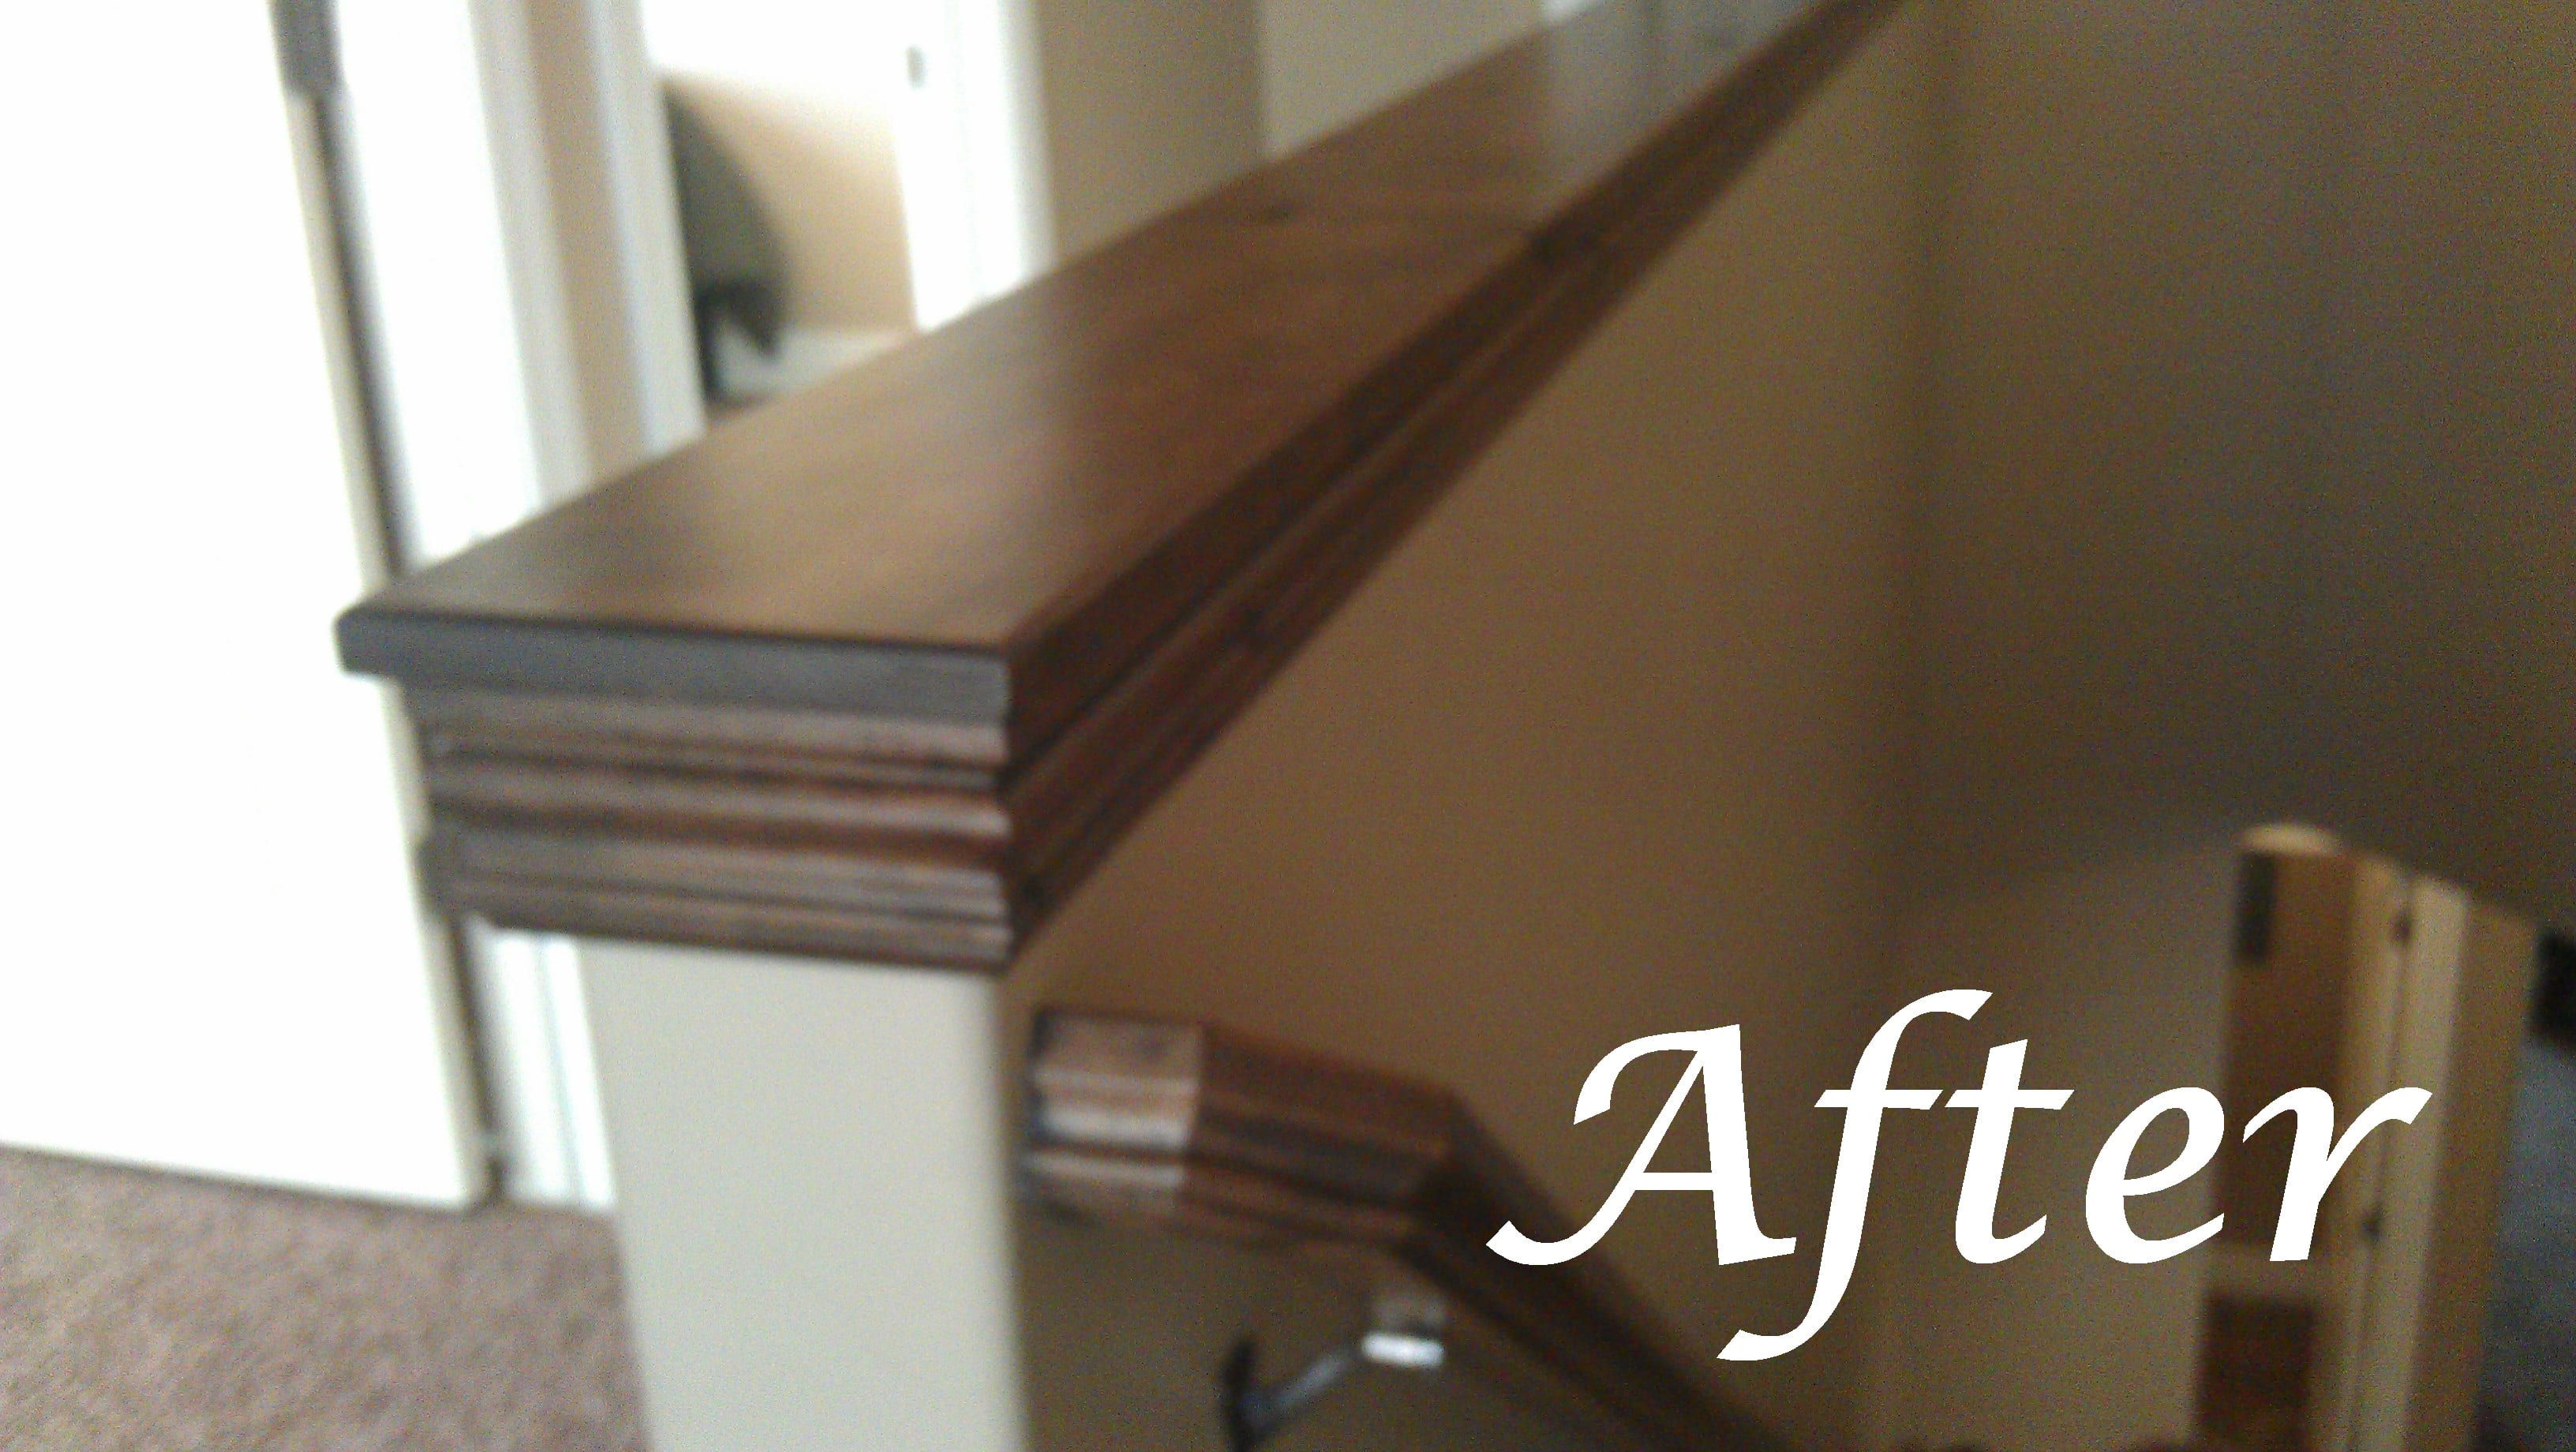
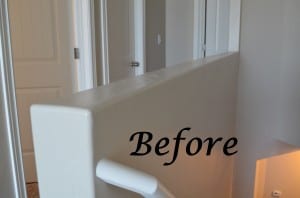
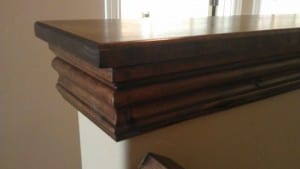
We wanted to add a little design to the upstairs in our home, so to do this we thought it we would add a cap to the half wall between the stairs and the hallway. We also are going to add it to the opening in the loft that looks down into the living room. I decided to match our cabinets since it is a common wood theme in both our kitchen, and bathrooms. This also looks very sharp if you do it in a painted white.
I like this project because it is not too difficult to do and I feel like it makes a big difference in the look and feel of the upstairs area.
Here is how:
- I purchased some knotty alder planks that were about ¼” wider than both the wall and the trim I was using. So measure the width of your wall (mine was 5”) add 2 times the trim thickness (1/2” x2) and add another 1/2” for a little overhang for the cap.
- Once your wood is cut to length, using liquid nails and a nail gun, nail it in place, remember if you have to wrap your trim around an end, make your top cap as long as the wall + trim thickness +1/4”.
- If you need to use more than one length of lumber to span the length of the wall, cut a 45 deg angle on each touching end so that they can be glued and nailed together, this can be sanded afterwards to ensure a nice smooth finish.
- If the wall is uneven, do not try to get the cap to match it, just use shims to make it stable and straight.
- Once the cap is in place and secured, then you can install the trim that you have selected, this is done just the same as installing baseboard only upside down.
- Once the trim is in place it is now ready to finish. If you are doing a stained wood, it may be easier for you to finish it before hand and use a matching wood putty to fill in the nail holes.


