Fall is quickly approaching and my husband and I are beginning to decide when we want to prep our yard for the cold season to come. Prepping the yard for winter is never my favorite thing to do because I get so sad to say farewell to Fall! Not to mention, some of the prep projects are hard work! And though I may not like to do it, prepping your yard is super important to prevent any cold or wind damage come winter. Did you know that one of the most important things you can do to prep your yard for fall is to blow out your sprinkler lines? It’s pretty easy to do, and this alone can save you thousands of dollars in damages and plumbing costs. Keep reading to learn how to blow out your sprinkler lines in only three easy steps.


DIY Day: How To Blow Out Your Sprinkler Lines
Here’s What You’ll Need:
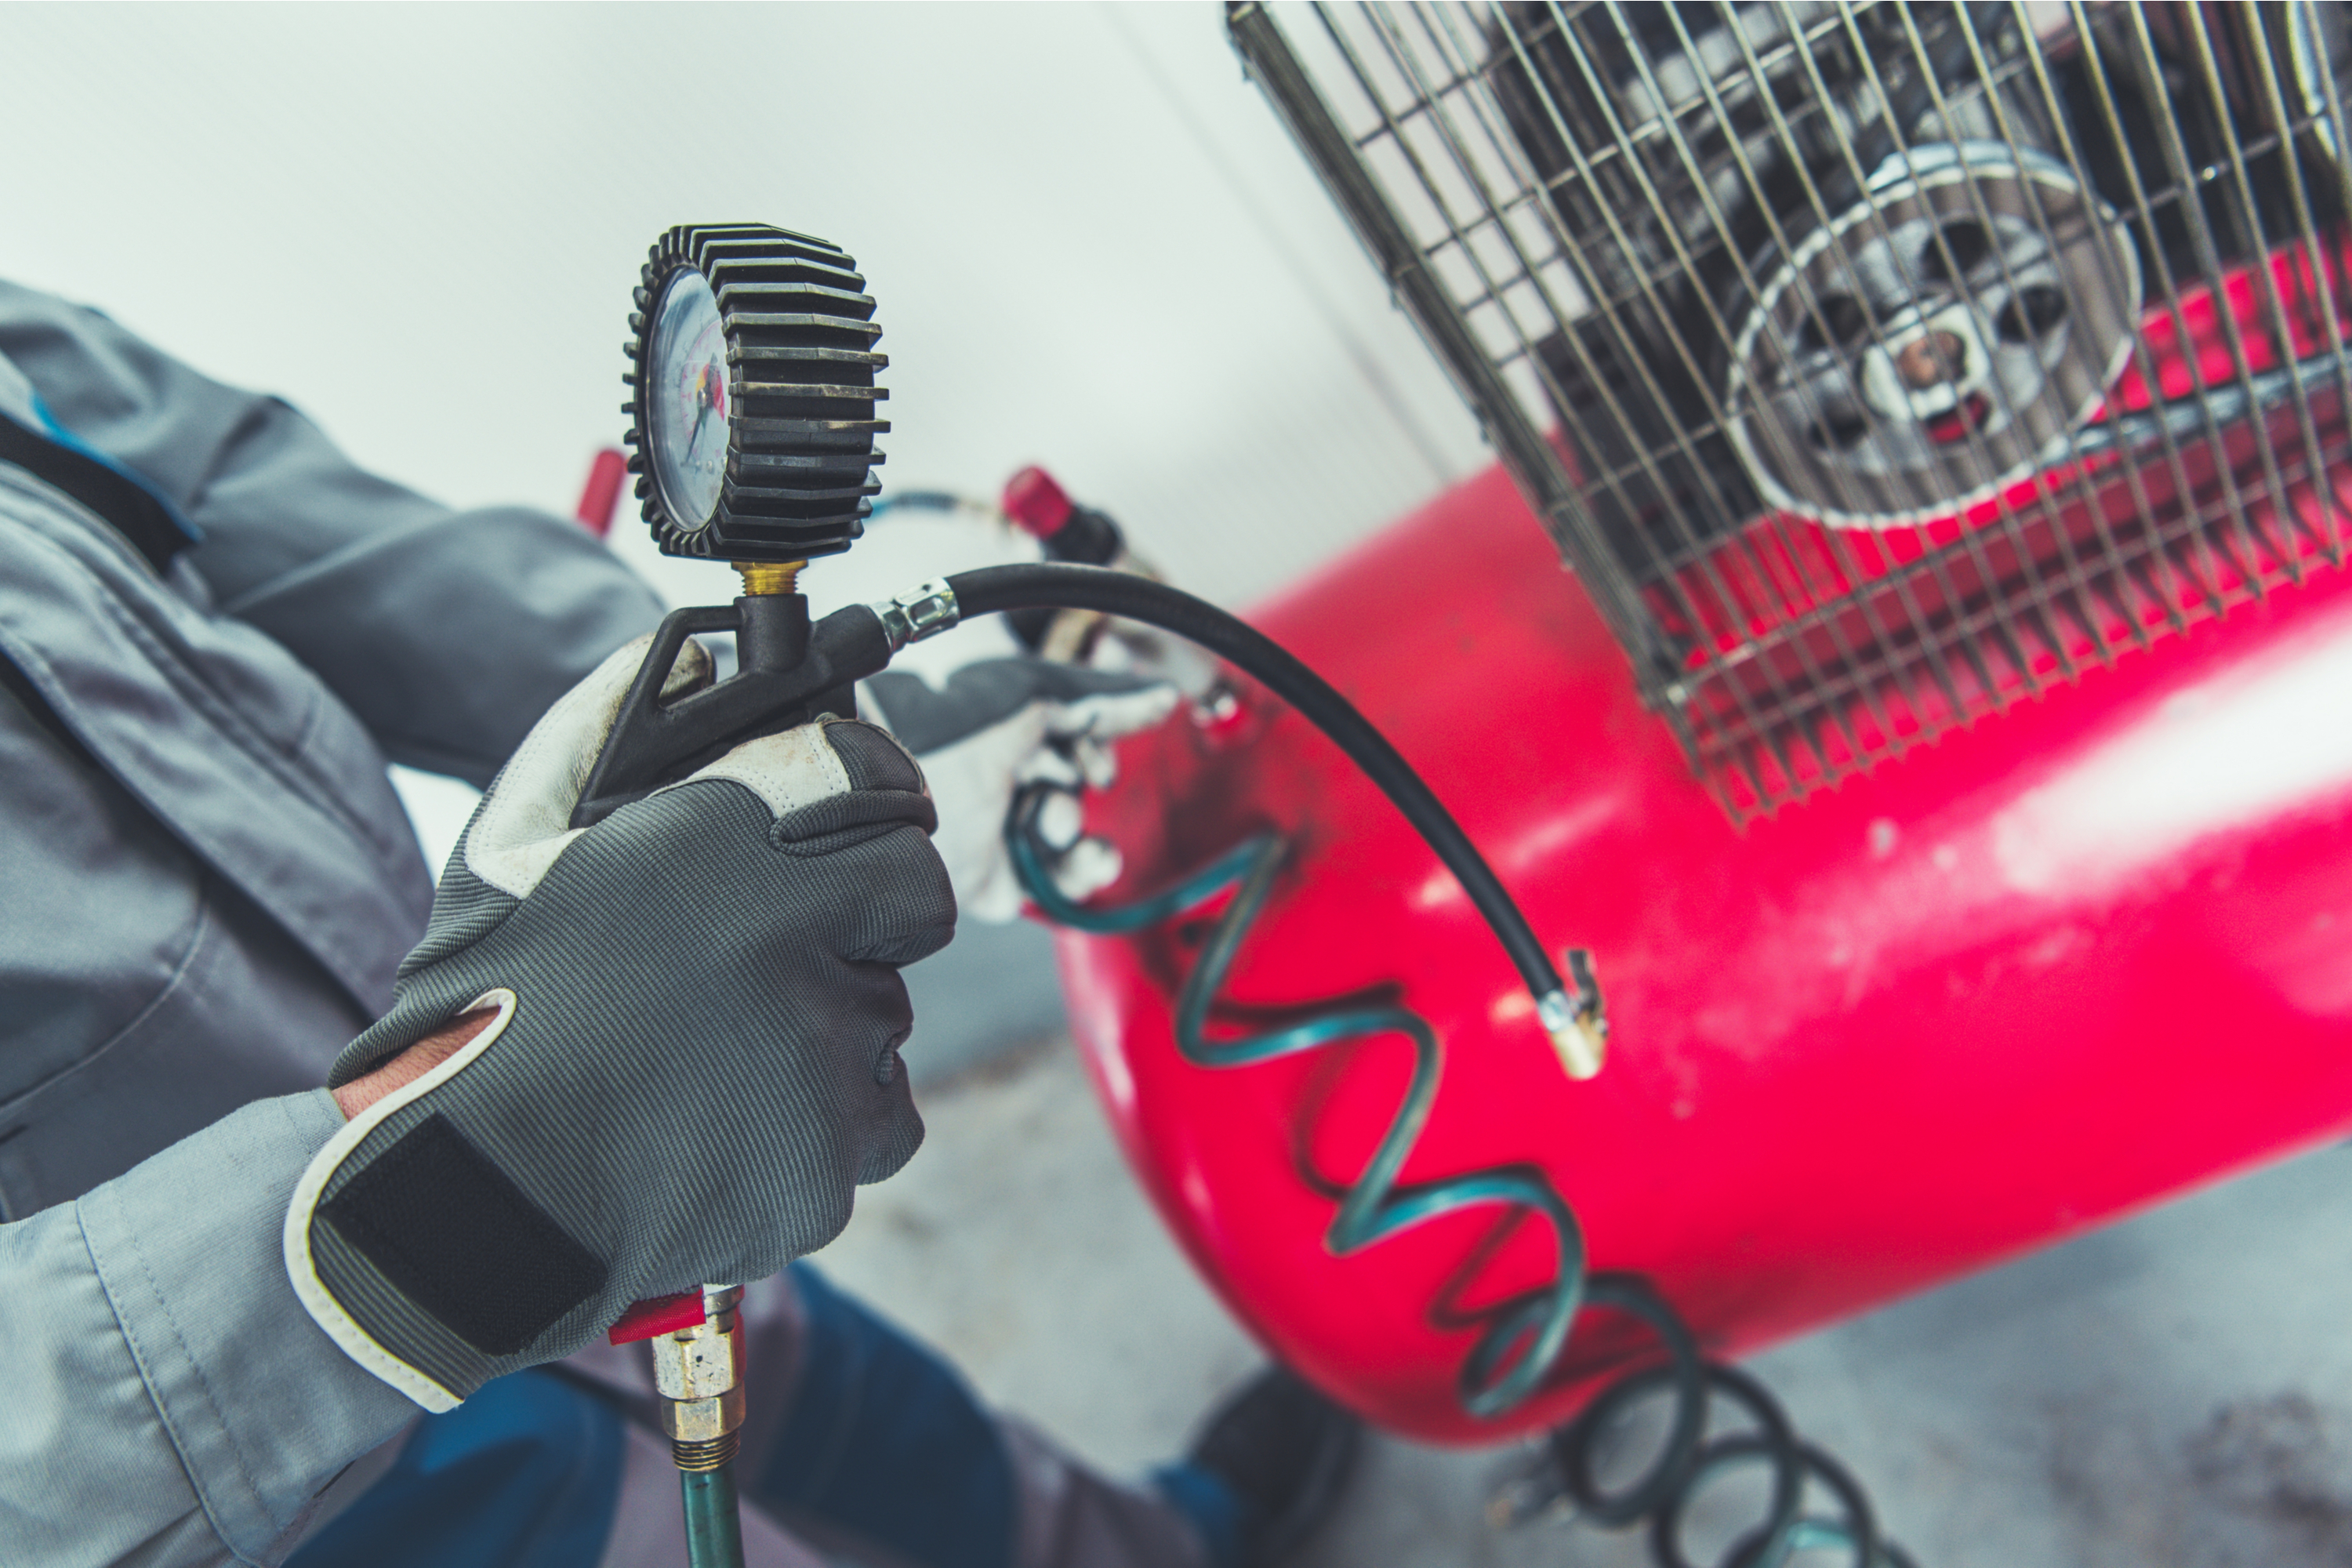
-Air compressor
-Air hose
Step One
To begin blowing out your sprinklers at home, close off both backflow valves. Next, remove the plug from the blow out port and attach your air hose instead. After the air hose has been connected, attach the other end to your air compressor. The air compressor will allow you to force any stagnant water in your sprinkler lines up through the sprinkler heads.


Step Two
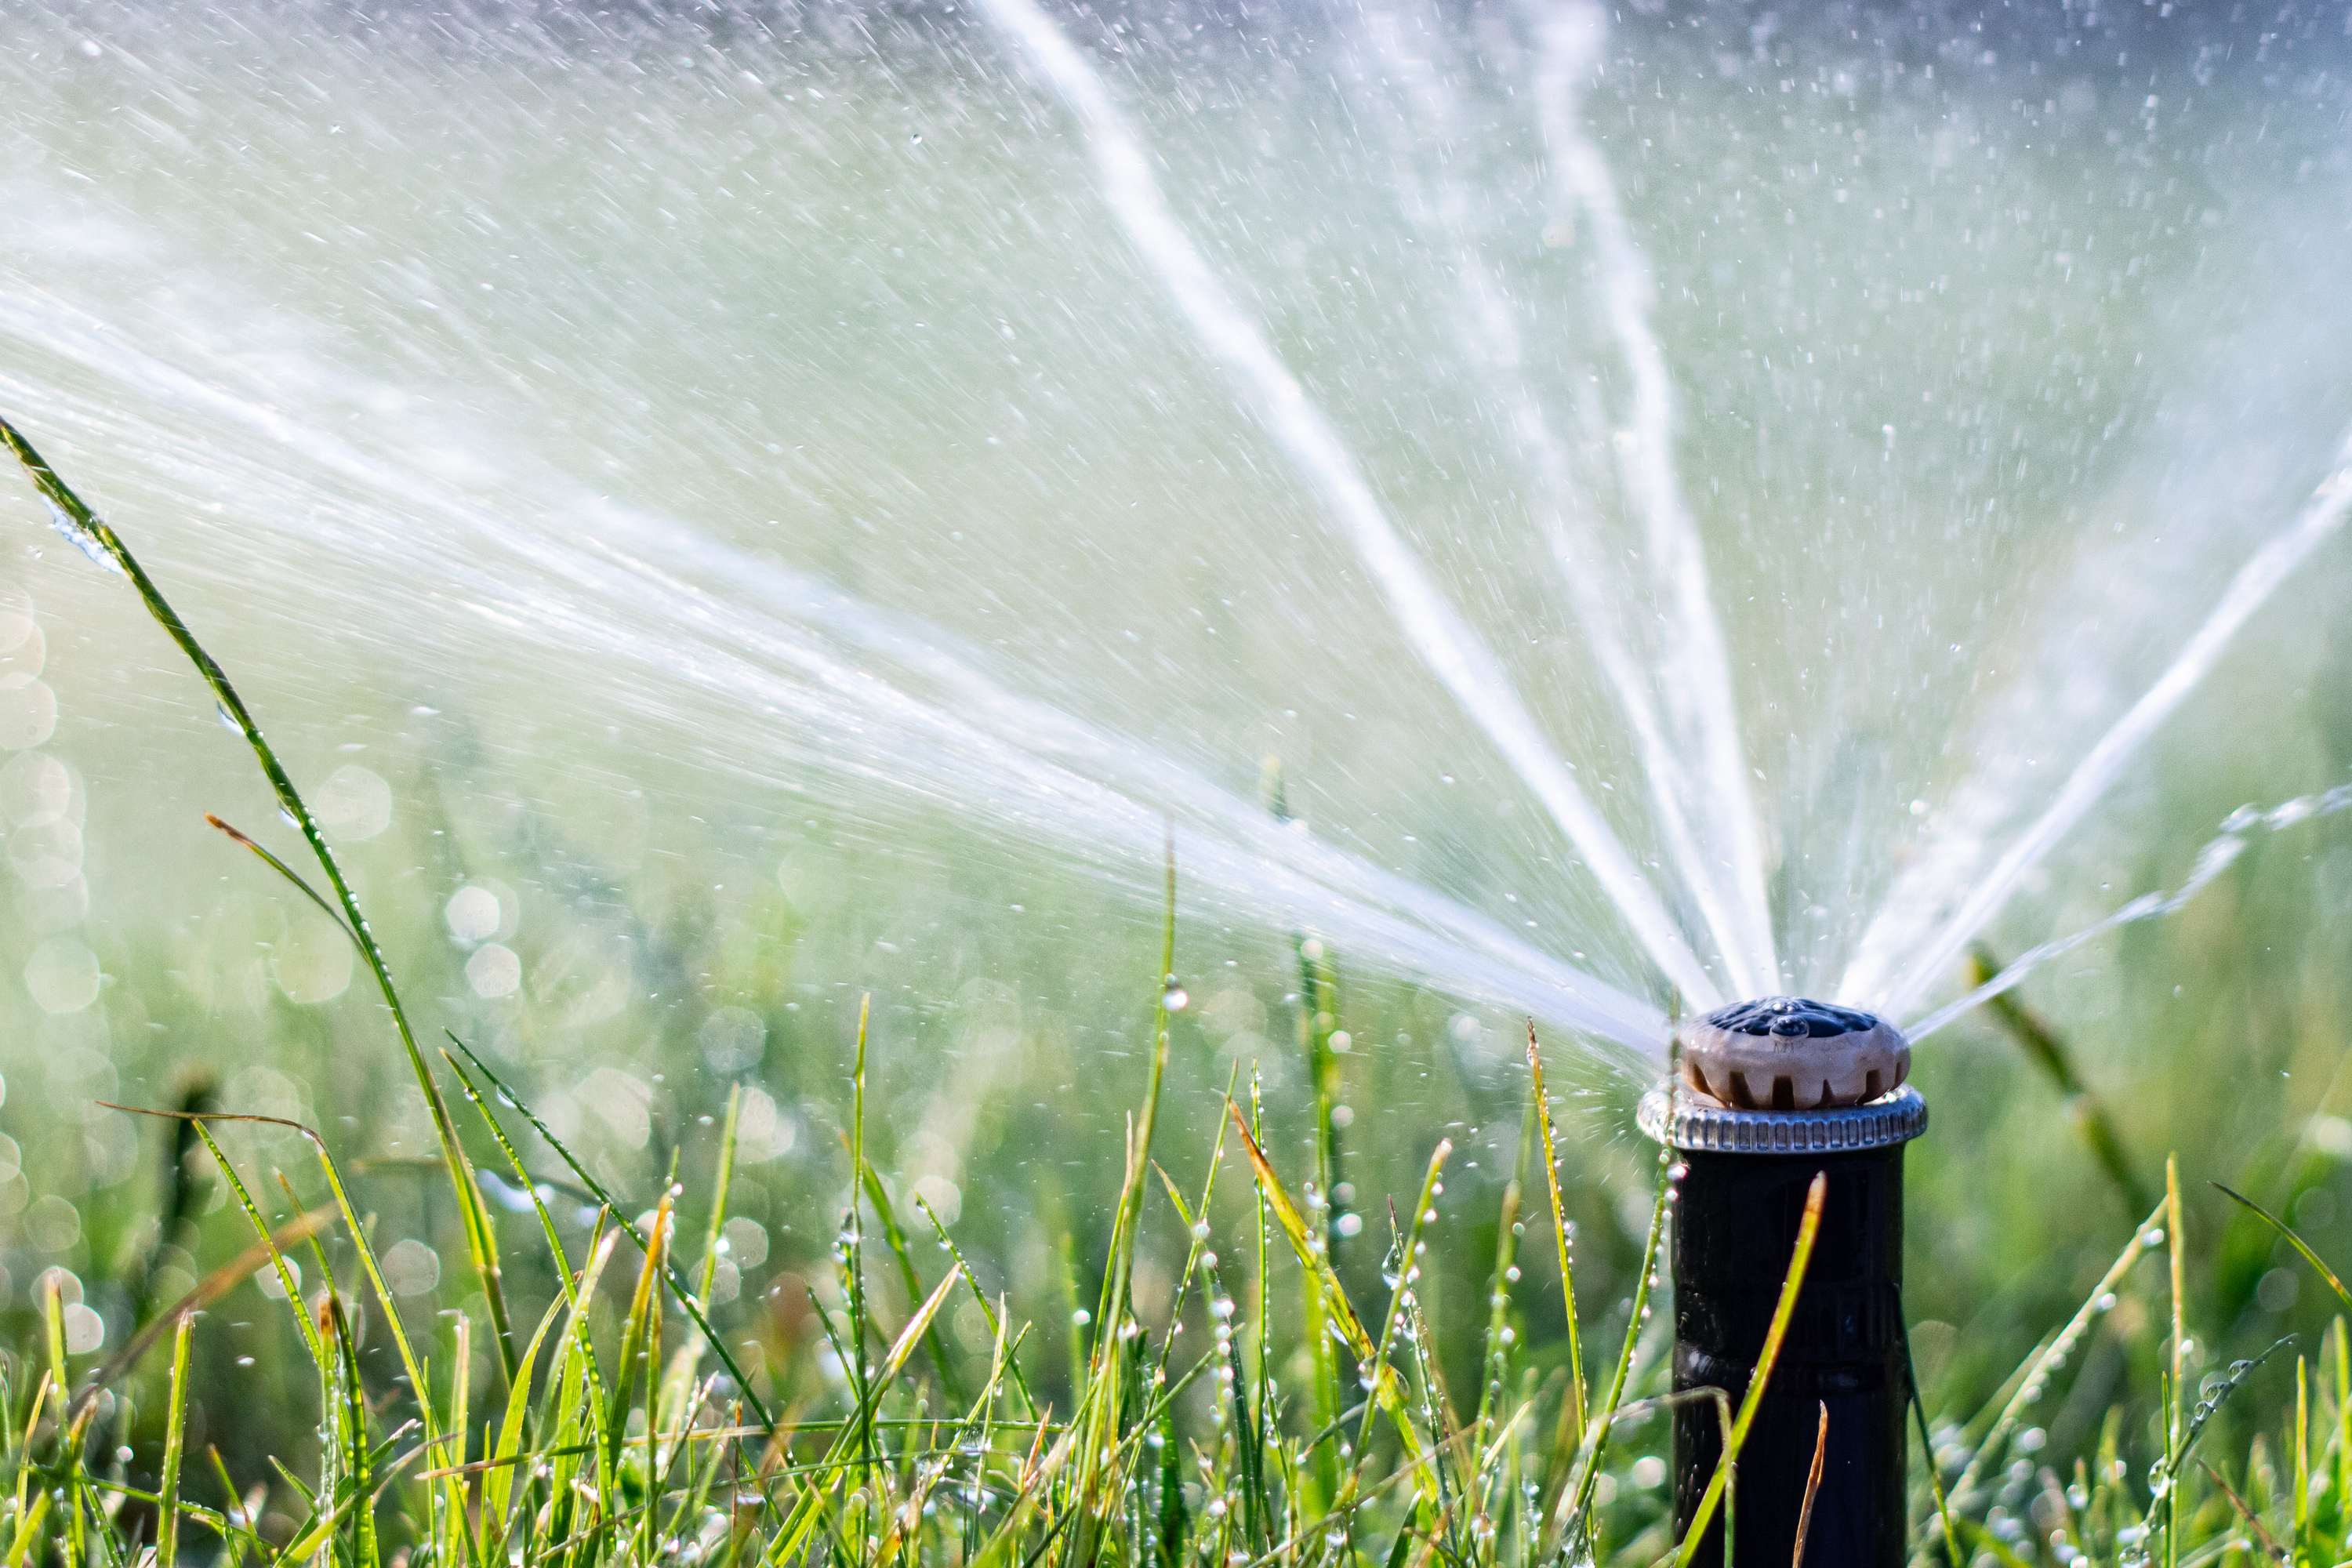
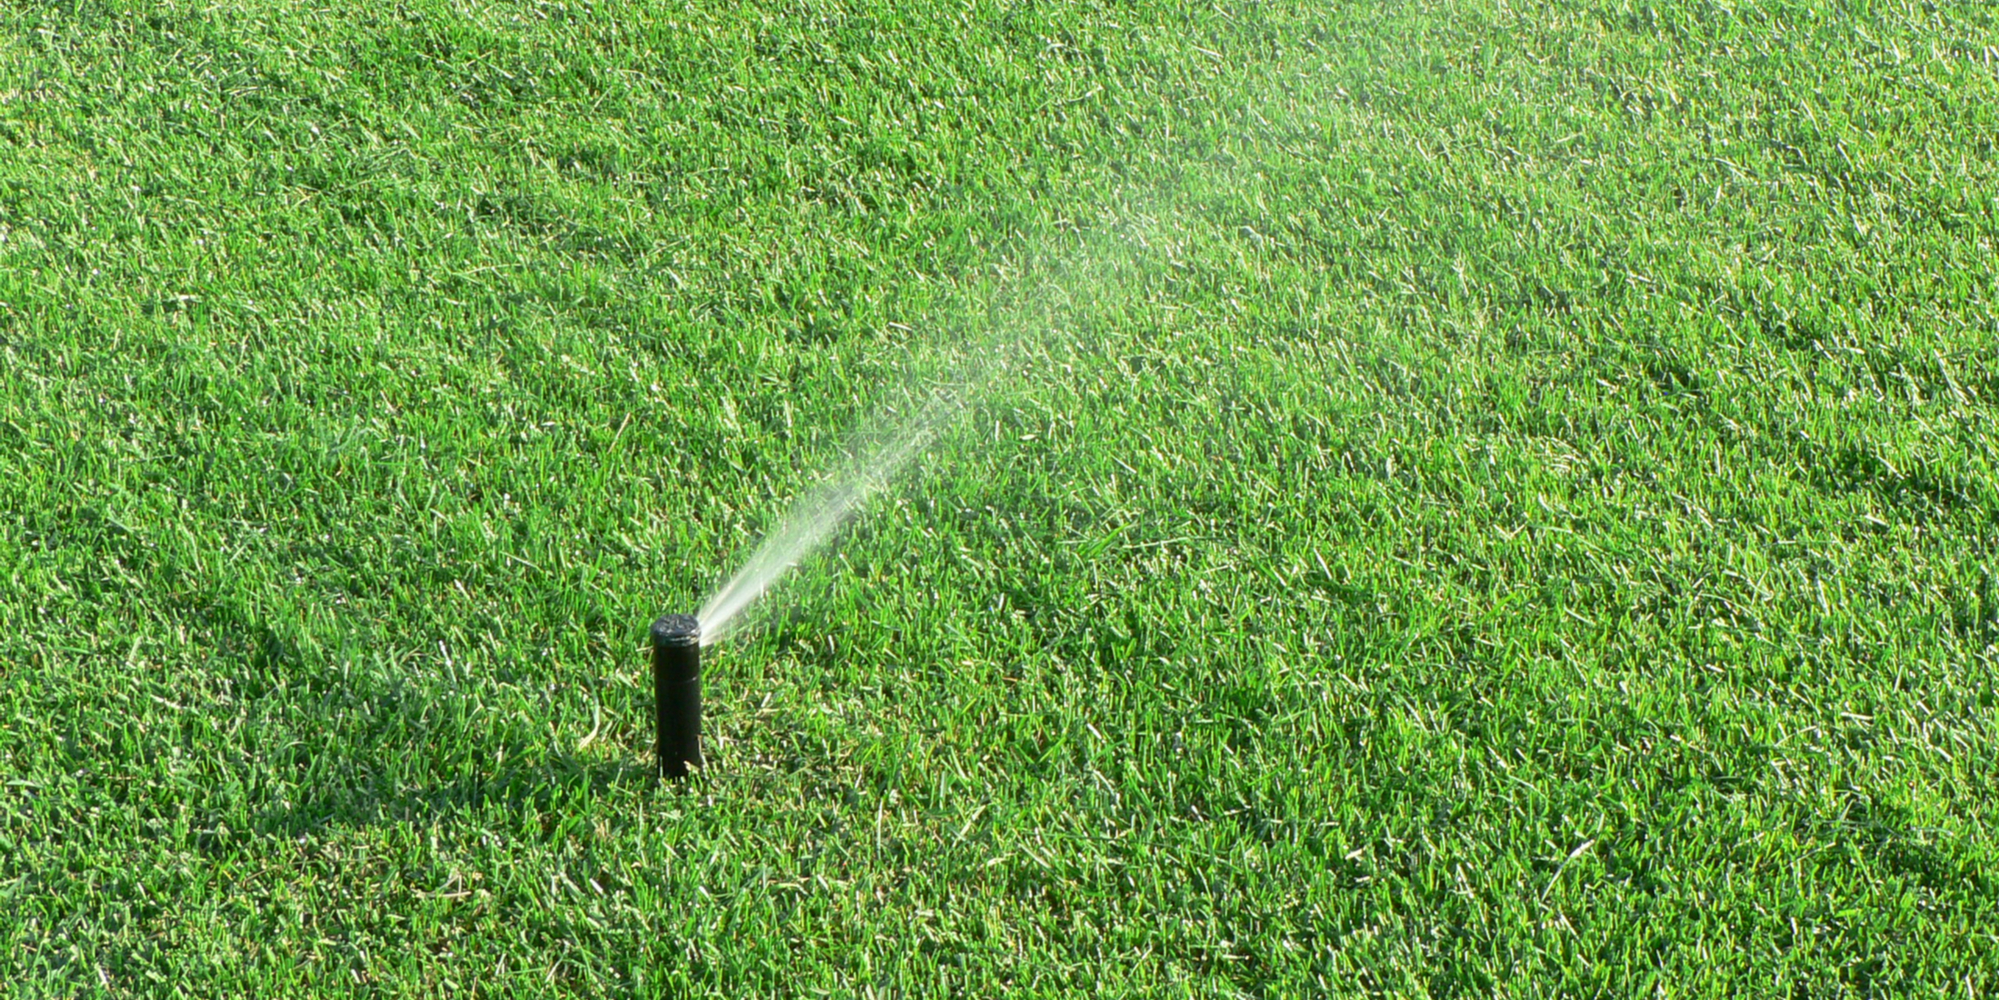
After the hoses have been attached, set the pressure regulator to 80 psi (for standard PVC pipe systems) or 50 psi (for polyethylene pipe). When ready, turn on the air compressor and watch as it blows the water out of your sprinkler heads. You should see the sprinkler heads open up and spit water out. As soon as the lines run dry, turn off the air compressor and give your sprinkler heads a chance to cool off. If you blow them out for longer than is necessary, you can melt the plastic gears.
Step Three
Move on to the next zone of sprinklers and repeat the process above. After you have blown out all of your sprinklers once, it’s usually a good idea to go back through and do them a second time, just to be safe. Easy enough, right?


