

When decorating for the holidays, I love to go all out. The more elaborate, the better I always say! It’s my love of all things Christmas that inspired me to make this DIY Christmas Tree Shelf by Ana White.
I’ve always loved Ana’s tutorials. Clearly I knew that I had to make this project from the moment I saw it! This handy DIY Christmas shelf comes with tons of space to display your favorite holiday decoration. Also, the pegs are great for your stockings. As you can see, this is not only a cute decoration, it’s functional as well.

Overall, this is a simple DIY. Additionally, here are some of the things I love about this project:
- Easy to build
- Cheap-under $15
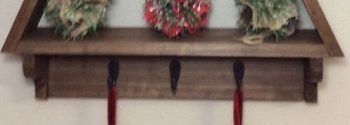
- Hooks for hanging stockings
- Storage
- Can be stained or Painted
- Small and easily hangs on a wall
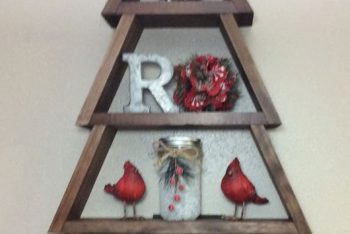
- Great for displaying cards or other holiday ornaments or greenery
To begin with, here’s how to make your own DIY Christmas tree shelf, starting with a few things that you’ll need:
12 feet of 1×4 boards
1/2″ plywood 6″ x 15″ or larger
1-1/4″ nails and 1-1/4″ trim screws
3 hooks
Hanging kit or screws to hang on your wall
drill
jigsaw
miter saw
sander
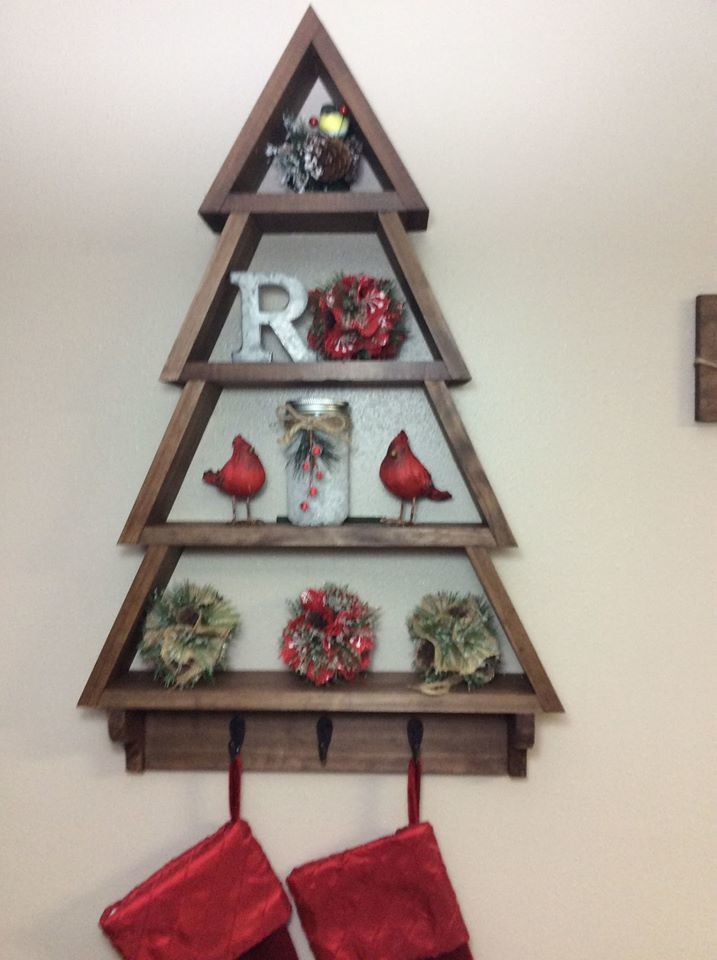
DIY Christmas Tree Shelf
Step One: To begin, cut and assemble the “tree trunk.” To create, cut one 1×4 to 16-1/4″ and two 1×4 wood pieces to 3-1/2″. Cut the 1×4 inch pieces into a decorative shape for the tree trunk and attach to the 16-1/4” wood piece using wood glue and nails.
Step Two: After the trunk of your tree has been assembled, it’s time to cut the rest of the wood needed for this DIY project. Make the following cuts for the main part of tree: one 1×4 at 18-3/4″, six 1×4 at 7-1/2″, one 1×4 @ 15-1/8″, one 1×4 @ 11-3/8″. All ends should be cut at 25 degrees off square.
Step Three: Next, attach the 18-3/4” piece of wood to the top of your tree trunk using wood glue and nails. This wood piece is the bottom shelf (see photo below for reference!) After that, attach two of the 7-1/2” pieces to the sides of your tree at an angle, using screws and glue.
Step Four: Moving on to the next shelf, using nails and wood glue, attach the 15-1/8” on top of the shelf sides. This will be the bottom of the next shelf. Now, do the same thing you did previously and attach two more of the 7-1/2” wood sides.
Step Five: One more shelf to go! Place a cut 11-3/8” over top of the wood sides. Secure with wood glue and nails before attaching another set of 7-1/2” wood sides to your shelf. When complete, this is what this portion of the tree should look like:
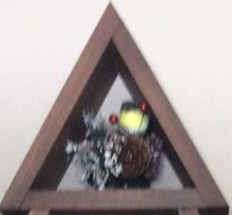
Step Six: After step five, cut the following pieces of wood for your treetop: one 1×4 at 7-3/4″, one 1×4 at 8-5/8″, one1x4 at 9-1/2″. After that, cut both ends cut to 30 degrees off square.
Step Seven: Of course, now you just have to assemble your treetop! For the bottom shelf, place a cut 7-3/4” piece of wood to the tops of the wooden sides. Assemble these pieces just as you have been and top things off with an 8-5/8” piece as one wood side and a 9-1/2” piece as the other wood side. Both sides should meet together to form a pyramid! See a photo below of the top of the shelf:
Step Eight: Once the shelf is attached, either cover the back in plywood, or you can just leave it as is. If you choose to cover it in plywood, you’ll want to place your DIY Christmas shelf over a sheet of it and trace out the size of the openings. Once traced, cut out the shape with a jigsaw and nail it in place on the Christmas tree shelf. Additionally, attach coat hooks, if desired!
Step Eight: Finally, hang your DIY Christmas tree shelf by securing it to the wall through the top plywood pieces. In the same fashion, attach through the wood of the trunk.
Find the original tutorial here.

Image from Knock Off Decor
I have a lake house and I could leave this out all year round, just change out the knick knacks!