
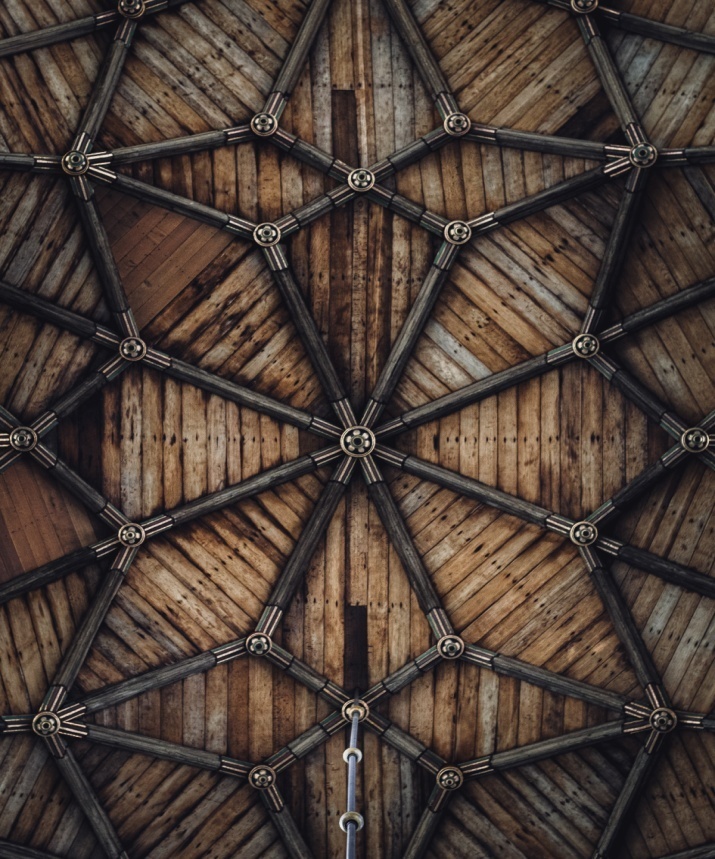
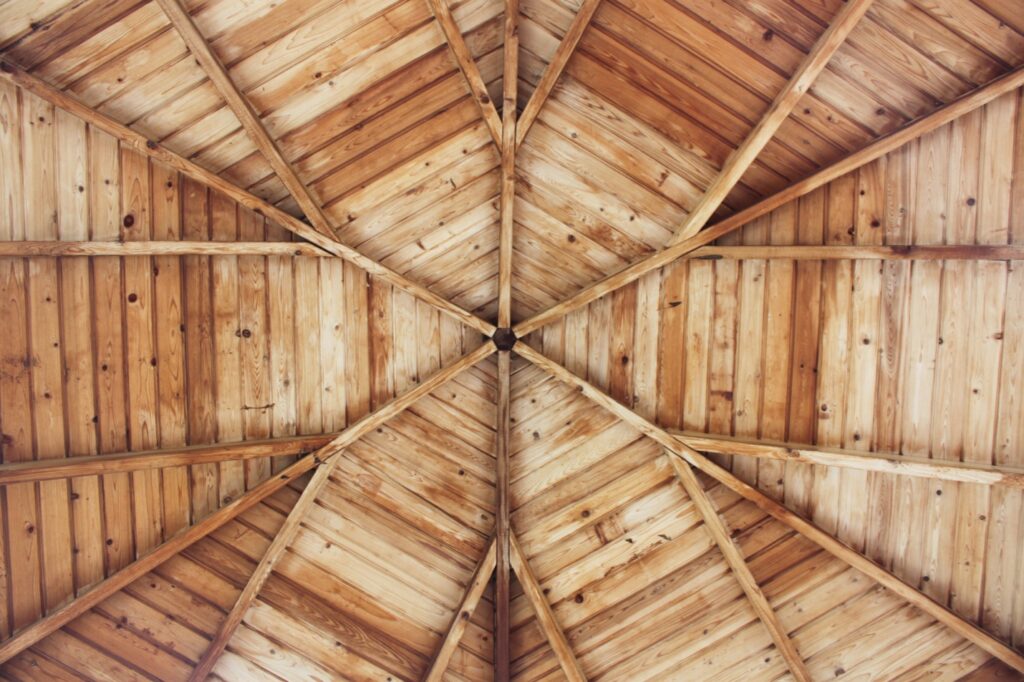
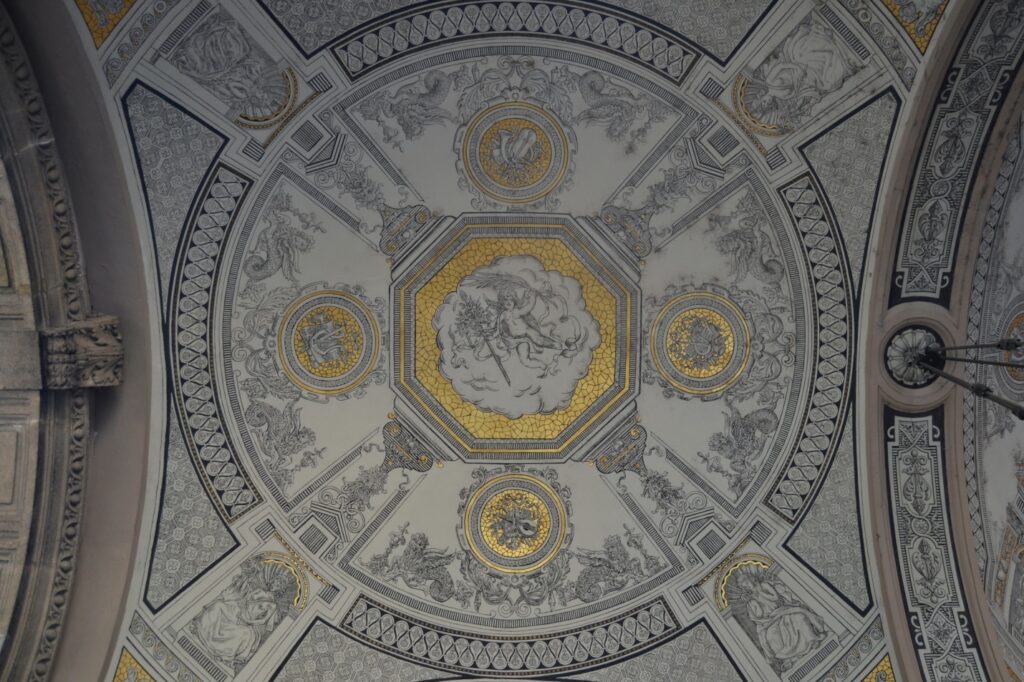
Are you planning on changing the interior of your house? Do you want to spruce up the entire place? Are you looking for different options to change the walls and ceilings of your home? You might find numerous options for your walls; however, ceilings are a bit tough to deal with. There are two types of ceilings – plain ceilings and textured ceilings. If you have had plain ceilings in your room and want to choose a different route this time, you should go for a textured ceiling. Ceiling texture is all the rage these days. These textures are cool and funky and give a spunky look to your room. You can easily ditch monotony and go for something new, something you have never tried before.
Is there only one ceiling texture available in the market, or do you have options to choose from? Is it easy to maintain a ceiling texture, or should you take extra measures to keep a check on your ceiling? Will you be able to apply it all by yourself, or should you have a professional do this job? You must have all these questions in your mind.
In this article, we will find out all the answers.
Types of Ceilings
There are two types of ceilings:
- Plain Ceiling
- Ceiling Texture
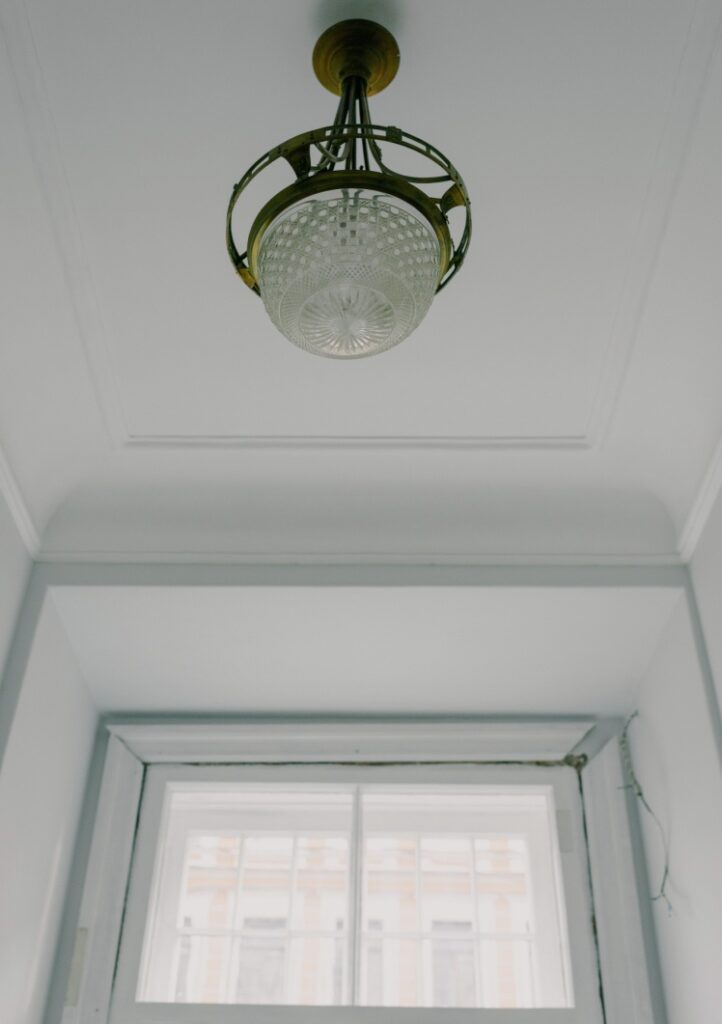
Plain Ceiling
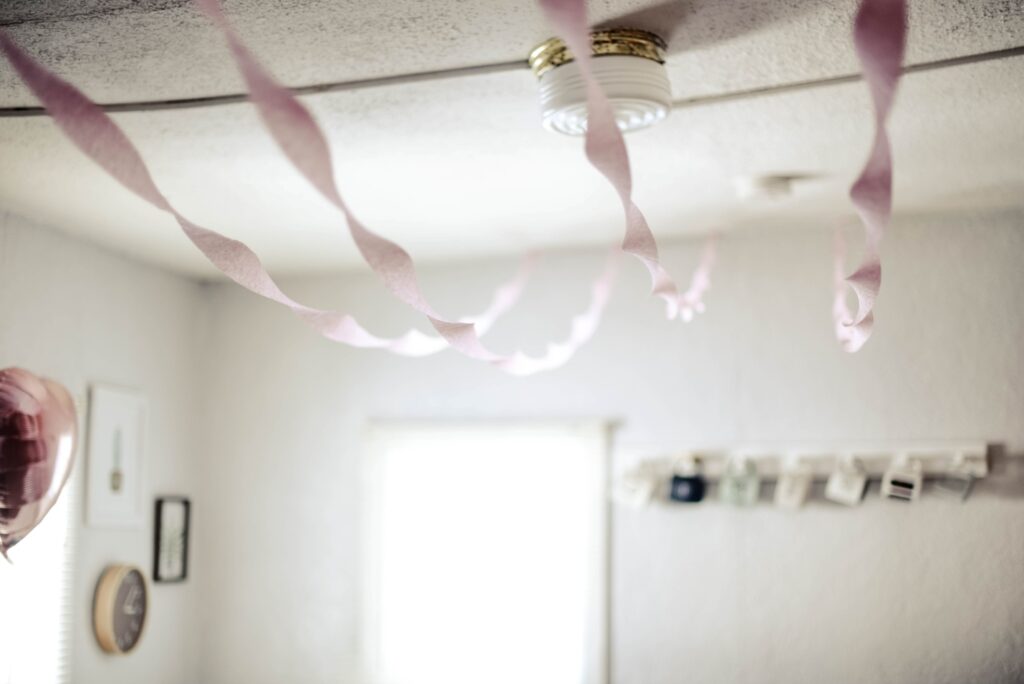
A plain ceiling refers to a smooth surface. Most houses have plain ceilings as they are easy to clean, easy to manage, and easy to maintain. You do not have to put extra effort into its maintenance. Just apply a coat of any paint of your choice, and you are good to go for a year or so. Every room with a plain ceiling gives a simple, decent look, which is why they are wildly famous among homeowners.
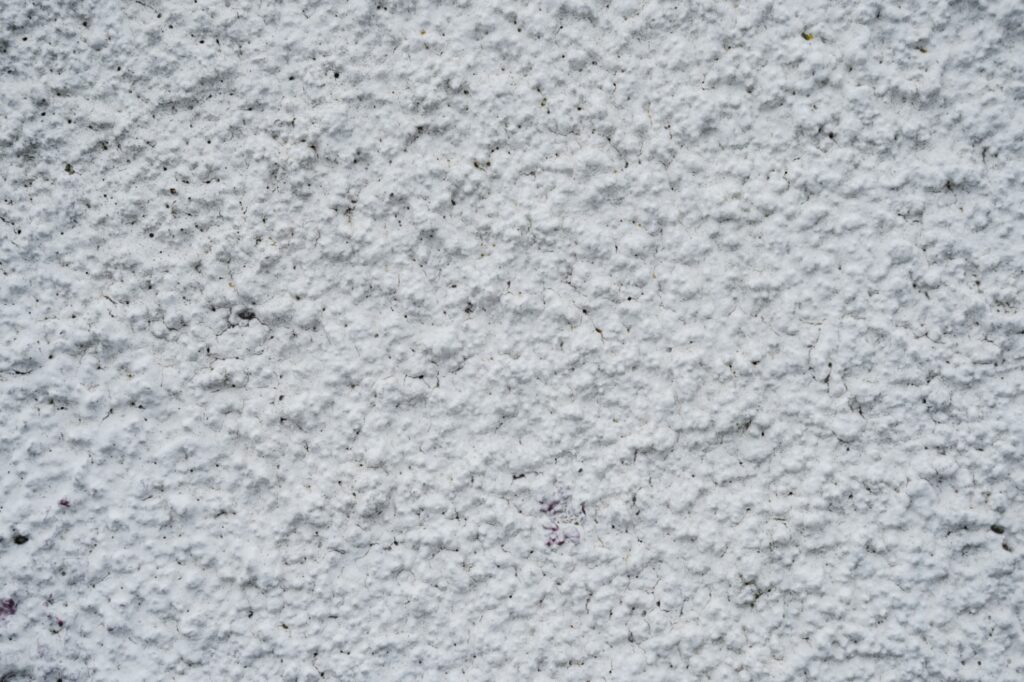
Ceiling Texture
Ceiling texture is a myriad of styles and unique looks of a drywall finish. You can explore a variety of textures and achieve a look as per your liking.
Even though a ceiling texture gives a cool vibe, it is fairly challenging to maintain the ceiling when it has different textures on its surface. A ceiling texture is hard to clean and requires more than just a coat of paint to achieve the final look.
You can use a spray to achieve an irregular look. You can also use different coats of paints for this look, keeping in mind that you want an irregular surface for your ceiling.

Difference between a Plain Ceiling and a Ceiling Texture
There are some differences between a plain ceiling and a ceiling texture:
- The first and most prominent difference between a plain ceiling and a ceiling texture is the look. Plain ceilings have a regularly smooth surface, while a ceiling texture has an irregular, bumpy look.
- Plain ceilings are easier to clean as compared to textured ceilings.
- They are easier to repair than ceiling textures.
- Plain ceilings are responsible for an illuminating room. A textured ceiling cannot reflect as much light as a plain ceiling can.
- A plain ceiling requires at least three coats of paint for the final look. On the other hand, you can achieve a textured ceiling with only two coats of paint.
- Achieving a ceiling texture is relatively cheaper than a plain ceiling.
- A plain ceiling shows imperfections. Since the surface of the ceiling is smooth, you can see all the cracks, wear and tear, and other defects of the ceiling. However, if you have a textured ceiling, you can hide all the imperfections evident otherwise. You can choose a rough pattern that overlaps the wear and tear of the ceiling, making it look perfect and free of any evident flaws.
Which One Should You Choose – A Plain Ceiling or a Ceiling Texture?
Now that you are familiar with the pros and cons of both ceilings – a plain ceiling and a ceiling texture – it is up to you to decide which one will better suit your needs. Consider the aesthetics of your room, the features of your property, the look you want to achieve, and then decide which one you should incorporate in your room.
If you are more inclined towards a ceiling texture and want a funky look for your room, let’s break down different types of ceiling textures, their requirements, and tools to achieve your preferred look.
Types of Ceiling Texture
The following are the types of ceiling texture:
- Skip Trowel
- Orange Peel
- Knockdown Texture
- Stippled Ceiling
- Swirl Texture
- Lace
- Simple Texture with brush
- Spray Sand
- Popcorn Ceiling Texture
- Stomp Texture
- Smooth Ceiling Texture
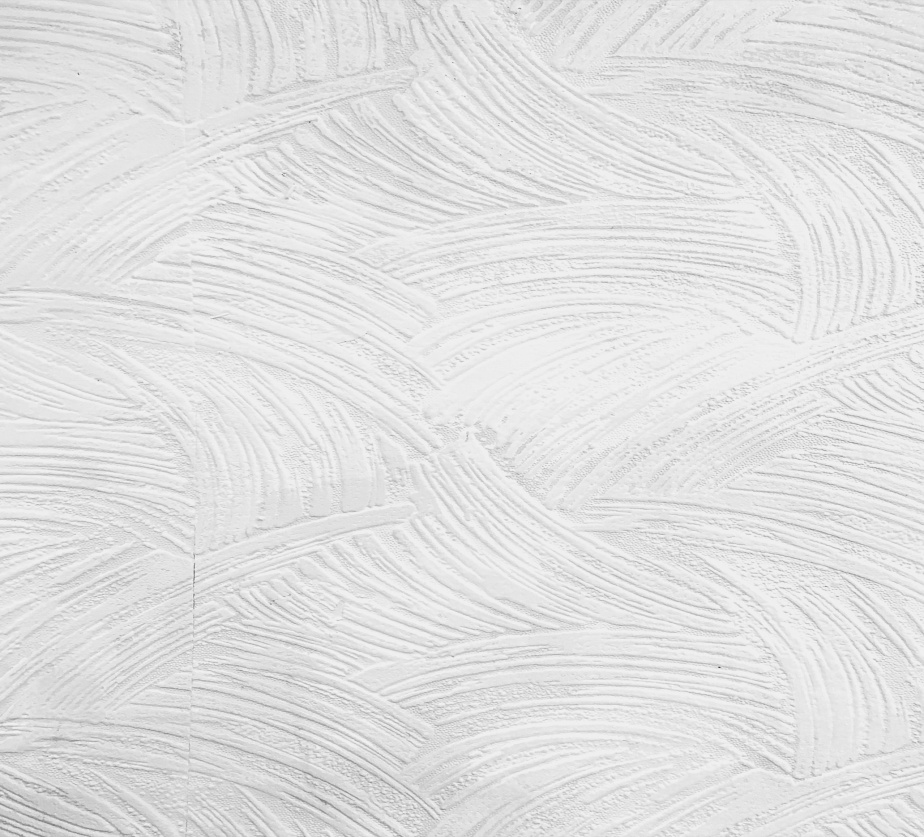
1. Skip Trowel
Required Items for Skip Trowel Ceiling Texture
- Trowel
- Hawk
- Textured paint
Explanation
The skip trowel textured ceiling can be achieved in various styles. You can either have a calm, relaxing look or an energetic look with the movement of a trowel. All you have to do is move the trowel randomly across the ceiling and let it do its job. Make sure you are moving your arms in every direction to achieve a ruffled look.
Your ceiling can be bump; there might be roughness in some parts of your ceiling. You don’t have to worry about that, as a textured ceiling is perfect for hiding these flaws and getting a new style that complements your home.
Place the trowel gently on the surface of the ceiling, select an angle you want to cover, and then move it around in a random direction. Make sure you are pressing the trowel with all your might so that the paint can stay on without leaving empty patches behind.
2. Orange Peel
Required Items for Orange Peel Ceiling Texture
Explanation
You can find the orange peel ceiling texture in a can, ready to form an oval wherever you spray it. As we have mentioned above, most ceiling textures have a rough look. If you try to feel it, you might feel a bumpy surface beneath your fingers. However, the orange peel textured ceiling creates a relatively uniform look, smooth to touch.
You can easily achieve this look. Select an angle and keep the spray gun half a meter away from the surface. Spray the ceiling with a small amount of orange peel spray texture and let it dry. If you are not sure about the results, use cardboard and try it out a couple of times. This experiment makes sure that you have decided on your preferred angle, and painting the ceiling will not be a problem anymore.
3. Knockdown Ceiling Texture
Required Items for Knockdown Ceiling Texture
- Sponge
- Spray gun
- Joint Compound
Explanation
A knockdown textured ceiling is perfect for your bedroom. It has a certain look that adds character to your room. However, achieving a ceiling texture can be a bit tricky.
A knockdown textured ceiling consists of a mixture of drywall mud. Therefore, you have to lay a foundation to cater to the muddy matter. You can use a plaster foundation as it is easier and more convenient for a ceiling. Now you have to tap over the surface of the knockdown textured ceiling with a sponge to smoothen the edges and give a more voluminous look to your ceiling.
4. Stippled Ceiling Texture
Required Items for Stippled Ceiling Texture
- Stomp brush
- Premixed Joint Compound
Explanation
The stippled textured ceiling is relatively easier to achieve than other textures. You will have to use a brush with long bristles, which is why you can stay on the ground and do the work conveniently. The fundamentally important item in getting a stipple ceiling texture is a stomp brush. This is how you will draw your preferred uneven patterns on the ceiling.
Start the procedure by spray painting the surface using a paint gun. You can also use a roller to apply the mixture in jagged directions. Now you have to use the brush in irregular movements to get different shapes on your ceiling.
You might make a huge mess in the room (alert!). However, if you have a bumpy, tethered wall, this ceiling texture is the perfect choice for you. It hides all the imperfections and gives a uniform look to the ceiling.
5. Lace Ceiling Texture
Required Items for Lace Ceiling Texture
- Hawk
- Trowel
- Self-mixing paint
The lace ceiling texture is the most elegant of all. It gives an artistic look to the ceiling, ultimately affecting the entire vibe of the room.
In most cases, people willing to go for a textured ceiling prefer a laced textured ceiling because of the warmth and elegance it brings to the room. However, achieving a lace textured ceiling can be a bit challenging; it requires time and effort.
How to get a lace ceiling texture?
You need to apply the first coat of paint and wait for a while. Let it dry until you are ready to apply another coat of a different color. A splash of a different color takes the Texture a little bit closer to the artistic look. In the end, you need to use a trowel in irregular shapes and directions to create a texture.
One thing you need to be mindful of is the combination of the colors. You need to make sure that both colors complement each other. An unmatched combination can produce disastrous results.
6. Popcorn Ceiling Texture
Required Items for Popcorn Ceiling Texture
- Spray gun
- Sponge
- Premixed joint compound
Explanation
Popcorn ceiling texture produces a classy look for the room. Initially, when the ceiling textures were all the rage, popcorn textured ceiling defined the very field. However, people consider it to be outdated now.
You can achieve a popcorn look on the surface simply by applying a couple of coats of thick, textured paint. Use a roller in different directions to get an irregular look. Make sure to press lightly against the ceiling once you have covered the entire area.
You might end up damaging the popcorn textured ceiling if you put excessive pressure on the ceiling. This is because the popcorn-like materials used in this textured paint are easy to come off. Once you have painted the ceiling, let it dry for a while.
Even though popcorn ceiling texture is out of fashion nowadays, it gives a regal, vintage vibe – something hard to find these days. If you are a fan of vintage items and want to give your room a unique, textured look, you should definitely try popcorn ceiling texture.
7. Stomp Ceiling Texture
Required Items for Stomp Ceiling Texture
- Pattern brush
- Hawk
- Drywall knife
- Textured paint
Explanation
Stomp ceiling texture is somewhat like Skip trowel ceiling texture with a twist– you can form textures like a crow’s foot. Moreover, if you want an outward look for your ceiling, you can create a fan-type look by using a stomp textured ceiling.
Use a pattern brush to paint the entire ceiling of your room with any textured paint of your choice. Make sure to use premixed paint to conclude the project in time without spending hours preparing the right amount of textured paint. Try to even the uneven edges with a trowel or a drywall knife.
Things to Remember
- Creating a look using ceiling texture is way cheaper than a plain ceiling.
- Avoid using ceiling texture in bathrooms and kitchens.
- Turning a smooth ceiling into a textured ceiling is easier than achieving a plain look after you have used a ceiling texture.
Final Word
Ceiling textures are a unique addition to the paint family. In most cases, when people are trying to incorporate a new look for their home, they prefer a textured ceiling over a plain ceiling. Not only does it give a new look to the room, but it also complements the modern house setting. Having a plain ceiling is so last season! Therefore, instead of painting your ceiling in a plain, monotonous color, quirk up the vibe of your room using a textured ceiling of your choice. You can achieve the looks mentioned in this article all by yourself without paying a professional. How incredible does that sound! So, what are you waiting for?