
Do you love the look of aged wood? Don’t know how to find someone to age new wood for you? Did you know that you can age new wood yourself?
The process is simple. Head to your pantry in search of two items that you probably already have: vinegar and steel wool. With only these two ingredients, you can make the newest pieces of wood look completely antique!
If you try this project, comment below and show me what you ended up aging! You’ll love this recipe for an easy stain that weathers your furniture, so let’s get started!
Age New Wood: Materials
Here’s what you’ll need:
-Vinegar (any brand will do, your wood isn’t picky at all!)
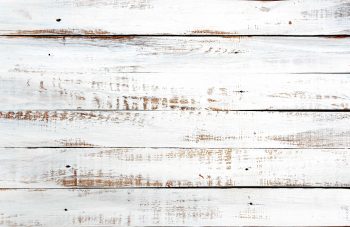

How To Age New Wood
Step One: It’s time to decide how distressed you want your furniture to look! The longer your mixture sits, the more reddish it will become! The color of your stain is also dependant on how many steel pads you use to complete the mixture.
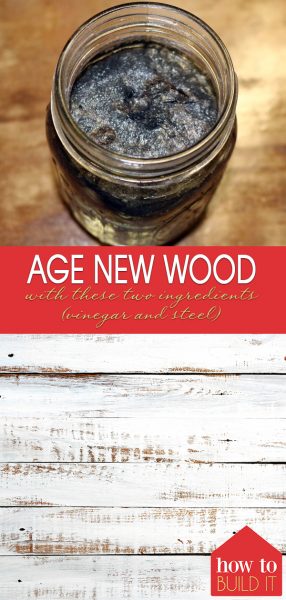
Step Two: Next, break your steel wool pads into pieces and place them inside the container of your choice. Wear gloves to prevent finger knicks or cuts!


Step Three: Combine your materials by simply pouring the vinegar over your pieces of steel wool. Mix the vinegar around, and cover your vinegar mixture.
Step Four: If you are going for more of a subtle look, your stain should be complete in about 15 minutes. If you’d rather a darker, more noticeable color, it’s best to leave your mixture to sit for about 2-4 days. Once your mixture is the color your desire, you can move on to the next step!
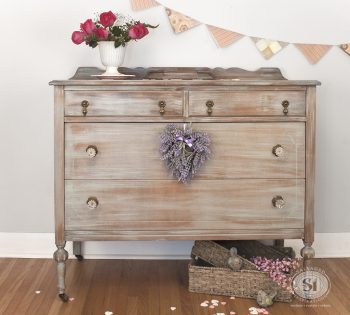

Step Five: Once the stain has become the color you want, you’ll need to strain the mixture into another container. Once the mixture is strained and stored, you can use it straight out of the container!
Step Six: This step is optional, but I always recommend that everyone sand their furniture before starting ANY painted furniture project. It makes just about any finish look better, and it makes this finish look even more dramatic!
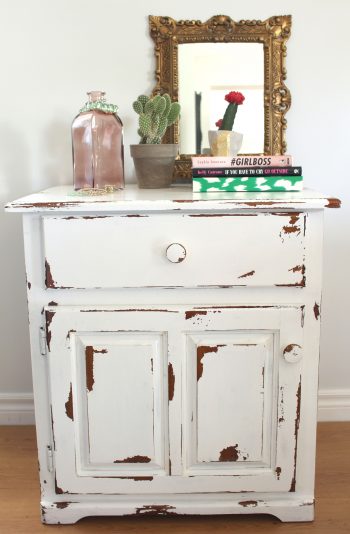

Step Seven: Let’s get painting! Your stain is now ready to use, test it on a small corner of wood to make sure you love how it looks before moving on. Usually, it takes an hour for a color to appear. After you’ve tested the wood, you can use a regular paintbrush to apply your vinegar stain in long, even strokes. Wait an hour for the effects of the stain to show up on your wooden furniture.
Step Eight: Again, this is optional, but you can use a wax sealant to make your furniture look even more weathered. This step will give your furniture a more “finished” look, so you may want to skip it if you are going for a more weathered or rustic look.
Isn’t this a great DIY project? If you follow this guide, you can always age new wood with no problem!
