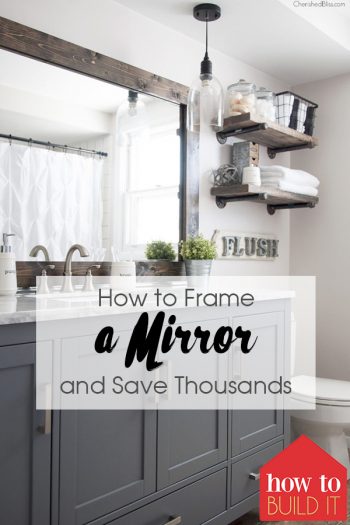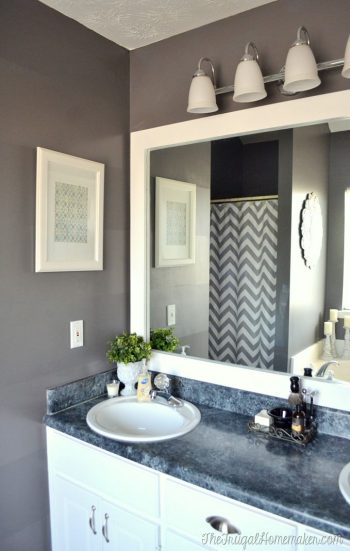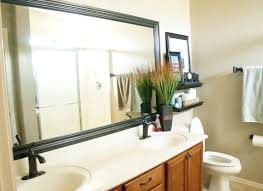

I adore the look of a framed bathroom mirror! I think it adds a level of instant class to just about any bathroom. If you are interested in learning to frame a bathroom mirror, stay right where you are! This is one of the easiest bathroom mirror ideas on the internet, and I’m sure you’ll love your end results! Here is what you need to frame a bathroom mirror:
-MDF Baseboard (Cut to fit your measurements)
-Paint
Now that you have all of the supplies needed to frame a bathroom mirror, it’s time to get started!


Step One: Use your measuring tape to determine the size of frame needed to complete the project. MDF paneling is what I consider to be the best thing for this project.
Step Two: Prepare your bathroom for the project. Lay down a drop cloth (should you find it necessary) and apply painters tape on any areas that you would like to keep clean.
Step Three: Cover your cut MDF paneling with a latex paint extender. You don’t have to paint both sides, but I always do because I think that it looks better! Make sure you cover any and all edges that are shown in the mirror with a quick coat of latex paint. After your MDF is completely painted, leave it to dry for two hours before moving on to the next step.
Step Four: After your paneling is completely dry, use your sanding pad to remove any excess paint build up. Wipe clean with a damp tack cloth to get rid of any left over wood (or paint!) shavings.


Step Five: Glue three of your MDF lengths (make sure that one of your TOP frames is not included..obviously) together with extra strength wood glue. Once attached, let the glue dry completely for another two hours. Make sure the wood is pressed firmly together.
Step Six: Once dry, close the seams with a line of caulk. Let the caulk dry for another hour. All seams of this project should be caulked for the best look.
Step Eight: Apply paneling adhesive directly to the top of the mirror, where your top frame piece will sit. Place the MDF panel onto the paneling adhesive and make sure it is aligned correctly before moving on. Use painters tape to keep the top panel secure until the adhesive has dried.


Step Nine: Once your top panel is aligned with painters tape, fill in the rest of the joints with another line of caulk. Let this dry for one hour, remove the painters tape, and touch up any areas, should it be necessary.


This is crucial information right here. Thanks for sharing!