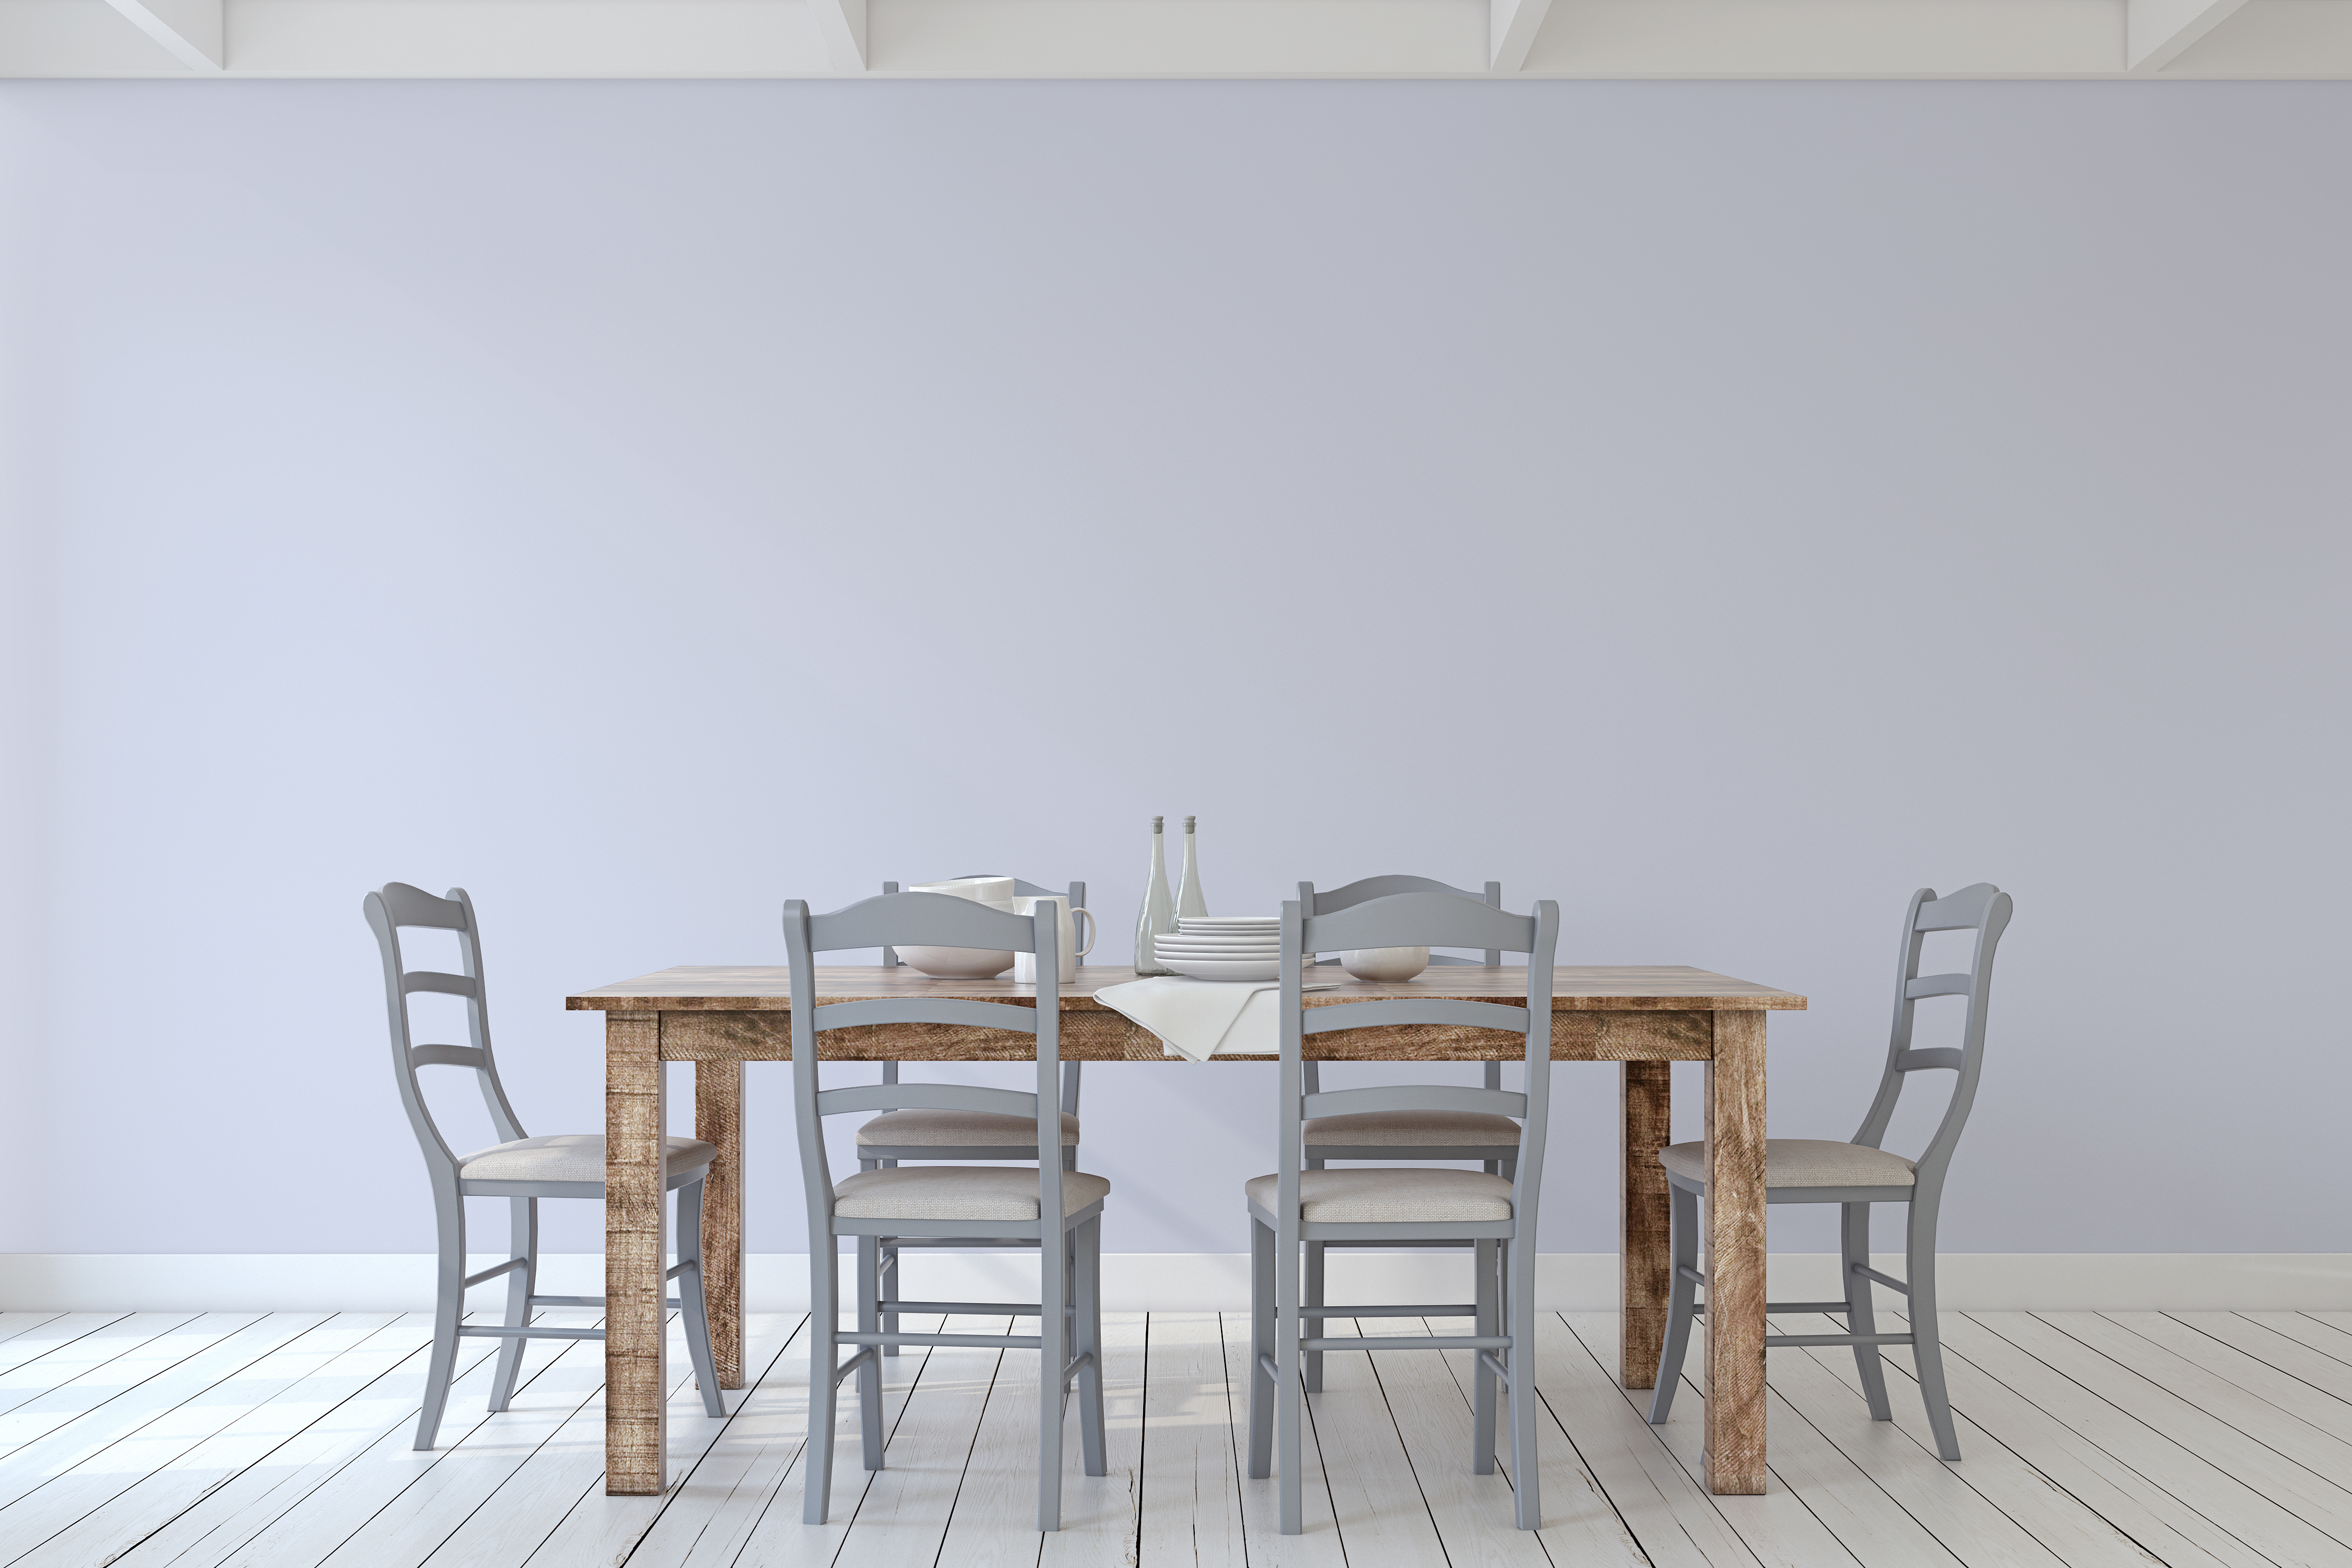
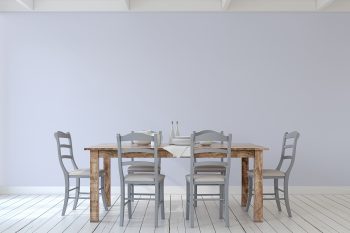
I met a new neighbor the other day and I fell in love with her cute (and growing) family and her rustic farmhouse decor, especially the DIY rustic farmhouse table.
While my immediate “family” is no longer growing, I do have an influx of teenager friends over at my house every day. I love that my kids love to hang out with their friends at home, but it’s caused my furniture to take a bit of a beating! Seriously. I swear that every piece of wood furniture throughout my home has a ding, scratch, or dent in it because of something a kid did and my kitchen table is the worst of them all.
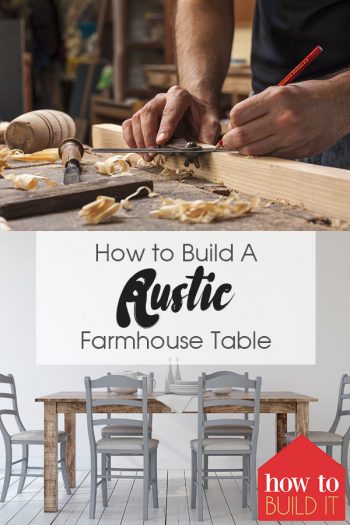
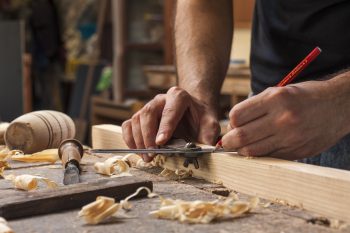
I’ve finally had enough! Instead of spending big bucks on a kitchen table that will inevitably be ruined, I decided to try my hand at making my own DIY rustic farmhouse table. Keep reading to see how I did it and fortunately for both you and me, this table was meant to be imperfect!
3 2×12” Tabletop pieces
2 2×6” Beadboard end pieces
4 4×4” Table legs
2 4×4” Short stretcher pieces
1 2×4” Long stretcher pieces
2 2×4” Short apron pieces
2 2×4” Long apron pieces
Pssst … if you purchase construction lumber, let it dry out for a few days before you attempt this project.
DIY Rustic Farmhouse Table: Step By Step Instructions
Step One: To begin, get your pieces of lumber ready for the project. Add crosscuts to the beadboard, the table legs, and the tabletop. This step isn’t necessary, but it makes for a terrific finishing touch.
Make sure that you check the height of the table against your dining room chairs before making ANY cuts. Cut the short aprons now, but wait to cut the long.
Step Two: Time to begin! Make a base for your table out of the aprons, legs, and stretchers. Attach a leg on either side of one short apron with screws. Next, clamp the legs to the apron using a small spacer (1/8”) and attach with screws. Repeat the process with the other pieces.
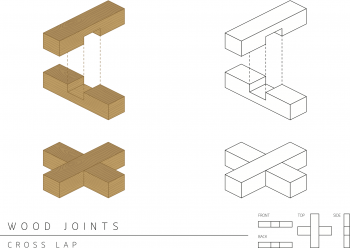
Step Three: Cut a deep slot into each short stretcher (3 1/2” wide and 1 3/8” tall). Once cut, this is where the long stretcher will be placed with wood glue, but not yet. Attach the apron-leg pieces to the stretchers using cross-lap joints. Learn how to make an easy cross-lap joint here.
Step Four: Glue the long stretcher into the short stretchers. Wait to dry. Next, place your table legs square to the stretchers and assemble with screws. I’ve found that pocket screws are best!
Step Five: You should assemble your tabletop pieces together now. Fitting them together tightly, attach each piece with wood glue, and finish the job off with another round of pocket screws. Remove any excess glue, as this will affect your finish!
Step Six: Use right angle brackets to attach the freshly glued tabletop piece to the table legs that you’ve already worked on. Sand the entire project once the tabletop is attached!
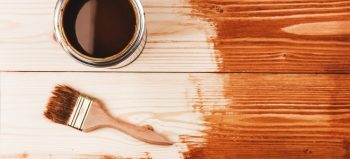
My kids and husband helped me sand our table for a solid thirty minutes, and it ended up looking great. You can leave the table as it is, or stain the wood how you would like. Use my wood staining guide for more tips!