
Start staining furniture with my tips and guide! Oil stains are nearly fool proof, but not completely… I have seen a few projects that missed the mark with oil stain.
The nice things about oil stain is they are very forgiving in the application process, you won’t get runs, and they accent the original wood. But it doesn’t always seem to work out like you hope with oil stains. Here are some things to keep in mind when using them.
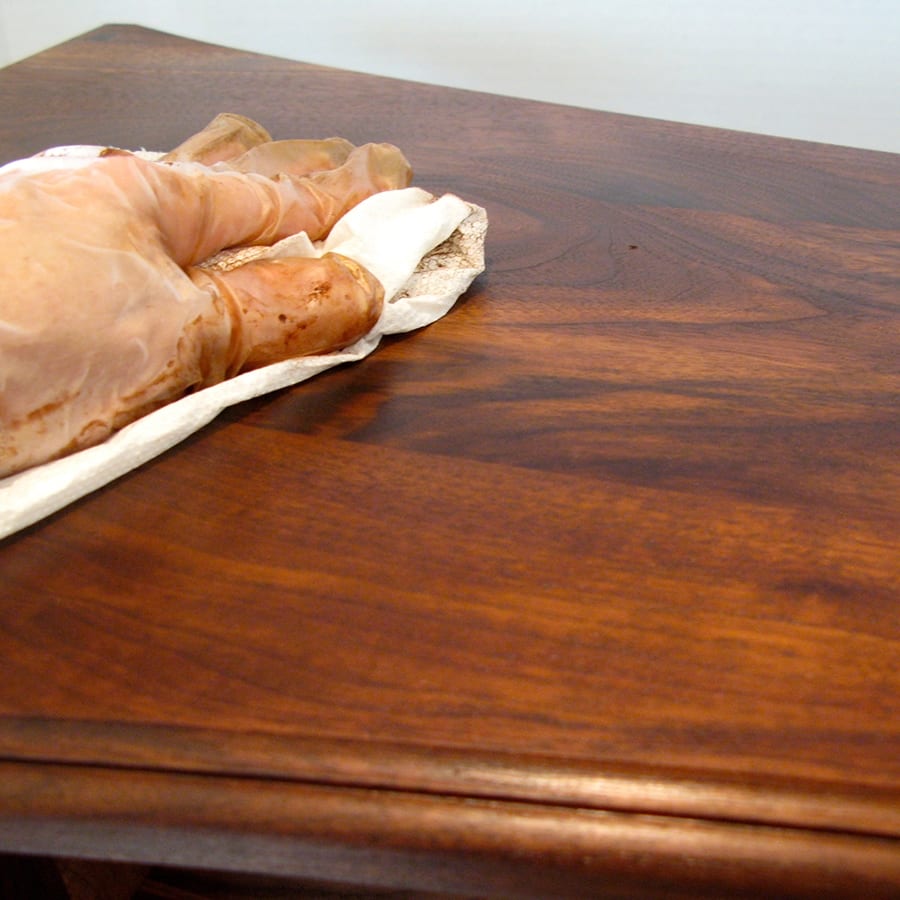
1. Oil stains never dry
You would think this would be self explanatory, but with the first woodworking project I ever took on, I was very confused why after weeks the “finish” I had applied was still tacky? After letting it dry for weeks I took a dry rag to my desk and to my dismay the residual stain came right off. Oil stains are meant to be wiped and A FINISH MUST BE APPLIED. Image from General Finishes.
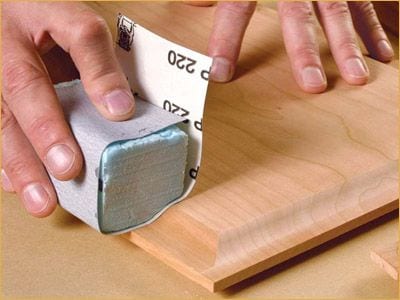
2. Surface prep is everything
Uneven sanding can be the death of an oil stain, the rough tears in the wood fibers helps it absorb the stain, so any sanding errors will prevail once the stain is applied. A rough surface will absorb more of the stain. The biggest trick to oil stains is a very thorough sanding, and finishing with a fine grit, I recommend at least a 220 grit. Image from Start Wood Working.
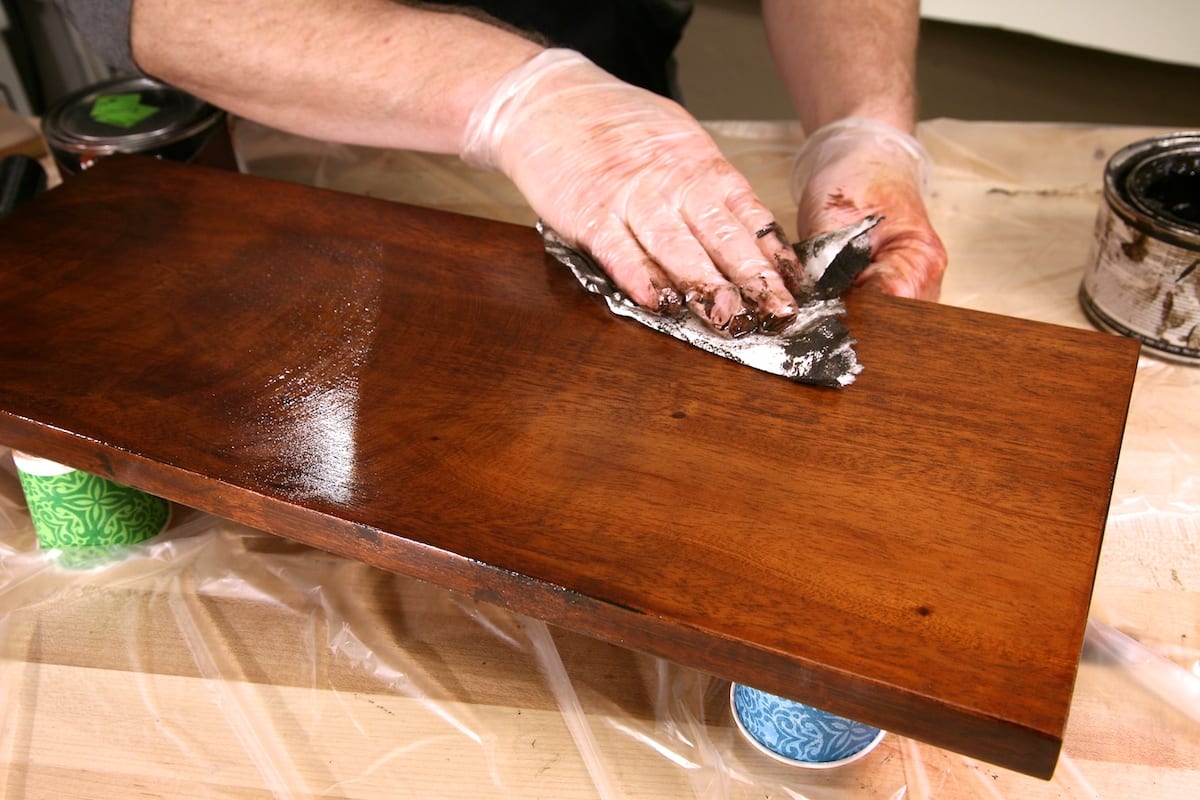
3. Proper application
The proper way to apply oil stain is to use a brush or cotton rag, I prefer something like an old t-shirt strip. Apply the stain generously; you do not need to worry about how long it sits on the wood as it will only absorb a set amount. Then using a clean rag wipe off the excess, if your preparation was done correctly you should have a nice uniform color. Image from Wood Work Source.
I love oil based stains because if done properly they can add so much character to furniture, and are great for re-finishing. If any of you have an oil stain project you think turned out particularly well, send in a photo and I will feature your design.
Thanks for the tips. I have a can of oil stain I was on the verge of using. I didn’t put much thought into the sanding part of the process. Your tips are appreciated.
No one likes to prep (sand) wood to be stained…my motto is…the end result is only as good as the prep job
what stain did you use? It’s very pretty!
I believe it’s Johnson Cherry by Minwax. Just keep in mind that all woods vary in color naturally, so a stain can look different on different types of wood.
what finish would you apply after the oil stain