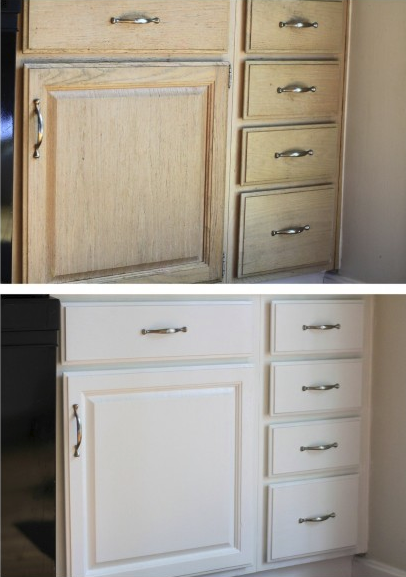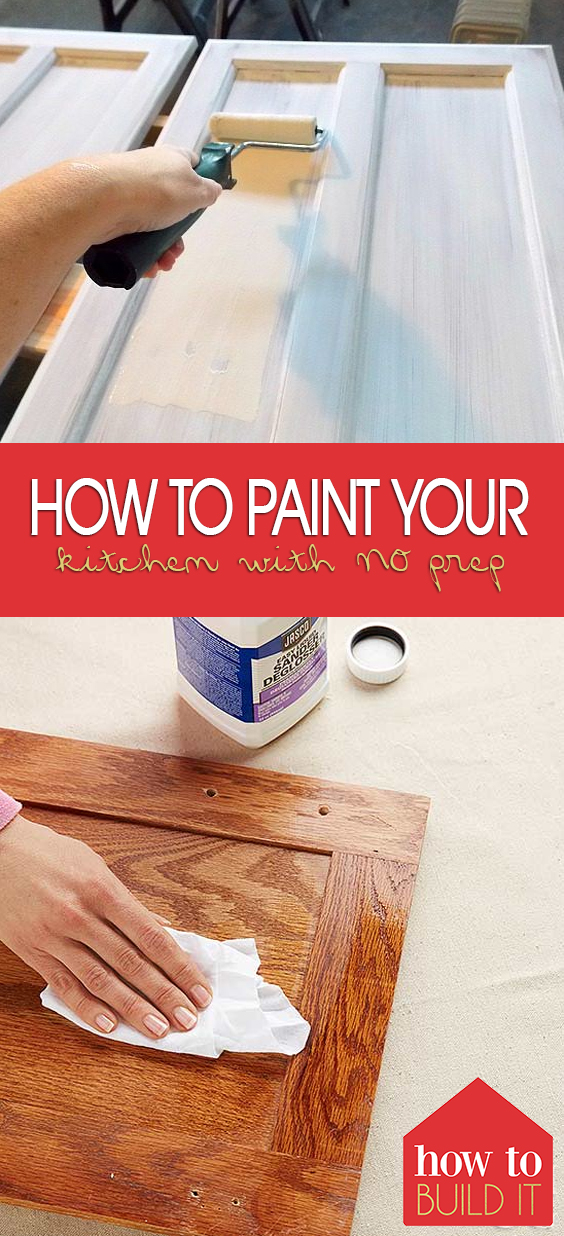

We sure do love a pretty kitchen, don’t we!? But what happens when your new home has a few eye sores in the food prep department? Surely you aren’t left with the singular option of a $20k kitchen remodel. Avoid a pricey remodel by painting your kitchen instead.
Gather Your Supplies
Kitchen cleaner with grease cutting power
Non-scratch scrubbing sponge
Cleaning toothbrush
Liquid deglosser
Rags
Paint brushes, sponges, and roller
Power drill
Spray paint
Cabinet enamel
Painters tape
Start Scrubbing
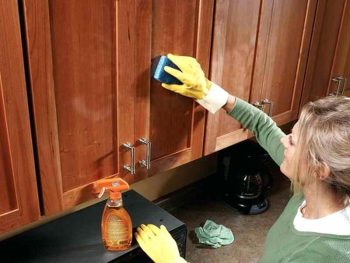
Using your de-greaser, non-scratch sponge, and cleaning toothbrush, start scrubbing your cabinets. Removing all dirt, grease, and gunk is going to make a huge difference in your final outcome.
De-gloss The Surface
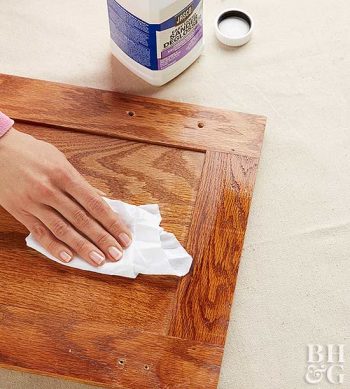
Most DIYer’s might resolve to sanding each cabinet door but you can save time and mess by rubbing the cabinet doors with liquid deglosser. Follow the instructions on the product.
Remove The Cabinet Doors
As you remove the doors using a screwdriver or power drill, label each door so you know where they go once it’s time to reinstall them.
OPTIONAL: Remove cabinet shelves and deep clean the insides while the doors are off the hinges.
Start Painting
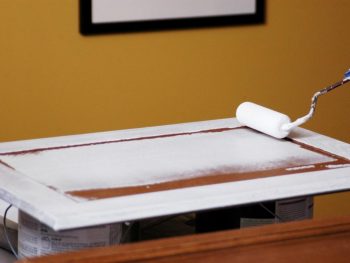
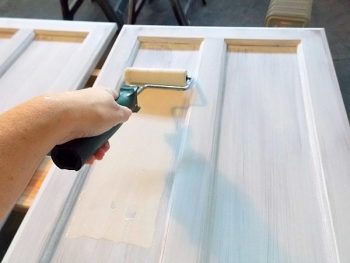
Lay the cabinet door face down and apply a thin layer of cabinet enamel to the back side of the door using a paint roller. A sponge paint brush can be used for getting paint into nooks and crannies. Allow the paint to fully dry and apply a second coat.
Get Out Your Paint Brush
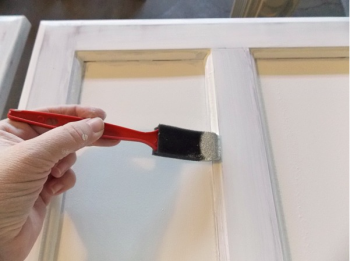
Once your back side has finished drying, flip the cabinet door over and paint the front. As you paint the grooves of the molding on your cabinet’s face, use a paint brush or sponge paint brush.
OPTIONAL: Lay newly painted cabinet surfaces on top of clean, soft surface to avoid scratching paint.
Roll On The Front
Once you’ve painted the trim, roll on flat surfaces with your paint roller.
OPTIONAL: Paint the interior shelves of the cabinets to match the doors.
Paint The Hardware
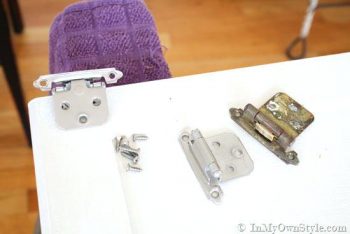
You can use Rust-Oleum metallic spray to give your hardware an updated look as well.
Roll The Wall Mounted Cabinets
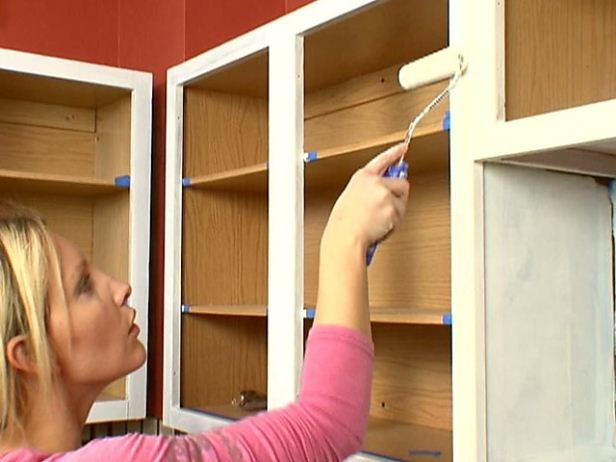
Using your paint roller, apply cabinet enamel to the units still mounted to the walls. Avoid getting paint on the walls by placing tape along the walls that meet the cabinetry.
Cure and Hang
Once you’ve allowed all the pieces to fully dry, you can rehang all of the hardware and cabinet doors.
OPTIONAL: Apply a polyurethane coating to newly painted cabinets (not hardware) before re hanging.
I used these online resources when tackling my own DIY cabinet project. Use these links if you need assistance:
http://truequedigital.info/cleaning-grease-off-kitchen-cabinets/
https://www.bhg.com/kitchen/cabinets/makeovers/kitchen-cabinet-paint/
https://www.youtube.com/embed/uWurlfsLPn4
http://acertiscloud.com/can-you-paint-kitchen-cabinets-white/how-to-paint-kitchen-cabinets-how-tos-diy-can-you-dark-white-white-2/
http://www.diynetwork.com/how-to/rooms-and-spaces/kitchen/paint-your-kitchen-cabinets-without-sanding-or-priming-pictures
https://www.remodelaholic.com/how-to-paint-cabinet-doors/
http://www.stadt-calw.info/spray-painters-for-kitchen-cabinets/chalk-paint-kitchen-cabinets-before-and-after-how-change-hinges-spray-painting-youtube-white-diy/
http://www.diynetwork.com/how-to/skills-and-know-how/carpentry-and-woodworking/painting-kitchen-cabinets
http://www.thefrugalgirl.com/2014/05/how-to-paint-kitchen-cabinets/

