
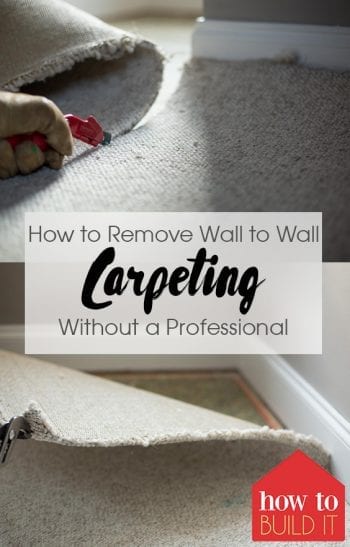
Removing wall-to-wall carpeting is the easiest DIY when it comes to major home renovations. So many people are intimidated by this project and hire help; but, as long as you’ve got the physical strength to lift and bend, you can do this project all by yourself (though a little help from friends or family wouldn’t hurt).
You’re going to need a few tools – but not many!
A sharp box cutter/knife for cutting the carpet
1. The worst part about this project is removing everything from the room that’s on top of the carpet. If you’re starting with a new home that doesn’t have anything in it yet, consider yourself lucky! If not, then your first step is to get everything out of your way. Even if you think you can pull up the carpet without removing large furniture pieces by working around them, you’ll still have to clear out the room to have your new flooring installed. So get this over with before starting your project.
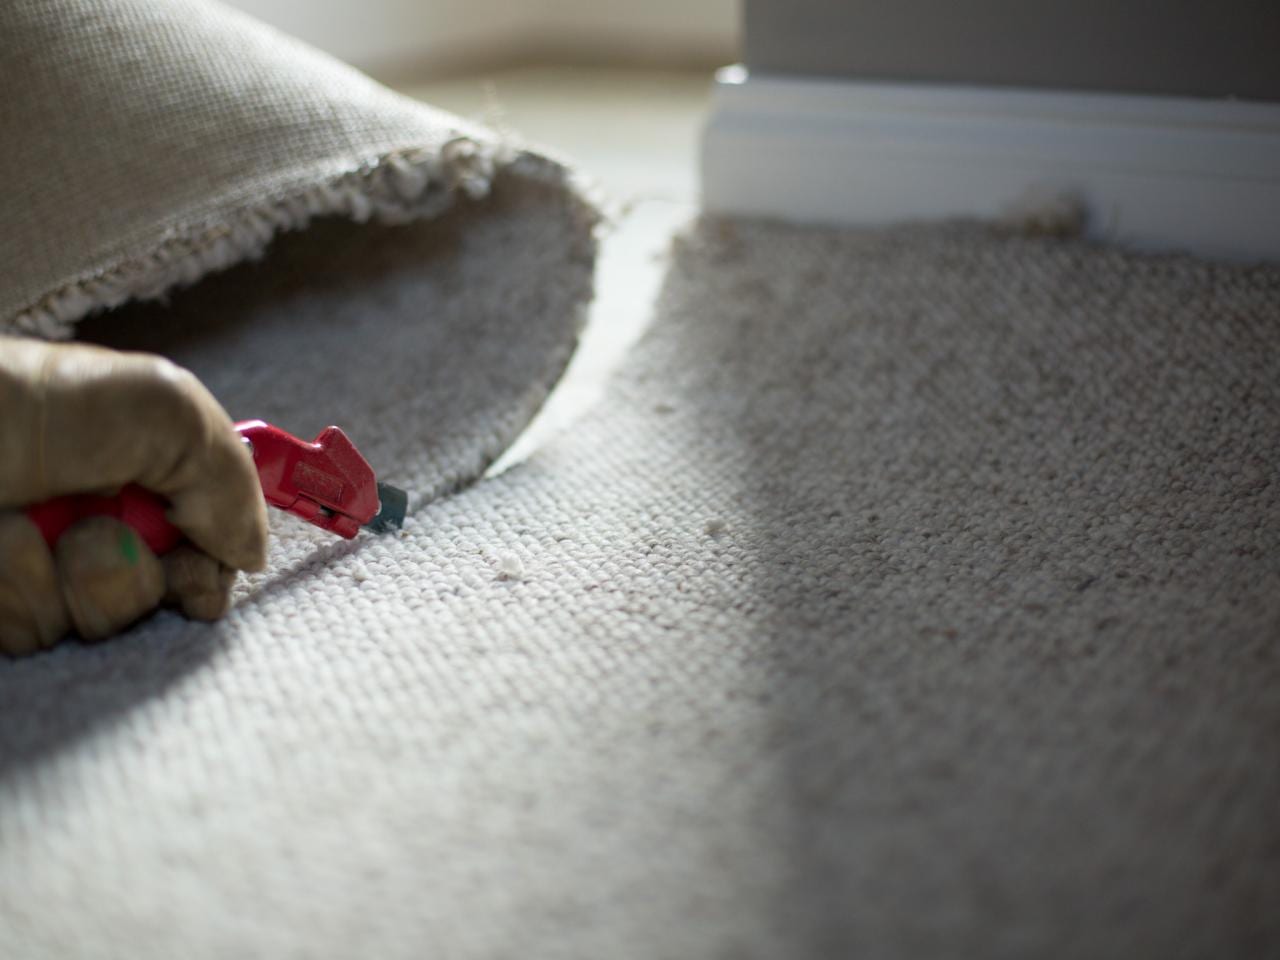
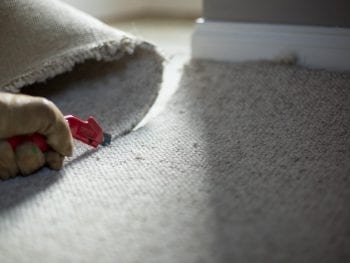
2. Once the floor is clear, find a spot along the wall where you can begin to pull up the carpeting. Usually the closet has a few loose corners you can start with. The carpet comes up very easily. All you have to do is start tugging.
3. As you pull up the carpet, roll it up. Every chunk you pull up will have to be carried out of the house. So it may help to cut the carpet into sections that are easy to carry.
4. Once you’ve rolled up the loose carpet, wrap a piece of duct tape, packaging tape, or twine around it so it stays in its roll.
5. Drag all the old carpet outside. You can dispose of carpeting at many dump sites for free if it is from a private residential project. So load it into your borrowed pickup truck and tie it all down.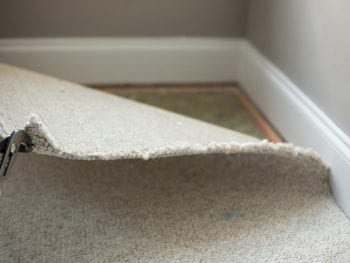
6. Next you’ll remove the padding. This is usually adhered to the floor with staples. Pull up the padding (it comes up easily) in sections, rolling it up, and securing your roll with tape. Dispose of the padding. IF your padding is still in good shape, you can leave it and reuse it for your new carpet. However, many carpet distributors offer a warranty with their carpeting that is only valid if you also install their carpet padding as well. You’ve been warned.
7. After you’ve removed the carpet and the padding, you’ll use your pliers to pull all the padding staples out of the subflooring.
8. If you are having new carpet installed, you can often leave the tack strips from your old carpet. You’ll want to check with your installer though. However, remove any bits of tacking strips that are rotted, broken, or just in need of replacing. This can be done fairly easily with a crowbar.
If you are installing flooring other than carpet, you’ll have to remove all tack strips using your crowbar. Dispose of the debris.
8. Your final step is to clean up the mess you just made! Then you can have your new floors installed and move all of your furniture back in.