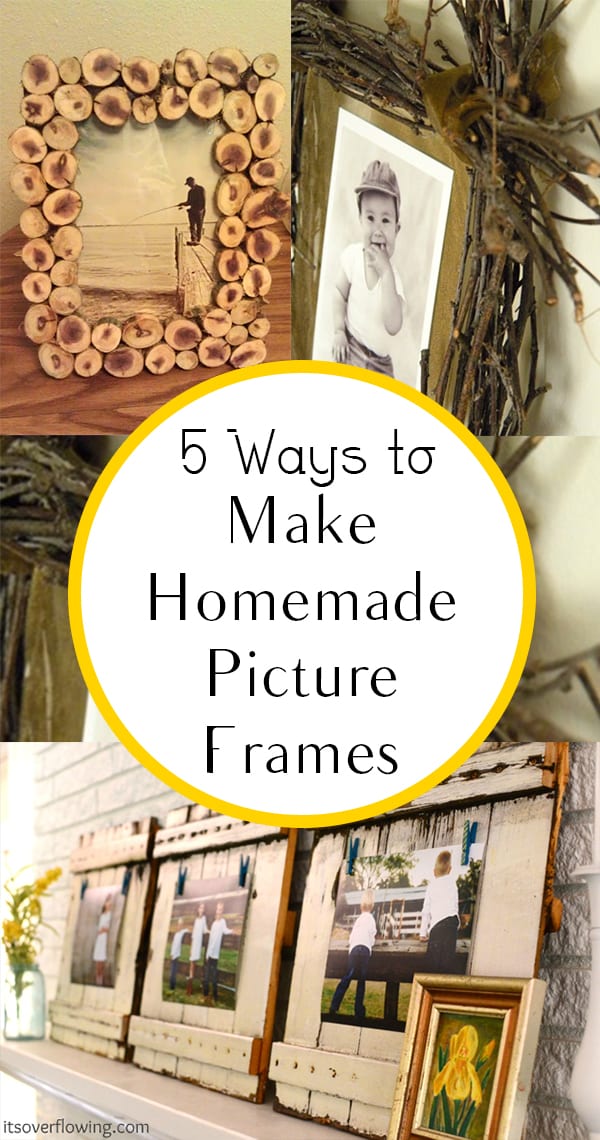
It was about 2 days before Christmas and my wife told me that we needed 4 large picture frames for the kids playroom and it was going to be part of their Christmas presents. The problem was… We had already blown the Christmas budget and I had no time to build anything extravagant!
I told her they would have to be kind of 2x4ish if she wanted them for under $20, and in that kind of a hurry. I also figured if we were going to paint them, I would just do a butt joint for the corners rather than do a mitered corner like a typical picture frame. Here is how I made them:
- We decided how large the frames were going to be, and we went to home depot and bought enough 2×4’s to allow for a little extra for scrap.
- I sent each 2×4 through the planer laying flat until I got them all to the desired thickness. Then I stood them all on the thin edge and ran them through the planer to make the width the desired thickness as well. This makes them the right size and leaves me with very little sanding afterwards.
- Next I set up stops on the radial arm saw and cut all my pieces to the pre-determined length.
- Using a pocket screw jig I drilled for pocket screws on each corner.
- Using a generous amount of glue and a quick clamp to hold everything in place I screwed each corner together, the nice thing about doing frames without mitered corners is you do not have to check for square if you cut your ends square.
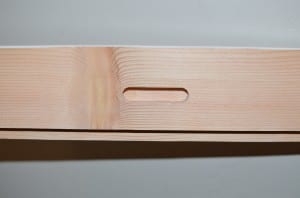
- Once it is all assembled and the glue is dry I router a slot for hanging the frame, I do this with an edge guide on my router.
- Then using a ½ straight router bit with a bearing guide I cut out are recess in the back of the frame.
- Next I putty any knots or gaps with wood putty, or whatever filler you prefer. In hindsight I should have used something more flexible, the fir used in 2×4 shifts and moves a lot and something that gives a little would probably hold up better.
- I took a 1/8” round over router bit to both the inside of the frame and the outside. If you do not have this bit you can break the edges with a piece of 220 sand paper, just make sure to sand with the grain and try to sand all the edges evenly. DO NOT USE AN ELECTRIC SANDER FOR THIS, you will remove too much material and it will be uneven.
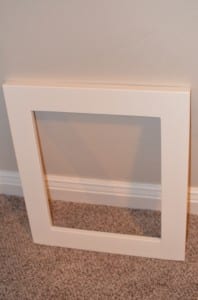
- Finish sand and you are ready to paint!
- I like the thick frame look, so I remove about ½” by ½” for the picture or backing to sit in, then I just Use the small push in retainers to hold it in place.

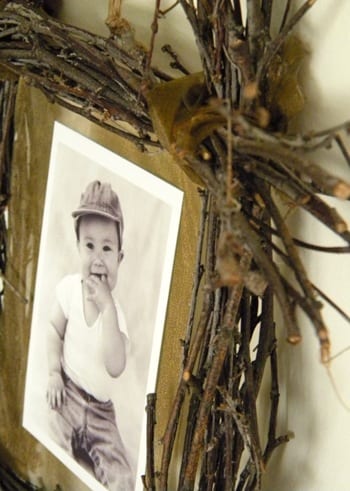
Rustic Twig Frame
Get the tutorial from Carolyn’s Homework.
Picket Frames
Get the Tutorial from It’s Over Flowing.

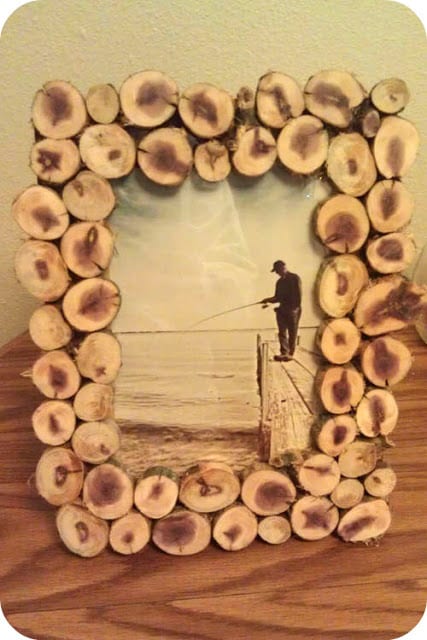
Rustic Wood Slice Frame
Get the tutorial from Ginger Flair.
PVC Pipe Frame
Get the tutorial from BHG.