
Here’s What You’ll Need:
-Instant Cement
-Wire Brush
-Trowel
-Chisel
-Concrete Sealer
-Sand

Step One: As per usual, the first step in this DIY is to clean the surface you are working on. Scrape the surface with a wire brush to remove excess materials. Sweep debris away. Rinse the area with water should you find it necessary.
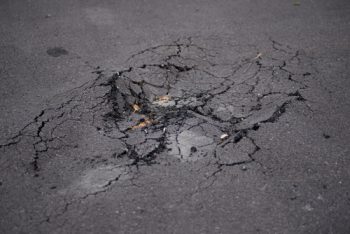
Step Two: Fill the crack in your driveway with a layer of caulking for small cracks, or instant cement for larger, harder to cover cracks. Use a trowel to pack the area firmly no matter the material you choose to use.

Step Three: After you have sealed the crack with your choice of cement or sealer, you will want to give the area time to fully cure before driving over it. Follow the instructions to determine what the best cure-time is for your mixture, and stick to it! I’ve learned (after many failed DIY projects) to stick to the recommended dry-times. You won’t regret it, promise.
Step Four: After following the recommended dry time, give the area a quick hose off to remove any excess concrete or sealant.
Step Four: I think you know what I’m going to say next…seal up your repair to prevent future driveway cracks! Minimize water damage on your concrete by spraying it regularly with a water sealant. This simple step alone can help keep your driveway looking absolutely fantastic for years to come.
