I did this project over the summer and it ended up being my favorite of all the crafts I did (I had a lot of free time this summer). Want to make your own? Here’s the step-by-step:
- Decide your clock design. What size of hoop you want, what fabric, and what color embroidery flosses you will need. Once you know what you want, head to the craft store!
2. Once you have your supplies, start by tracing around your hoop along the inside edge onto a piece of paper. You can then move the hoop out of the way and practice drawing your design.

3. Once you have your design perfected, it’s time to get out the fabric. Cut a square of fabric larger than the circle by about 3 inches. Iron out the piece of fabric if it has folds.
4. Lay out the fabric on a flat surface and place the hoop on top of it in the center. Trace your design onto the fabric lightly with pencil, erasing any mistakes if necessary. Use your paper design as a guide.
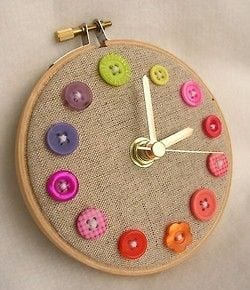
Image from Babble.
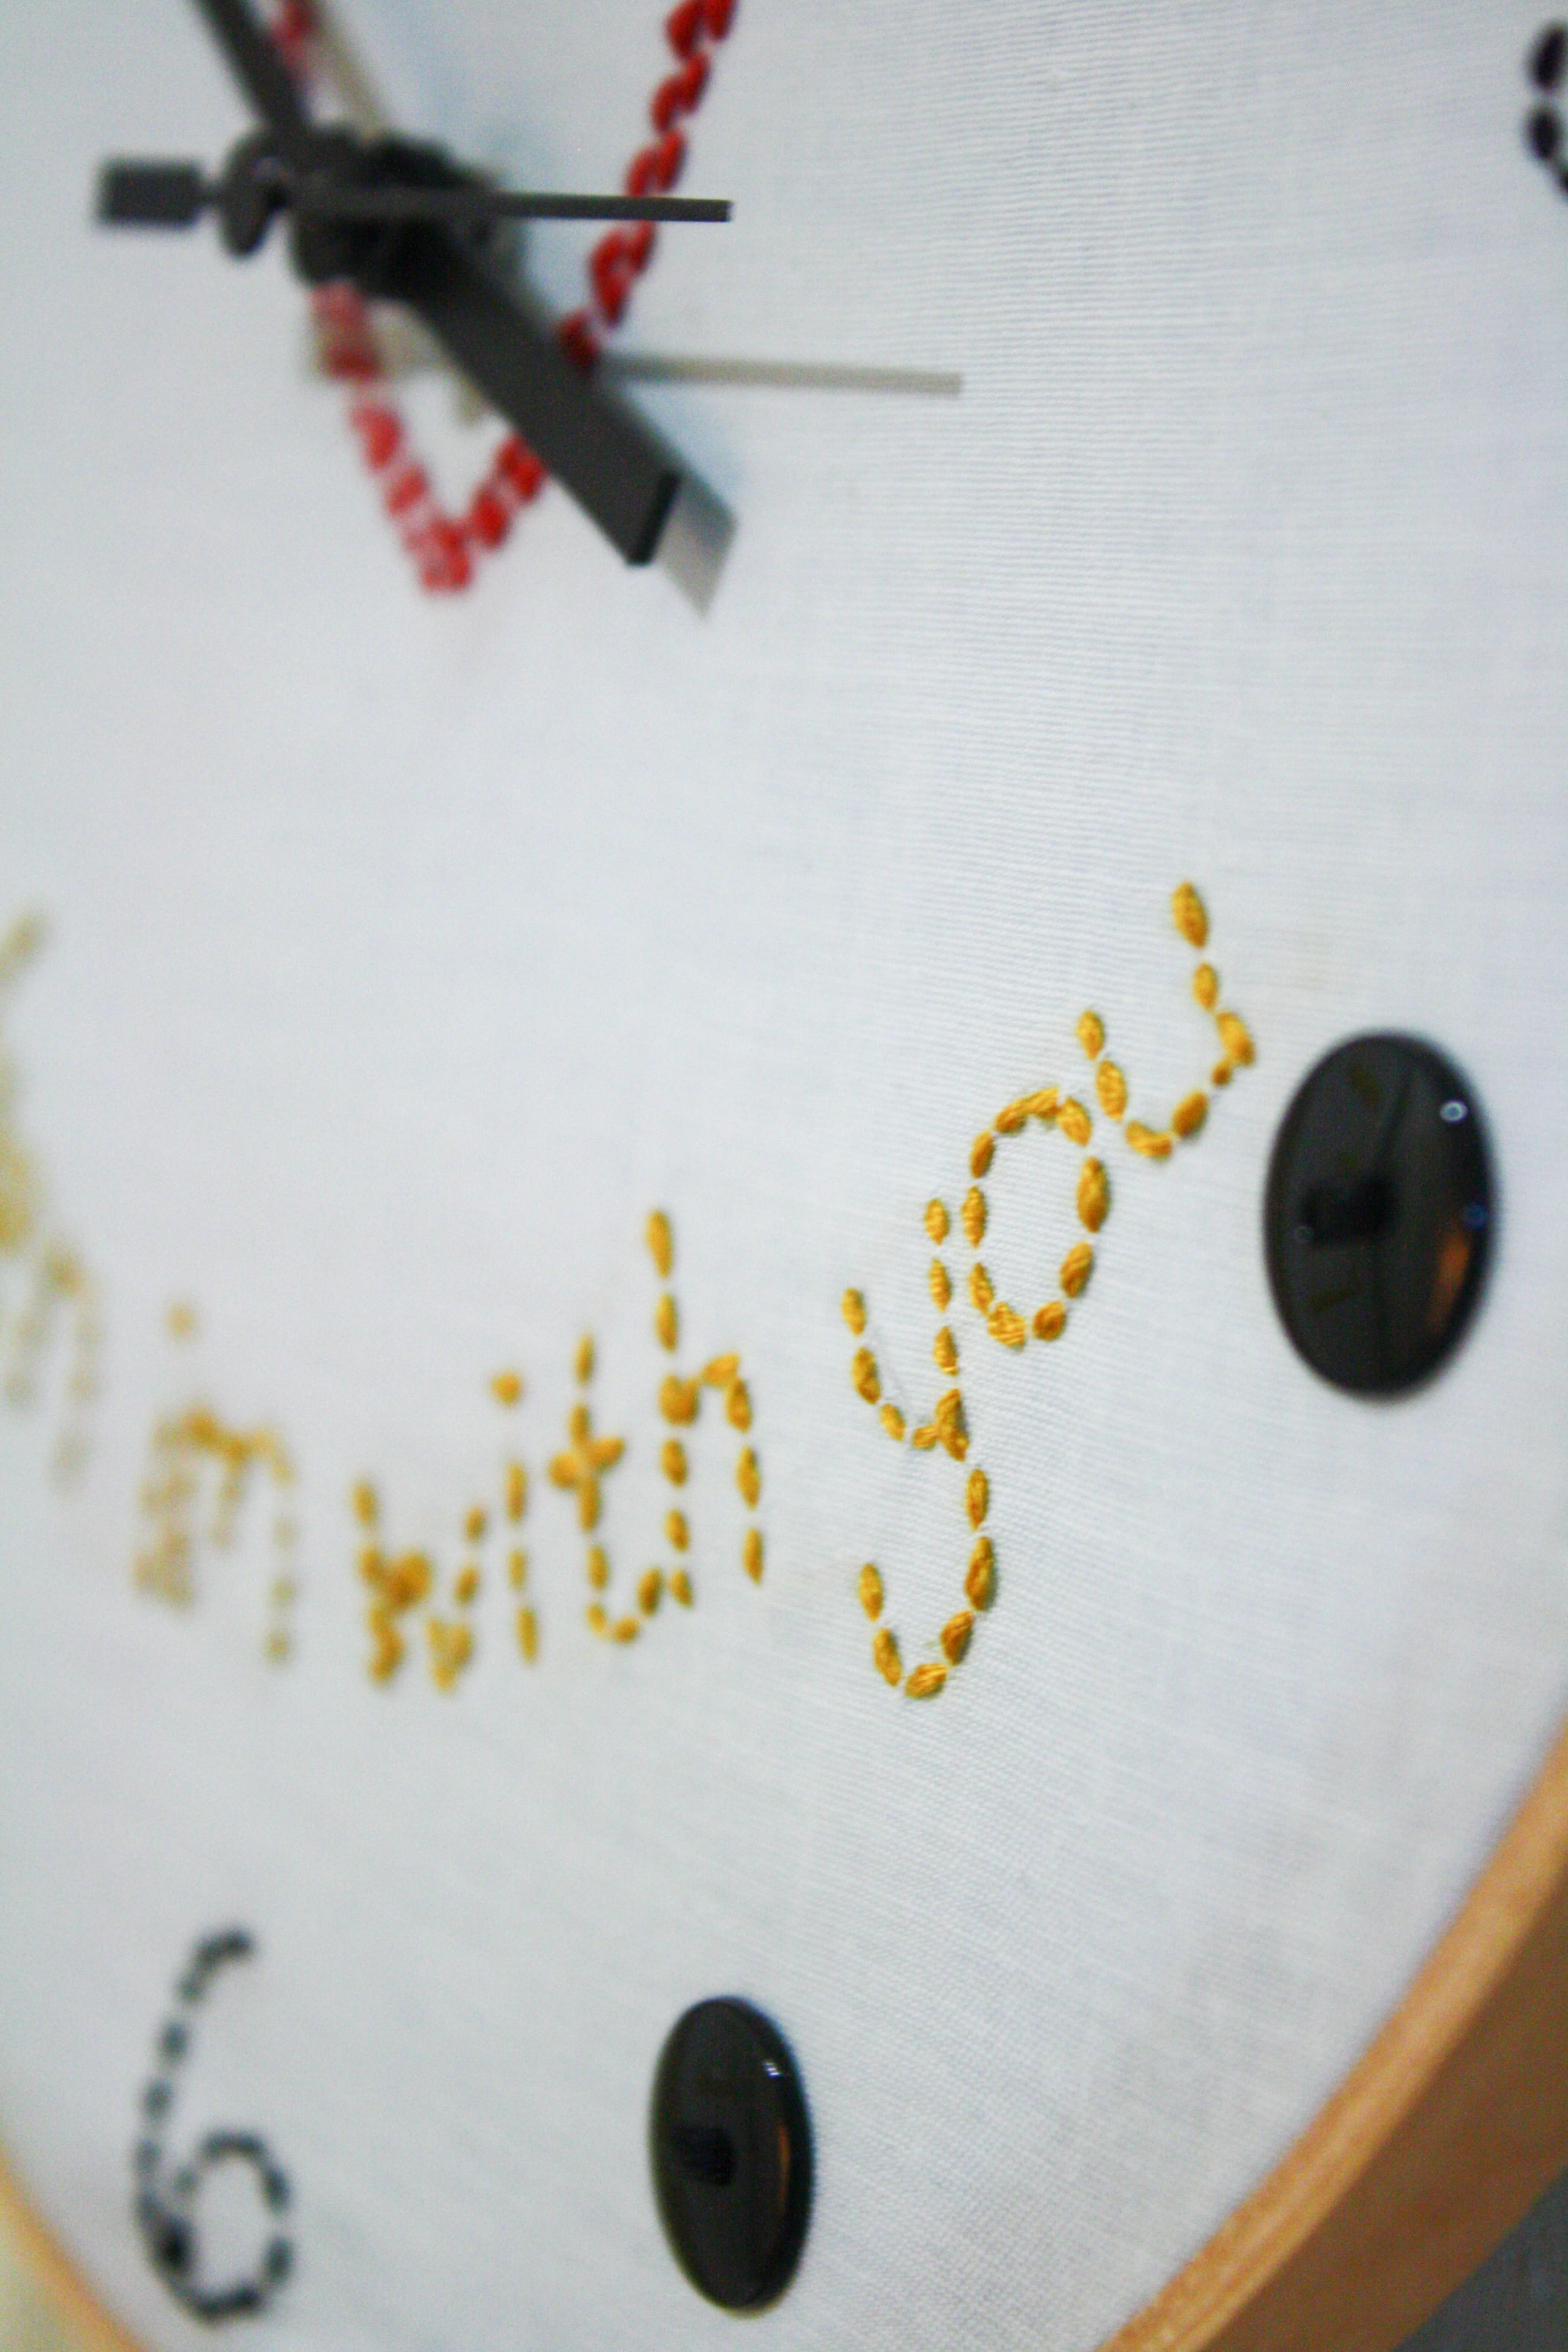
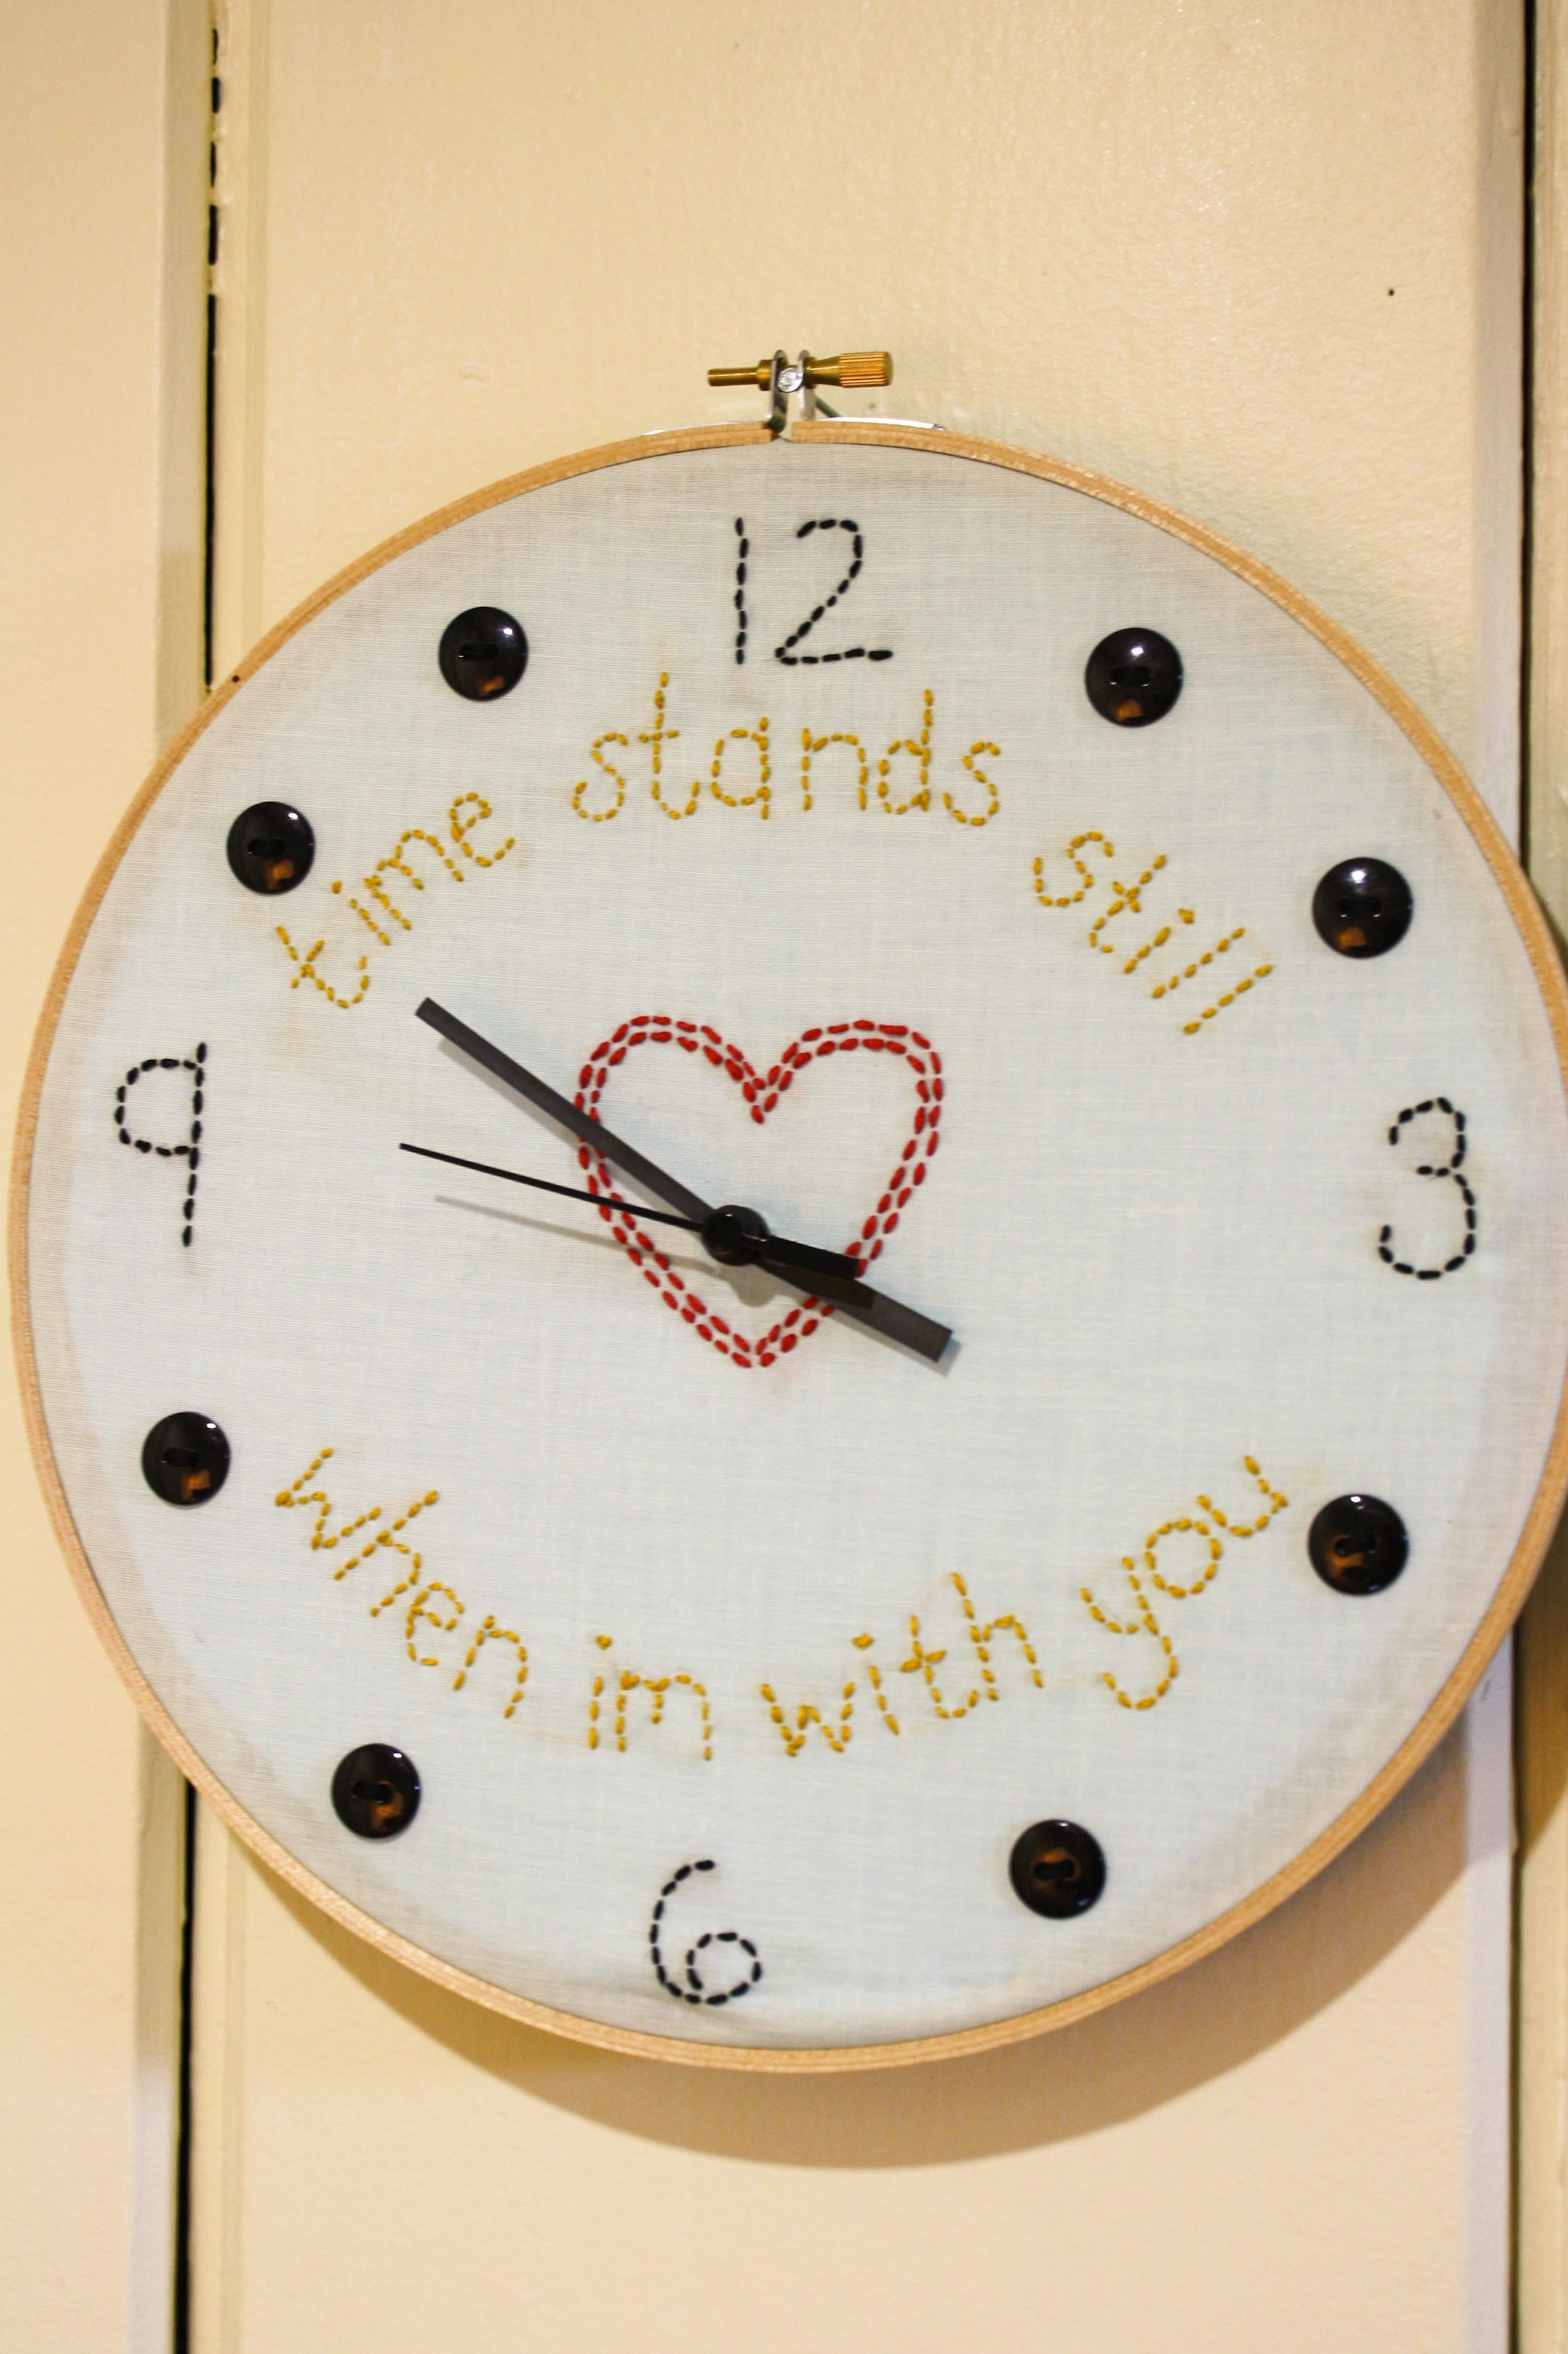
5. Place the fabric inside the embroidery hoop, positioning it how you want and tightening the screw. Then embroider your design (the fun part!). You can mark the positions of all the numbers, some of them, or none of them. I used buttons to mark some of my numbers.
6. Once you’re done embroidering, trim the edges of the fabric so there is about ¾” excess around the whole thing. Fold the excess over and hot glue it to the inside edge of the hoop.
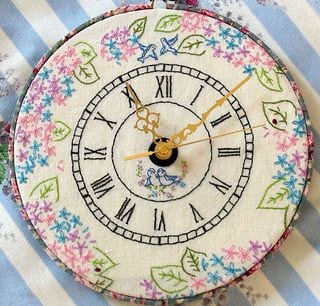
Image from Bustle & Sew
7. Now it’s time to turn this baby into a clock! You can buy an expensive clock kit from the craft store, or get a clock from the thrift store and use its parts. (Make sure to get a clock with a front cover that can come off easily and a battery unit that can be removed. Also, take a AA battery with you to the store to make sure the clock works before you buy it.)
8. Remove the front cover from the clock you bought and gently pull off the hands—this might take some effort, but they will come off. You can then remove the battery unit from the back of the clock—it is usually clipped in and can be easily removed.
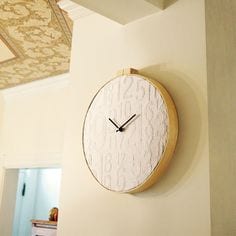
Image from Dot and Bo.
9. Reinforce the back of your clock with a piece of cardboard. You may need to paint the cardboard so the brown doesn’t show through the fabric. Or just use white foam board!
10. Poke a hole in the middle so it goes all the way through the clock. Insert the battery unit from the back, then push the hands back on. Secure the battery pack with hot glue or tape. Put in the battery, and you’re done!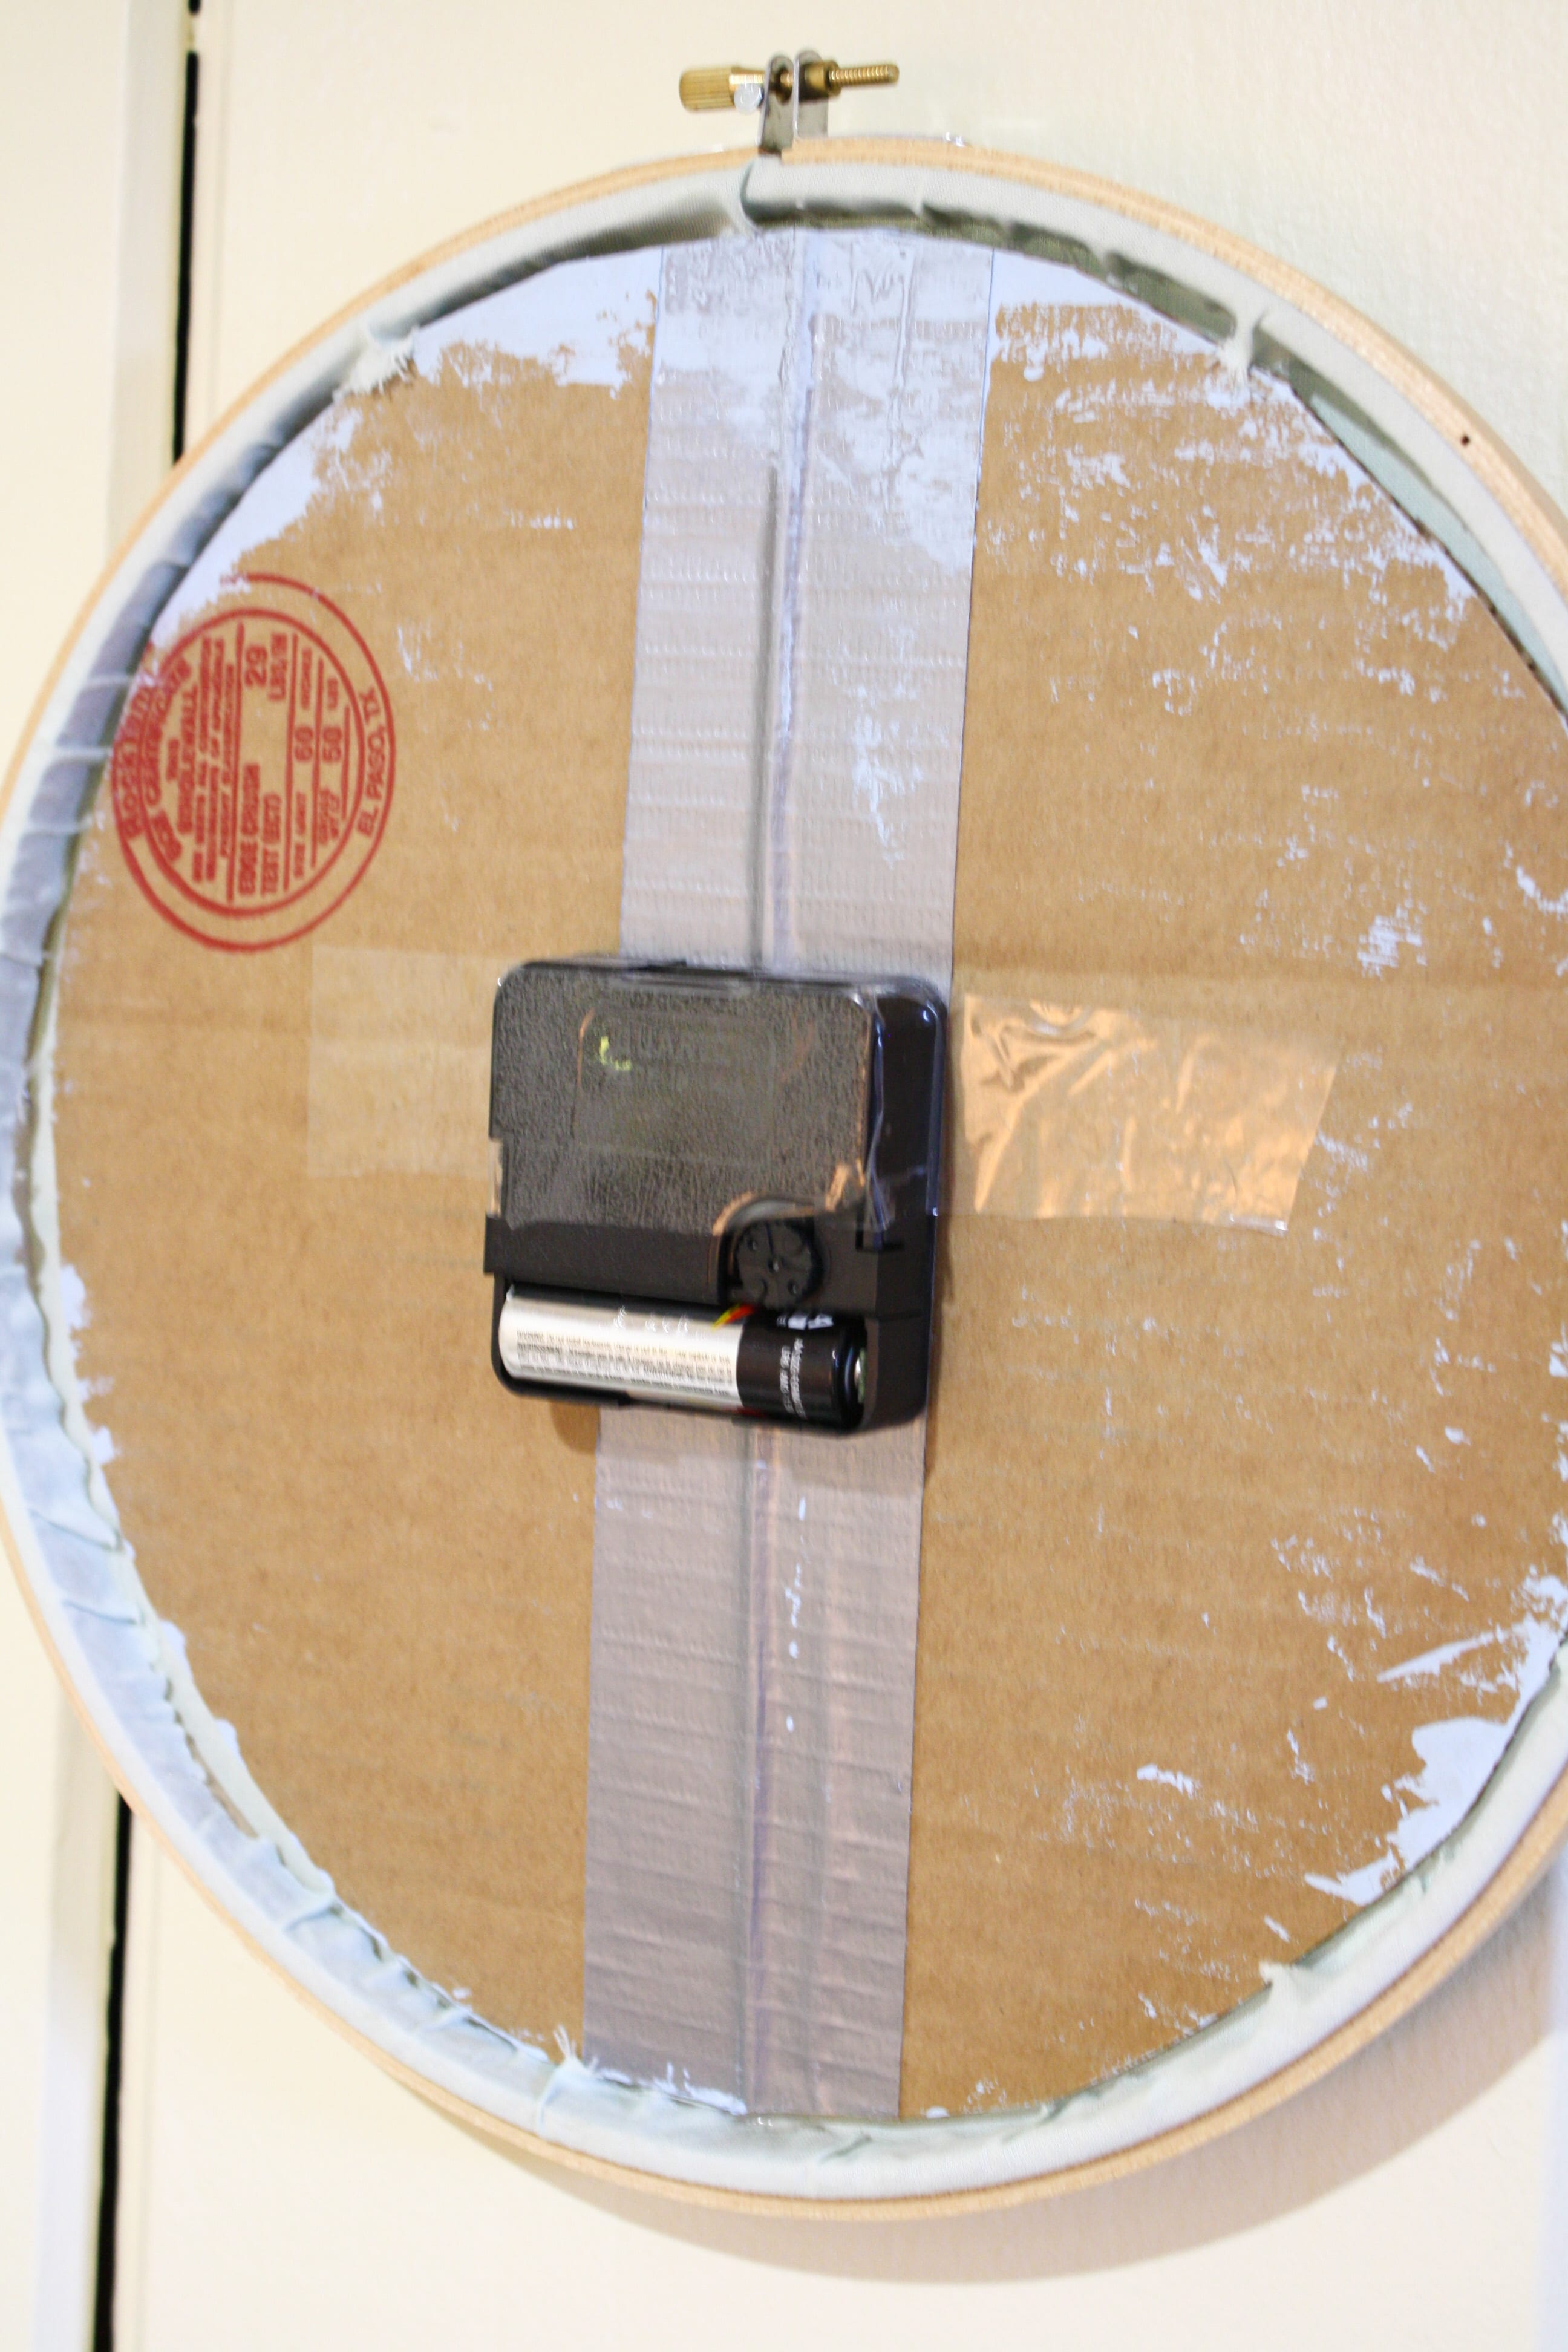


Thanks for shaginr. Always good to find a real expert.