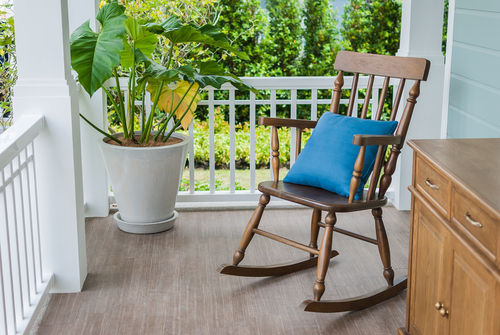
I love porches with rocking chairs. They just seem so cozy don’t you think? With a glass a lemonade I could sit on a porch in a rocking chair all day. So, with that said, let’s talk about how to build a rocking chair.


I get it! Building your own rocking chair probably seems like the most intimidating DIY furniture project ever. In the first place, you’re probably wondering how you begin. Or at least that’s what I thought when I first wanted to build one, but I quickly drew up a simple plan that would take no more than a weekend! I first mentioned the idea of a homemade rocking chair just after my second baby was born. At the time, I was sleep deprived enough that this sounded fun! I didn’t have to say much to convince my husband to help me with the project even with a new baby, he was always game for a woodworking project or two! Together with my husband, we made it happen. And if we can do it with a new baby, you can too!
Here’s what you’ll need for your DIY furniture project:
-An old chair (upholstered, wooden, or plastic. Doesn’t matter. Whatever works best for you)
-1″x3″x6′ Pine Board
-1″x6″x6′ Pine Board
-2″x2″x6′ Pine Board
– Pocket-Hole screws
-wood glue
-hardboard panel
-Kreg Jig/ Milter Saw
-Drill/ Jig Saw

How To Build A Rocking Chair
Step One: Before beginning, you will need to determine how big your “rocker radius” is. Your seat height determines your rocker radius, so use this formula to determine yours:
Seat Height(12″) x Pi(3.14) = Rocker Radius (38″)
Cut a 38” radius from two scrap sheets of material. Test it to make sure that the rocking motion works for your chair and set aside, make any adjustments if necessary.
Step Two. Now you’ll want to create new legs for your rocking chair, cut them out of the 2”x2” pine boards. Match the angle of each cut leg, and shorten each by 2 inches. Attach the legs together by creating a chair apron out of your 1”x3” pine boards, as well.
Step Three: Connect the four 1”x3” boards together with two 1/4” pocket hole screws and a bit of wood glue. Next, drill pocket hole screws in the top left and right apron boards for easy attachment to the chair.


Step Four: Now that the legs have been attached with an apron, sit the upholstered chair on top of the aprons to make sure it fits. Check that it does, but don’t secure the legs to the chair just yet!
Step Five: Now that you know how big your radius should be, it’s time to actually stencil it out on a piece of masonite or something similar. To trace the radius, you’ll want to build a giant compass of sorts. Drill a hole at the top of the runner (usually 36”) and the bottom of the runner (usually 38”)
Step Six: Now that you know what your rocker runner will look like, it’s time to measure where the ends of the runners are. Make sure that the ends of the rocker are flush with the ends of the new chair legs you just built.
Step Seven: Use your 1×6” pine boards to create the runners. Though, you will have to attach two together to match the 2”x2” thickness of the other pine boards. Trace the shape of the runner on your piece of pine board and use a jig-saw to cut it out.
Step Eight: Attach the runners to the rocking chair legs with pocket hole screws and a bit of wood glue. Once secured to the chair legs, your chair is almost complete!
Step Nine: If desired, cover your rocking chair base with a coat of sealant or paint now. It’s great for added longevity!
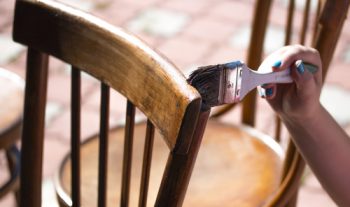

Step Ten: Once the rocking chair base is dry, attach it to your old chair using 2” pocket hole screws.
Keep reading for more DIY ideas.

