
Starting your very first welding projects as a beginner can be quite intimidating. But with the right tools and a bit of instruction, you’ll find that this art form is not only fun, it comes in handy with tons of household DIY projects.
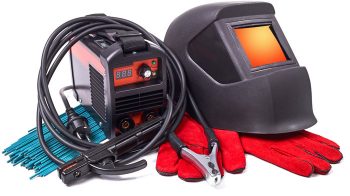
You will need a few pieces of equipment before you begin your welding project:
Auto-darkening helmet
Safety glasses
Particle mask
Chipping hammer
Leather cape
Welding gloves
Handy square (optional)
Angle grinder (optional)
Chop saw (optional)
Tack Before Weld
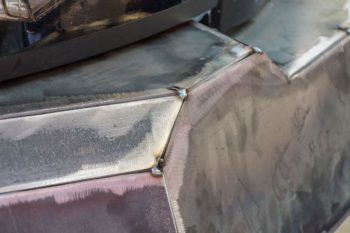
A tack is a series of smaller welds. These are used to hold the piece in place before you make your final weld.
Learn To Control Your Puddles
As you melt various pieces of metal, they turn to a liquid. Then as they cool, the puddle forms into a solid once again. A big part of welding that all beginners must learn is controlling the puddle.
Watch Where You’re Welding
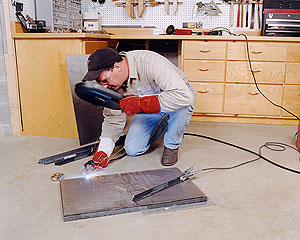
Always perform your welding project on a noncombustible surface. If you’re not sure, use the garage floor.
Tack, Tack, Tack
With welding projects that involve multiple joints welded together, remember to tack first. As you add new pieces, previous parts may shift. So tack as you go to make sure things stay in place. Then, when you’re finished tacking all the pieces in place and everything is where it should be (no shifting), apply your final welds.
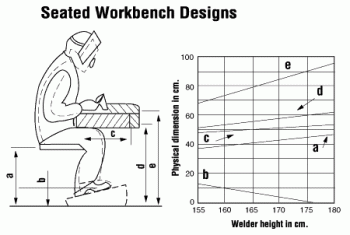
Sit Comfortably
Your posture is important in welding. If you’re reaching or uncomfortable the way you are positioned, your weld bead will not turn out very well. It is also very crucial for your back and joint health. Excessive strain when welding can cause muscular strain and alignment problems within your vertebrae.
I found my welding tips for beginners at these following resources:

