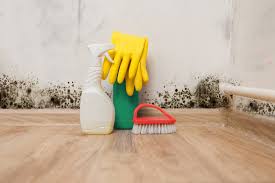

It happens all the time – you have grand plans of renovating a bathroom or a kitchen. But they’re suddenly haulted when you remove old cupboards to find sneaky mold growing on the walls! Well, what do you do? Burn the house down and start over? NO WAY! There is a solution to your mold problem, and it’s as easy as this DIY mold remover.
The amount of mold you find will determine how big of a project this is actually going to be. If it’s just a bit of surface mold, you can start by scraping off the textured layer of your wall. Once you’ve done this, you can see how far back the mold has grown.
There are five major rules to mold removal:
Safety – Protect everyone involved.
Assessment – Determine where the mold is at, how deep it goes, and continue to asses during the removal and once the removal is complete.
Contamination Control – Avoid contaminating other areas by properly disposing of your mold materials.
Source Removal – Get rid of that mold!
Moisture Removal – Fix the original cause of the mold growth whether that’s a leaky pipe or poor ventilation.
Different Types of Mold
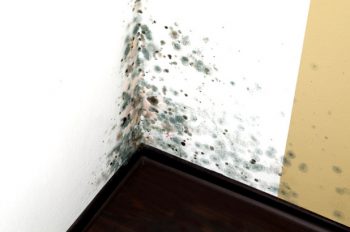
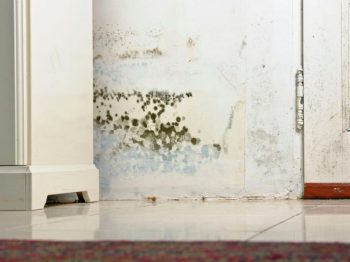
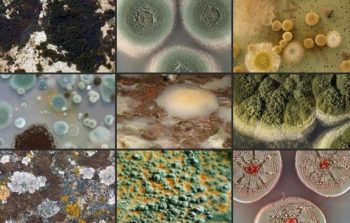
Black Mold – this is typically within the house where excessive moisture gathers. It usually isn’t harmful. But it can produce mycotoxins that are harmful to those living in the home.
White Mold – this is usually in damp, cool places like the basement. You might think it’s a mineral deposit because they look similar. Spray water on it to test. If it dissolves, it is mineral build up. If it doesn’t dissolve, it’s white mold.
Blue Mold – you’ll find blue mold inside of homes that are regularly damp – like in the bathroom.
Green Mold – this is another mold you’ll see in very damp places like the bathroom. You can scrub this away with bleach.
Is it Mold or Mildew?
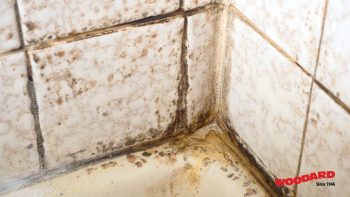
Mildew is a surface fungi that can easily be identified as a patch of gray or even white fungus that is lying on the surface of a moist area. Mildew is easily treated with a store bought cleaner and a scrubbing brush. Mold, on the other hand, can be black or green and is often the result of a much larger infestation.
If after scraping through the textured surface of your wall you still find evidence of mold, you may need to cut out the dry wall and inspect the mold growth further. In some extreme cases, the mold can penetrate through the dry wall and into the joists. On porous surfaces like drywall or wood, there aren’t many products that will fully kill the mold. If your drywall is penetrated by mold, the drywall will need to be replaced.
If your joists have large amounts of mold on them, you’ll likely need to hire a professional. But for the purposes of this article, we’re going to discuss the DIYer’s approach to mold removal.
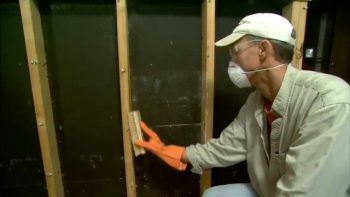
If there is a tiny bit of mold on the joists, spray generously with bleach and scrub. Allow to completely dry. Repeat as many times as needed until the mold is no longer there. If you have to remove the drywall, see our tutorials for patching and finishing drywall.
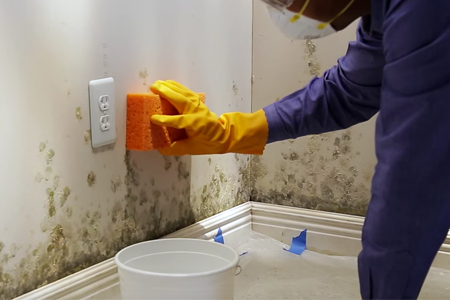
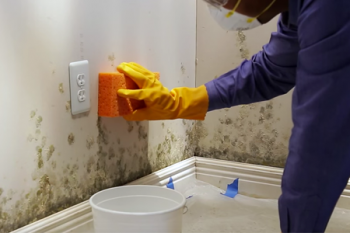
Always wear a safety mask, gloves, and have proper ventilation. If you have kids, you’re going to need to get them out of the house for this project. Mold can be especially hazardous to your health. So keep curious little fingers far from your materials.
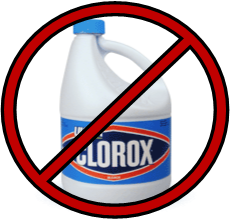
There are a number of products on the market that you can buy specifically for killing mold. Many DIYer’s will use bleach when tackling mold. This is okay if the mold is on non porous surfaces like tile (which is more like mildew). But in drywall, wood, and other porous materials, bleach can cause more problems that solutions.
If you’re removing mold from bathroom surfaces, bleach works just fine! Spray a bleach solution onto the moldy or mildew covered area and let it sit for a few minutes. Then scrub with a brush of sponge to remove the mold. Rinse cleaners once you’ve removed the mildew and you’re done!
Resources I used for my DIY mold remover:

