Tools You’ll Need to Install Wooden Beams
2×4’s
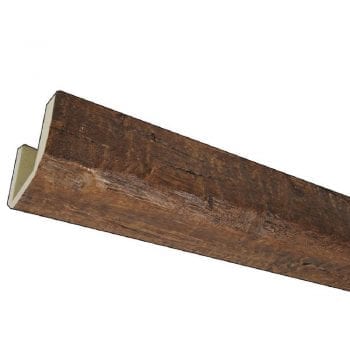
Faux beam(s)…ours are from Home Depot
A Helper
Telescoping work poles (optional, but pretty handy)
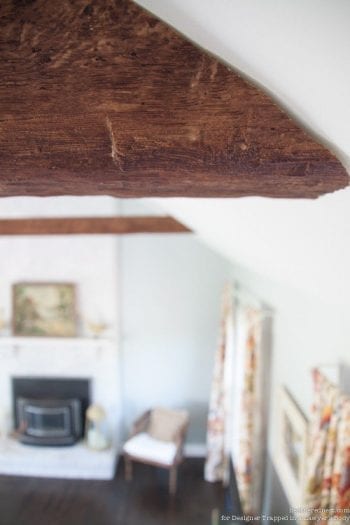
The first step to installing fake wooden beams in your ceiling is finding the beams you’ll be using! You can find them at Home Depot. Though these beams are faux wood, they’re still a little pricey. But they’re made from a light weight material (high density foam) and look incredibly realistic.

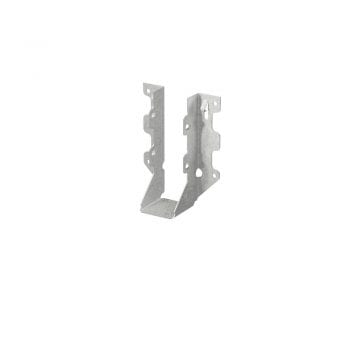
Next, prepare to install the joist hangers. Locate the joists. The faux wood beams will be most secure if hung from the joists but sometimes the spacing doesn’t work out. No worries! You can also use anchors in the ceiling to support the joist hangers. Mark the location for the joist hangers on your wall. Then, create the same markings evenly distributed along the opposing wall. This is where the ends of your faux beams will meet the wall.
Once your joist hangers are installed, secure your 2×4’s to the joist hangers.
If you need 2×4’s longer than what you have to span the length of the ceiling, you’ll need to sister the 2×4’s together.

Now you’ll need to measure and cut the faux beams to fit the length of the installed 2×4’s. If the walls are angled, be sure to measure the right angle for your cut – measure twice, cut once!
Secure the faux beams to the 2×4 beams. You can screw directly through the foam beam into the 2×4 and the joists in the wall.


