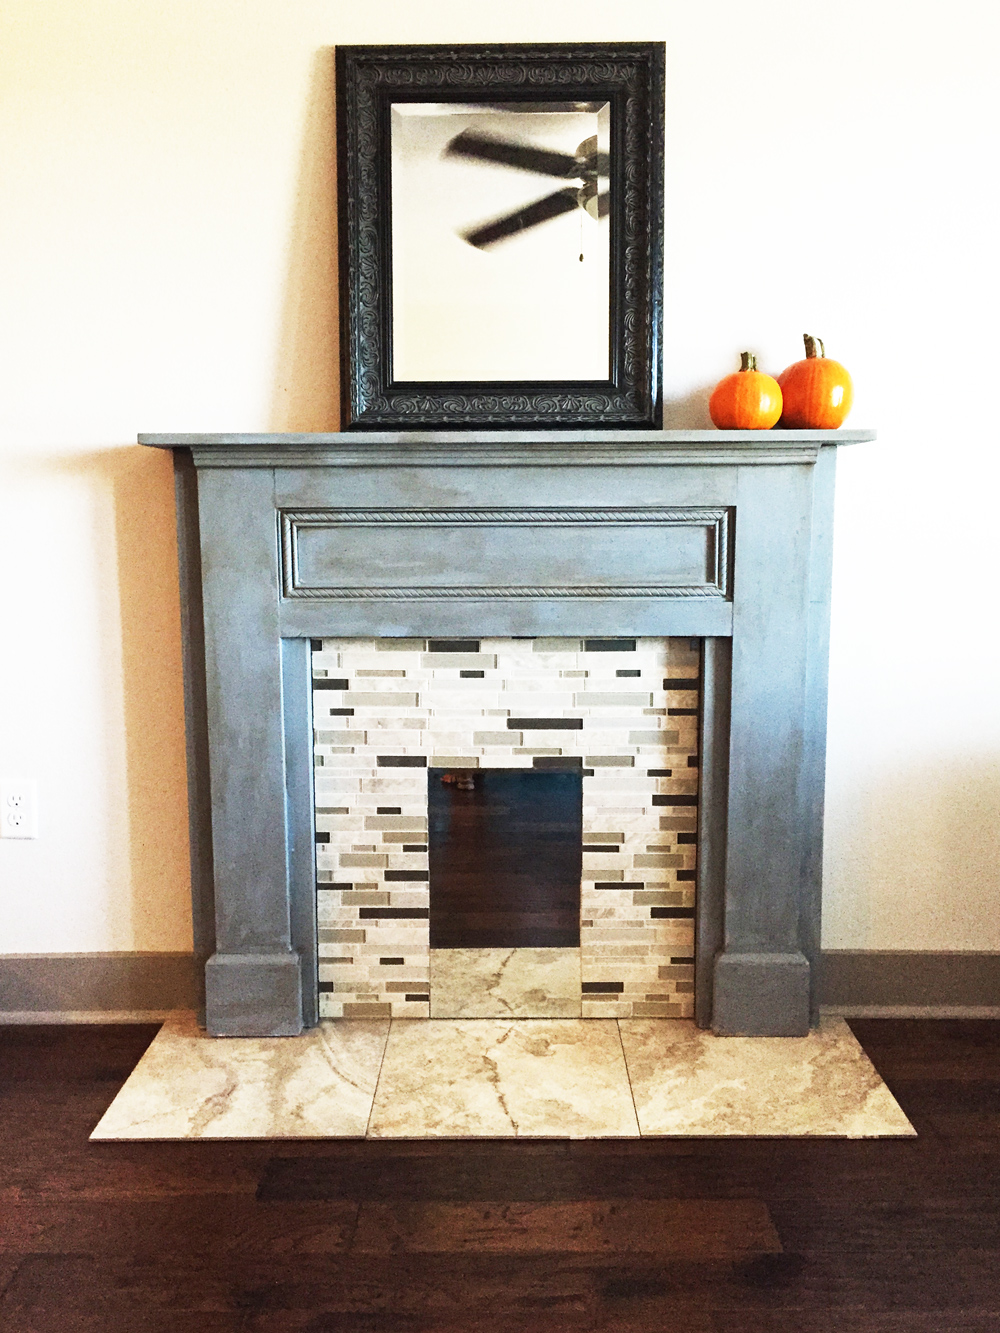

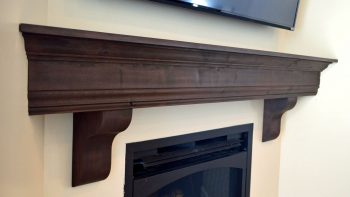
Every home needs a gorgeous fireplace mantel! You can liven up your home with the simple addition of a DIY fireplace mantel, and I am more than happy to show you how my husband and I installed one in our home. Follow our method for the most gorgeous DIY fireplace mantel!
Materials needed for your own DIY fireplace mantel:
| Quantity | Item |
| 6ft | Crown Molding |
| 6 ft | Trim |
| 6ft | 1 x 12 Board |
| 2 | 2 x 4 Board |
| 4 | 10″ Masonry Screws |
| 2 | 1″ Masonry Scews |
| 1 | Paint or Stain |
Tools You Need
| Screwdriver |
| Mitre saw or miter box with a hand miter saw |
| Drop Cloth |
| Paintbrush |
| Level |
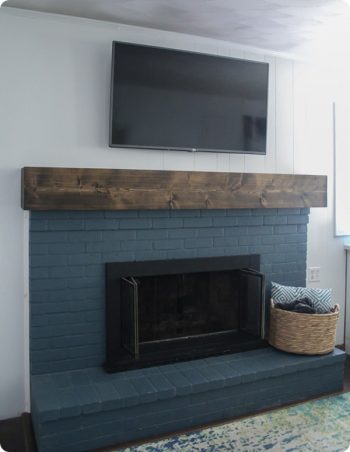

Step One: Preparation and Planning
To build your own DIY fireplace mantel, the first step is to prepare your work area. Lay down a protective drop cloth in your work area to keep debris and dust off the floor surfaces. Start by removing your existing mantel. Once it’s cleared, utilize a measuring tape to mark a guideline 60 inches above the floor level – this will be the height at which your new mantel will be installed on the wall. It’s worth noting that fireplace mantels conventionally sit at this 60-inch height. But check your local codes on fireplace mantels just to be safe.
Step Two: Constructing the Fireplace Mantel Brace
Your mantel’s stability hinges on a solid brace. Employ a 2×4 board as the foundational “brace” for your new mantel. Secure it with 10-inch masonry screws to ensure it stays firmly in place.
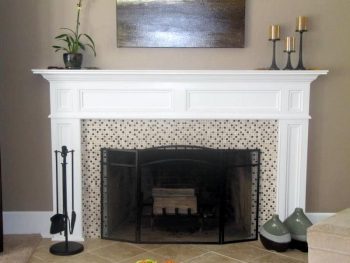

Step Three: Crafting the Breast Plate
Fashion a breastplate from a 1×12 board that snugly wraps around the mantel brace. Use 2-inch long masonry screws to securely affix the breastplate, providing a sturdy foundation for your mantel.
Step Four: Assembling the Fireplace Mantel Piece
To create your mantelpiece, start by creating 45-degree miter cuts on the corners of your new mantelpiece. Proceed to attach the crown molding to the mantel brace, utilizing 1-inch nails. Ensure a snug fit before permanently securing the crown molding with nails.
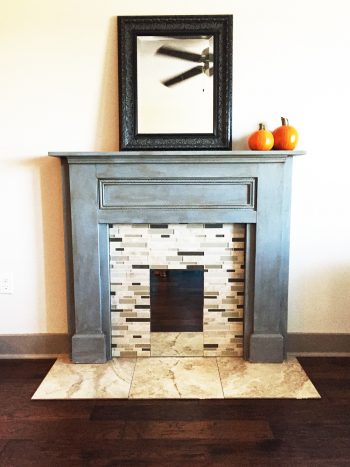

Step Five: Perfecting the Finish
Attention to detail makes all the difference. Address any imperfections, such as nail holes or gaps, by applying nail putty or tile sealant. If you wish to enhance the mantel’s appearance, consider painting and priming the fireplace to create a polished finish.
Step Six: Final Installation Steps
Complete your DIY fireplace mantelpiece by reattaching the fireplace doors. Carefully tighten the screws manually, ensuring a secure and balanced fit.

Additional Resources
Youtube videos
Fireplace Mantle assembly (DIY Custom built) https://www.youtube.com/watch?v=Kqp3GZ1pbuU
How to Build a Mantel– This guy is very entertaining. https://www.youtube.com/watch?v=bEU-8KgJ1nA
Links
DIY Floating Beam Mantel from Crystal Montenegro Home
Woodbeam Mantel DIY from DesigningVibes.com
Pre-Fab Fireplace Mantel Kits
If you’re not interested in getting your hands dirty with a DIY project we understand. So I would like to recommend an elegant Fireplace Mantel Kit. It’s called the Salem Wood Mantel Shelf with Arched Corbels – White 72-inch made by Mantels Direct.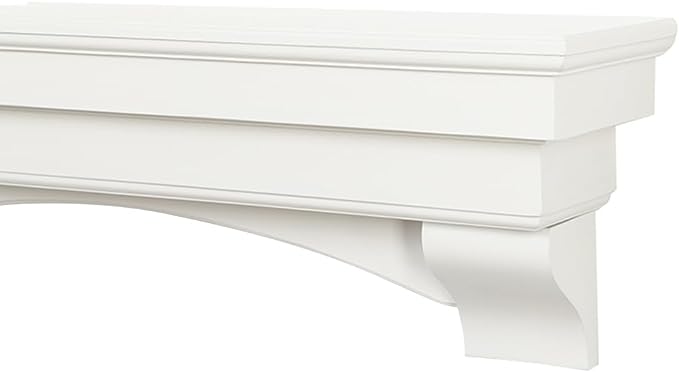  Check Price on this Fireplace Mantel Kit |

