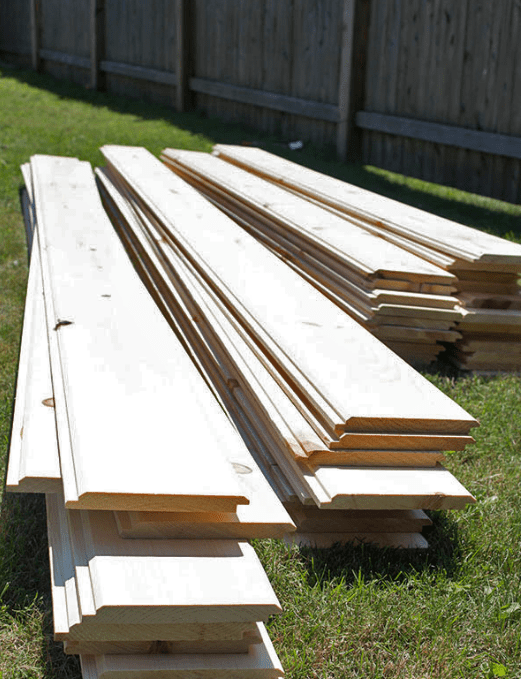
Tools and Materials You’ll Need To Install Shiplap:
Paint
Primer
1/4 inch spacers
Jig Saw – For small, odd cuts.
Table saw – For cutting the width of the board.
Miter saw – For cutting the length of the board.
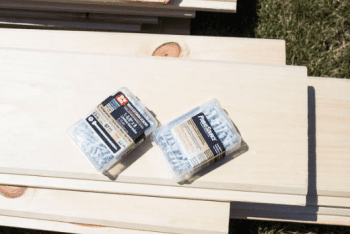
2 inch Wood screws
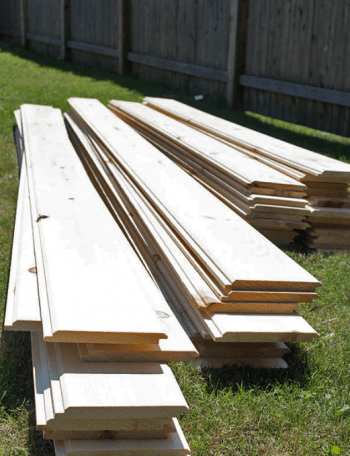
Shiplap boards
Step One
Estimate the amount of shiplap needed. Measure the square footage (L x W) of each wall being covered in shiplap to find the amount of shiplap you’ll need.


Step Two
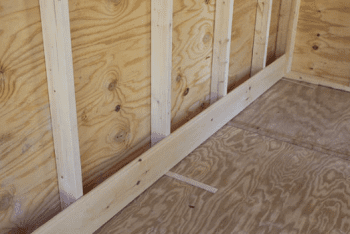
Starting at the bottom of your first wall, place ¼ inch spacers along the floor. This will make sure to allow plenty of breathing room for swelling as outdoor temperatures change. Measure the necessary length of your board (measure twice, cut once) and cut the board needed for your first row.

Step Three
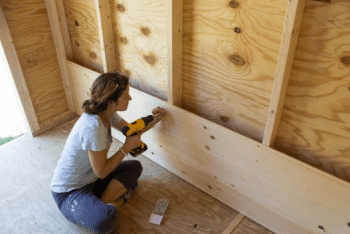
Shiplap is cut so that the boards fit snugly together. Once your first row is done, move on to the second row. Measure your necessary length and cut the shiplap to fit. Place into the groove of the shiplap below, secure to the joist with wood screws,

Step Four
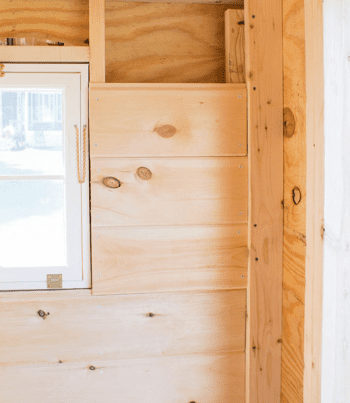
As you come to windows, doorways, corners, vents, outlets, and other features in your way, you’ll use a combination of saws to make the necessary cuts.

Optional
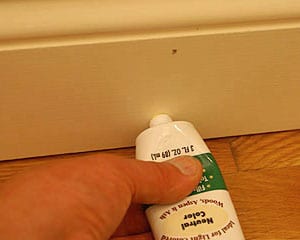
Caulk gaps and holes for better insulate before painting.
Getting ready to do a similar project? Find more tips and tricks on these few websites. It’ll be easy to take care of!

