
Dying for a kitchen remodel, but don’t have enough money (or time!) to redo your whole kitchen? It’s time to repaint your kitchen cabinets! The project may seem big and scary, but you only need around two and a half days to complete the project. It’s best to have a solid day to prep your project, and then set aside another day to replace everything in your kitchen! Definitely plan ahead and give yourself a reasonable amount of time, if you don’t feel like you can finish in a weekend, set aside a few extra days to complete your project. No need to stress out over a time crunch! Let’s get started!

Day #1: It’s time to begin project prep! Remove all of the hardware from your cabinets, and store them in a Ziploc baggie. Label your cabinet doors with a piece of Washi Tape (or painters tape) according to the items found inside. This will make it easy to put things back where they belong after painting! Be sure to remove and save your door hinges if you are trying to save money on hardware costs! It’s important to scrub your cabinets down with a paint prep (All Surface Paint Prep works great) so you get the best finish possible after painting your cabinets. It is important to know that the paint prep does have a deglossing agent, so it will remove the finish from your cabinet doors. Be sure to wear gloves, because the product can be harsh on skin! Lay out your cabinet doors on a clean, dry area. The garage works perfectly, just be sure you lay down a drop cloth! Wipe the cabinets down one more time to ensure that they are clean and ready to go! Next, sand the cabinet doors and fronts, paying close attention to areas of your cabinets that recieve the most wear. Before painting, it’s important to tape off areas like the hood vent and kitchen appliances. You can use butcher paper on your countertops to catch any paint drips when you start painting on day two!
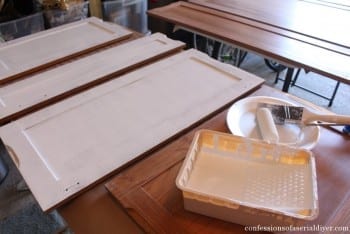

Day #2: Before you begin priming, make sure you have the following supplies:
Paint Primer
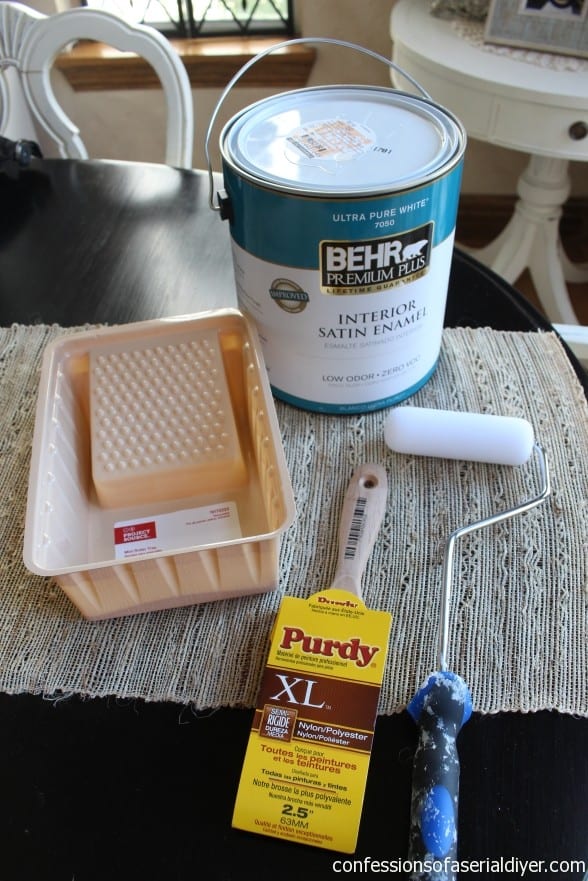
2.5 Angle Brush (This is used to begin priming)
Gloves (Not necessary, but it is nice to have hand protection!)
Begin priming your “cabinet boxes” first, followed by your drawer fronts and cabinet doors. Your project might look a bit messy and disheveled at this point, but have faith! The finished product will look much better! Allow 2 hours for the primer to dry before continuing. It’s time to paint! I recommend having the following supplies to begin painting:
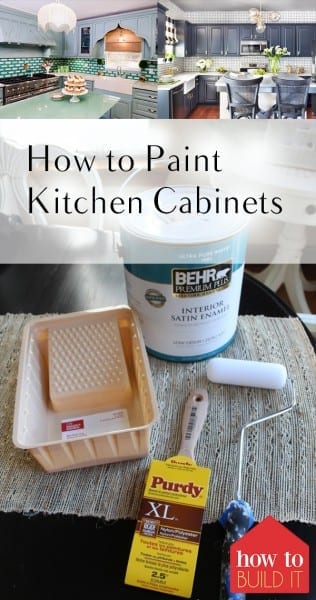
Interior Enamel Paint (I like to use anything from Behr’s, pick one without a primer included, because you already primed!)
Four Inch Rollers (the “doors and cabinets” variety as mentioned above”)
Gloves (just in case!)

Using the same method as you did when priming, paint your cabinet boxes and drawer fronts, followed by your cabinet doors. Don’t paint the sides of the drawers! Only paint the fronts and backsides! TIP: It’s easier to paint the cabinet doors if they’re slightly elevated.
Day #3 (or Day 2 1/2): Add a second coat of paint to your cabinets if desired. Once everything is fully dry, reinstall your hardware and hinges! Voila! You have a brand new kitchen! Well, kitchen cabinets at least! Check out this tutorial if you need any more assitance!
