
Getting a perfect line on the edges and corners while your painting a wall can be so stressful! So how do you make sure paint stays only where it’s supposed to? Here are some of the best tips on how to paint a perfect line. Hopefully this will help you out with your next DIY project!
How To Paint A Perfect Line
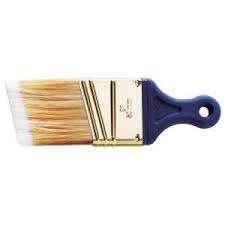
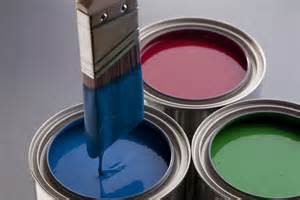
Buy a solid brush
This isn’t something to scrimp on. And it’s generally better to get a brush with a shorter handle. It will allow you to get into small nooks and crannies. Image via I Have to Have It.
Clean off the surface you’re painting
Paint won’t stick as well to dirty surfaces, plus you don’t want dirt or dust clumps on your wall.
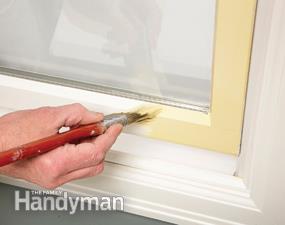
Practice your line painting
Try in a spot that doesn’t matter so that you can get a feel for the brush and how slow you need to go. You can always paint over the spot. Image via Family Handyman.
Use a drop cloth
You don’t have to buy an expensive one from the store. You can just use old sheets instead. Cover up anything you don’t want to get paint on. You might be surprised how far paint splatters. Image via House Logic.

Store your paintbrush in the refrigerator
If you need to take a break, put your brush in a sealed baggie and then place it in the fridge. This will keep it from drying out.
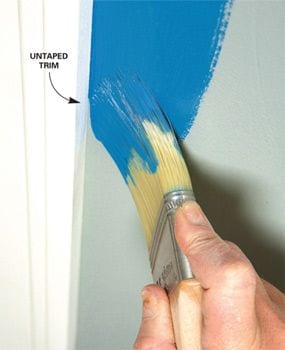
Skip the tape
You’ll probably get a cleaner line by just eyeballing it. Tape is a pain to put up, and if not done absolutely perfectly, you won’t get a very straight line. Image via Home Guides.
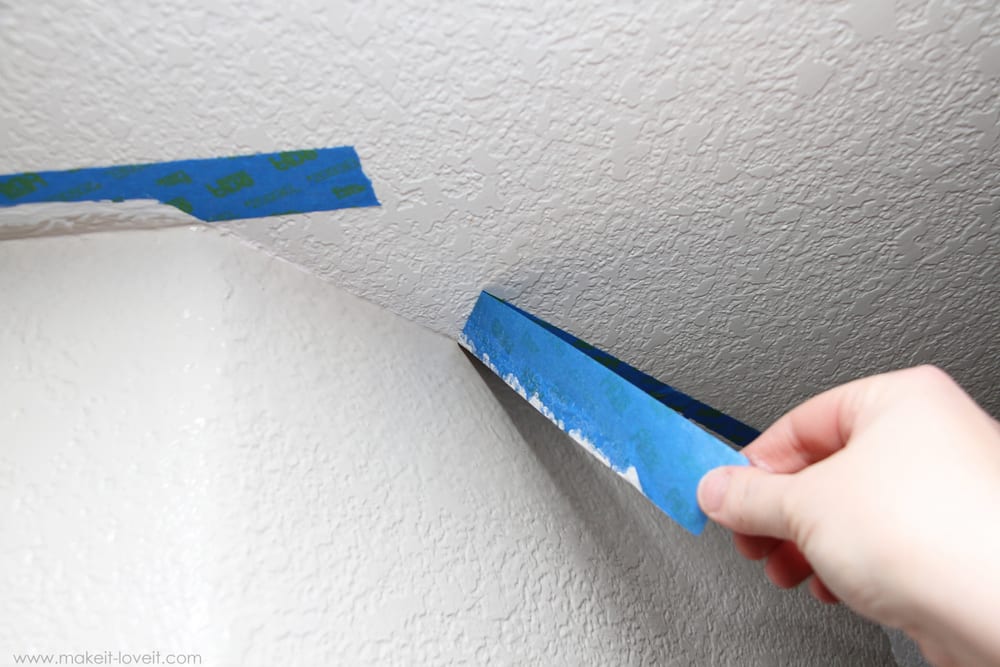
Peel the tape off before the paint has completely dried
If you do end up using tape, make sure you peel the tape off before the paint has completely dried. Otherwise the tape will peel off some of the paint and you’ll be back at square one! Image via Make It Love It.
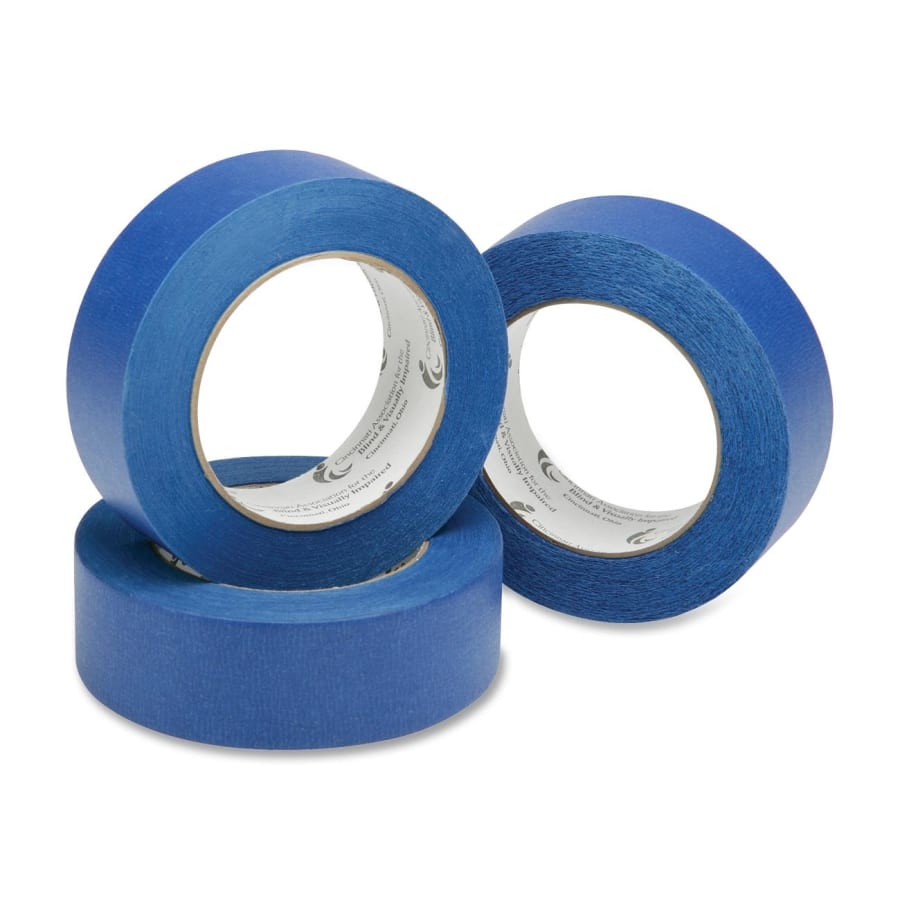
If your tape is rock solid, heat it up in the microwave for a few seconds
This will make it a piece of cake to roll and stick anywhere you want. Image via Office Supply Hut.
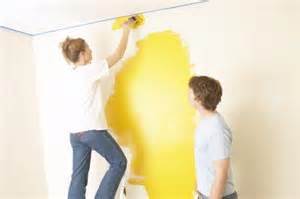
Take it slow
There’s no reason to speed through painting the edge. Let your hand go a slow as necessary to get a crisp line, and take breaks when necessary. Image via Family Handyman.
Move the ladder
Sometimes you may be tempted to reach while you’re painting the edge of the ceiling. It’s better just to take the time to move the ladder. You’ll give your hand a rest and have an easier time painting. Image via People Equation.

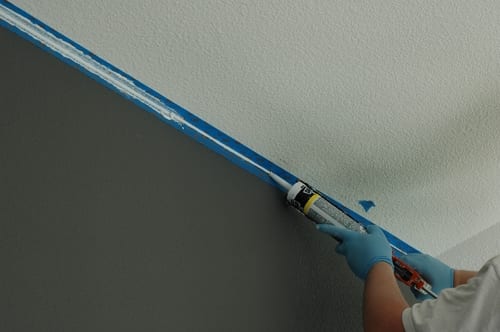
Tape both angles and then caulk the middle
If you finish the edge and it end up looking messy than you’d like, Makely Home suggests taping both angles and then caulking the middle. You’ll get an amazing edge.
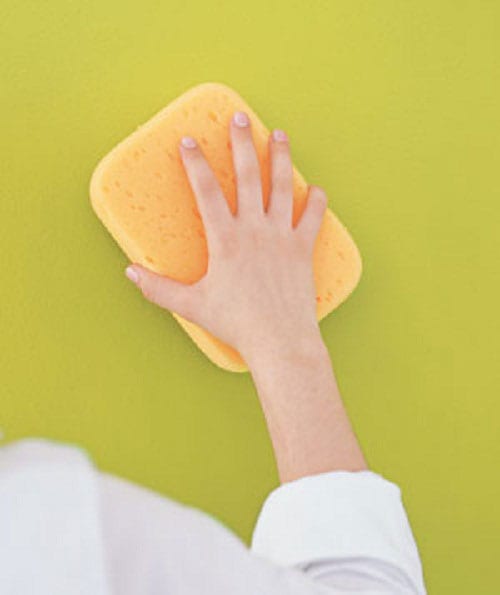
Keep a wet rag handy
If you accidentally paint something or somewhere you’re not supposed to, you’ll want to wipe it off quickly. Image via Paint Quality.

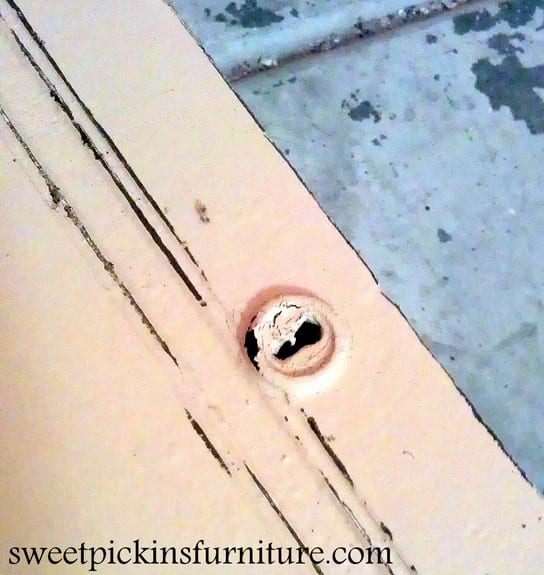
Cover hardware with petroleum jelly
Then you can paint over it without worry and just wipe the paint off when you’re done. Thanks for the idea, Sweet Pickins Furniture!
I hope these tips on how to paint a perfect line help you!
Don’t put a paintbrush in the fridge that was used for tremclad. The refridgerator will smell of tremclad for years after.
Amy,
Thank you for the tip!
I never put my rollers or brushes in the fridge. Just cover them with plastic or plastic bags and wrap them up well. They will keep soft for weeks. I have done this with brushes and rollers and have had them in that state for a couple of months, having forgotten them. They were still wet and usable after all that time.