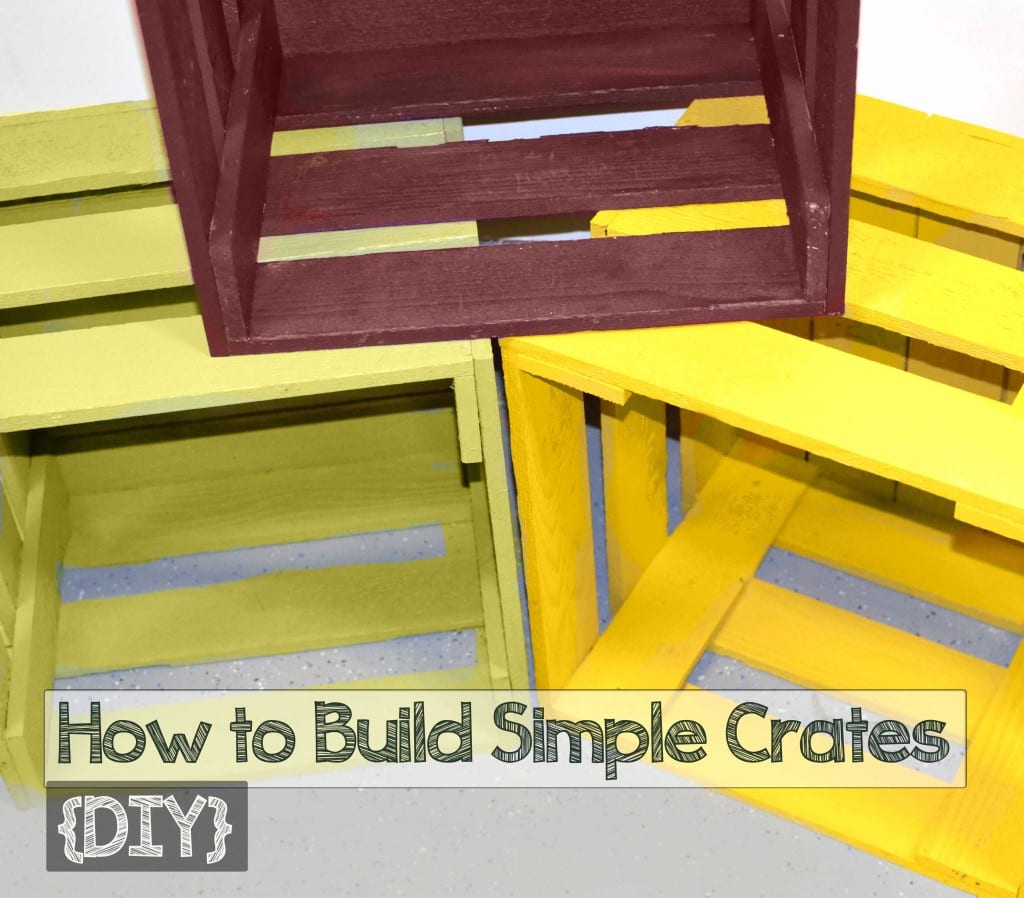
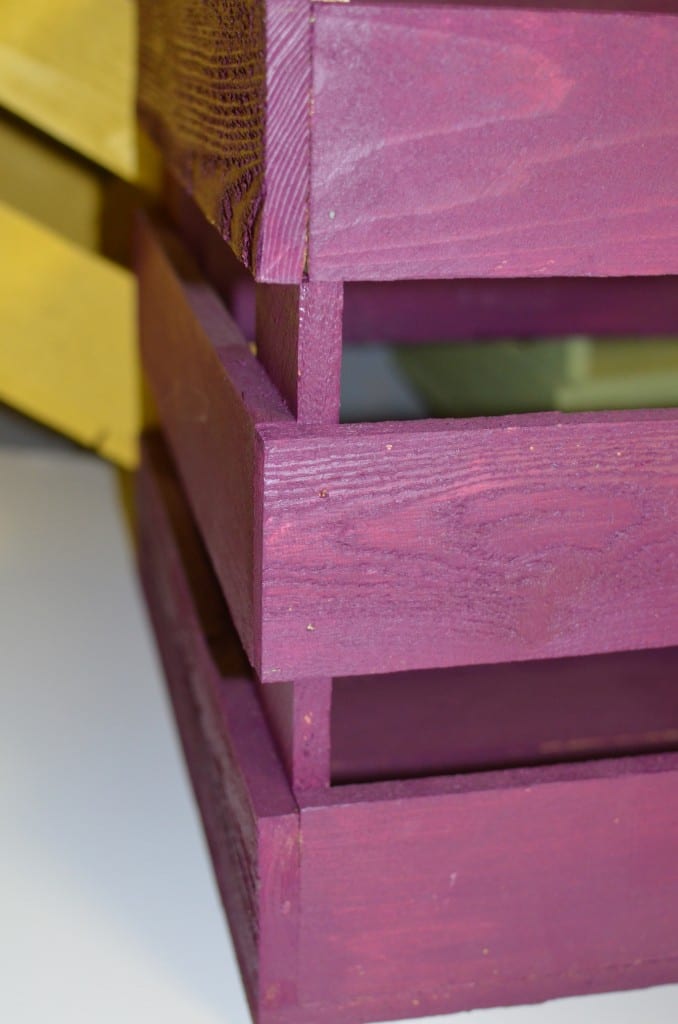
While I usually have a tendency to make projects more difficult by demanding perfection, I think crate boxes have more character with some imperfections. I purposefully did not sand the cedar planks, and did not try to match my corners perfectly. Although, I did nail and glue the joints to make sure that they last as long as we will need them.

- Purchase cedar planks from the hardware store, I used the rougher finished planks to give it a more rustic look and to show the grain through the paint. Use 3 ½ “ x ½ ” lumber.
- Make the cuts- Cut (4) 14 ¼ “ lengths for the center supports.
– Cut (6) 18” Pieces for the longer sides.
– Cut (6) 16 ¾” Pieces for the short sides. (The length of these should be your longer sides minus two times the board thickness, mine were slightly thicker than ½”)
– Cut (5) 18” Pieces for the bottoms.
– Cut (6) 18” Pieces for the longer sides.
– Cut (6) 16 ¾” Pieces for the short sides. (The length of these should be your “longer sides” minus two times the board thickness, mine were slightly thicker than ½”)
– Cut (5) 18” Pieces for the bottoms.
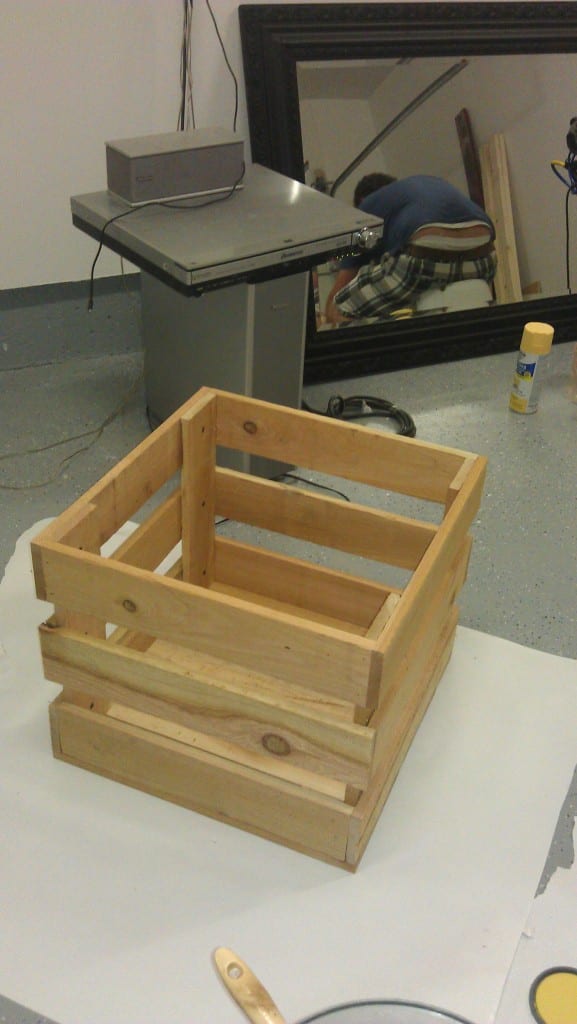
Now just assemble all the pieces like you see in my picture, use glue and nails in every joint, I used a brad nailer and this worked well for me. The bottom slats will just glue and nail in on the ends only. Make sure to use the correct spacing between the sides, as well as the spacing between slats on the bottom so all the gaps are even. I made a jig to set between the sides and it was 2” wide, this gave me even spacing between all the side slats.

Once they are assembled you are ready to apply your finish and start using your new crate boxes!
These crates have been really great. They are sturdy, and can support major weight. We have used them for a lot of different things, including a bookcase, end table, ottoman, extra seating, shelves, blanket storage, book storage, and holiday displays.


This is great! Especially that they are made of cedar, because I have some cedar fence planks lying around that I got from Freecycle. I’ll have to rip them in half, but that’s no problem. I’ve been trying to think of something to put on the deck of my new place that can take heat and humidity, and these would be perfect. I have tons of old (free) house paint lying around in different colors, so perfect! I can make one slightly taller and make a solid bottom to be a table between the two lounge chairs. Thanks for this idea!